You took the first step: you purchased one or more of our Plate-it tools. But how exactly do you use these chef's tools? WIth these tips & tricks you will learn to make your dishes shine at home.
ROUND AND ROUND IT GOES
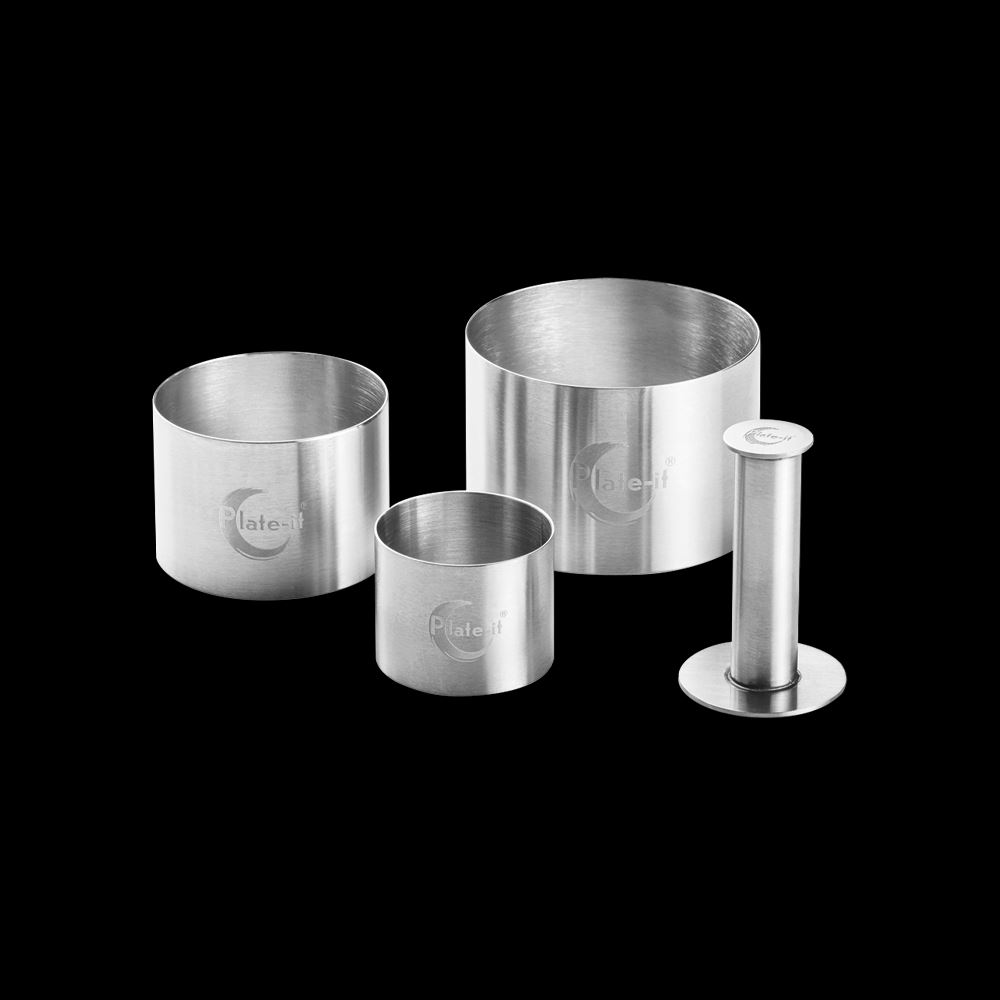
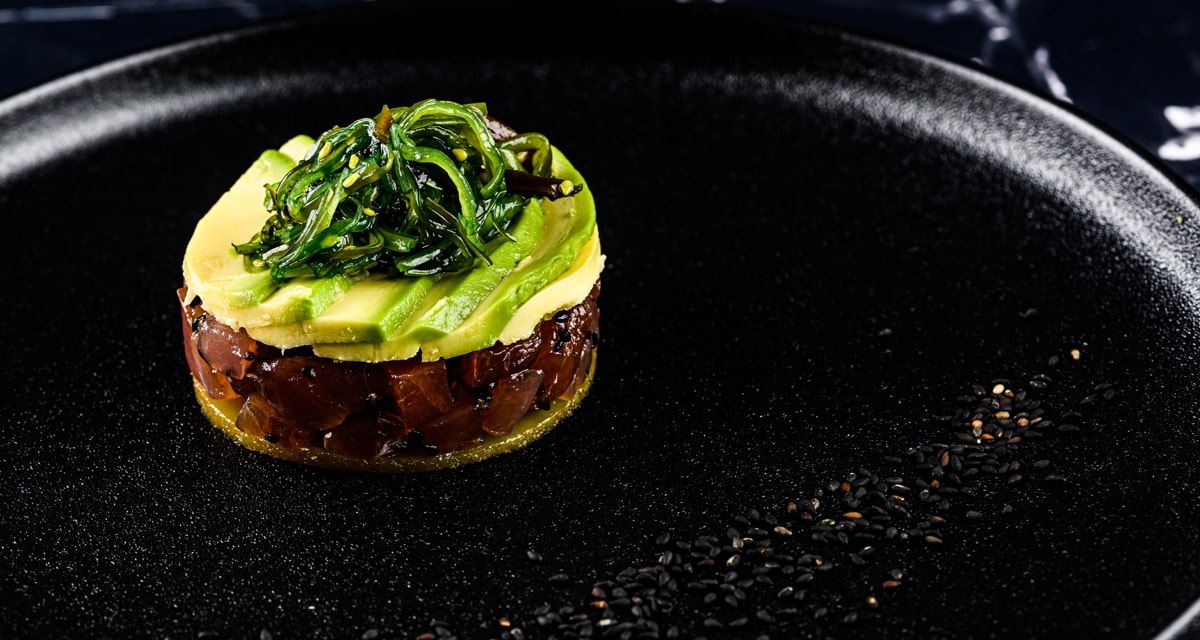
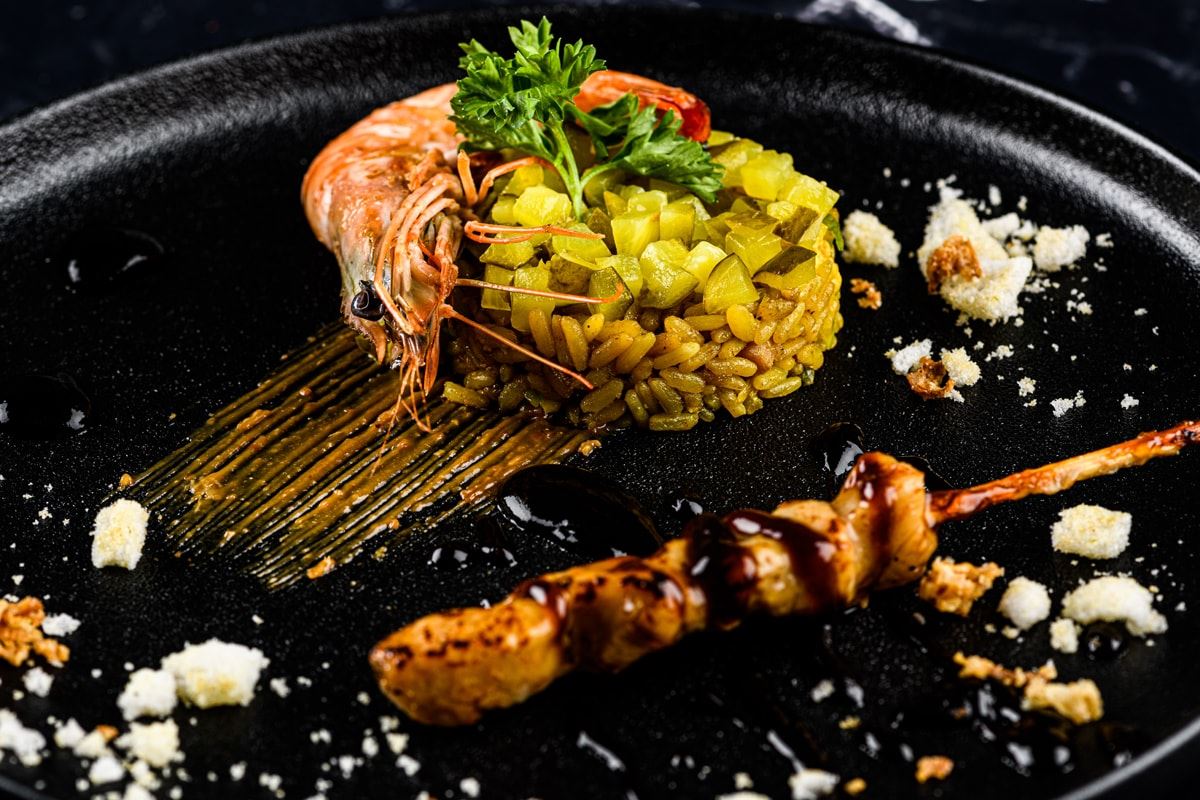
Plate-it’s garnish rings with pusher are perfect for making shapes or arranging ingredients in circles on your plate. The pusher allows the filling to be easily pushed out of the garnish ring.

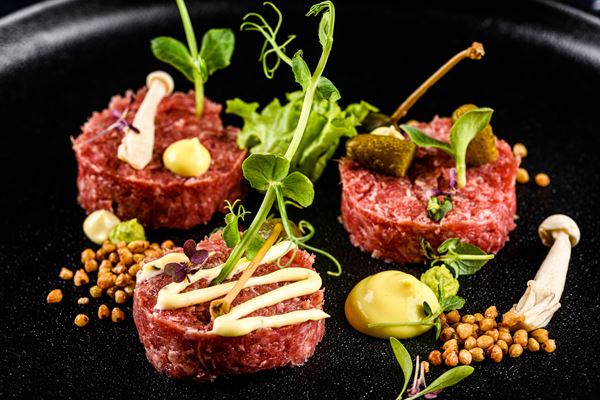
Fill a garnish ring with, for example, steak tartare, risotto or a thicker puree and press it with the pusher. Carefully lift the ring.
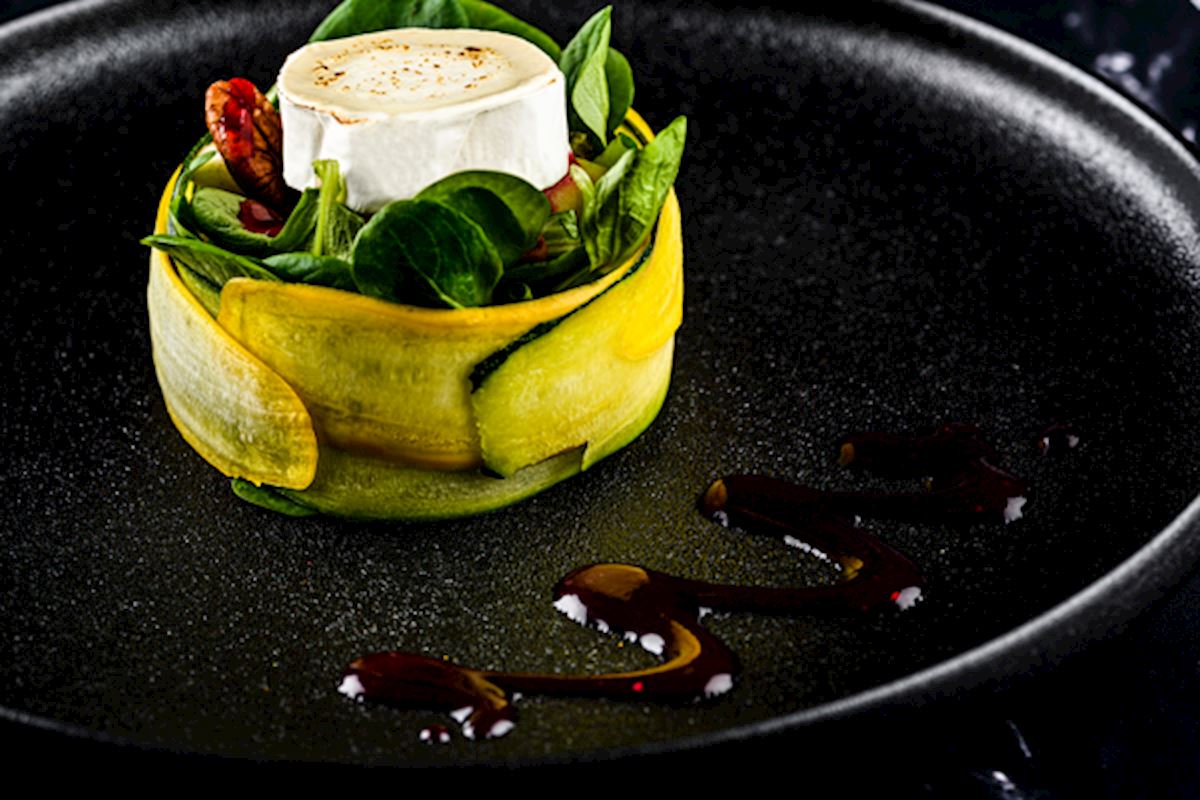
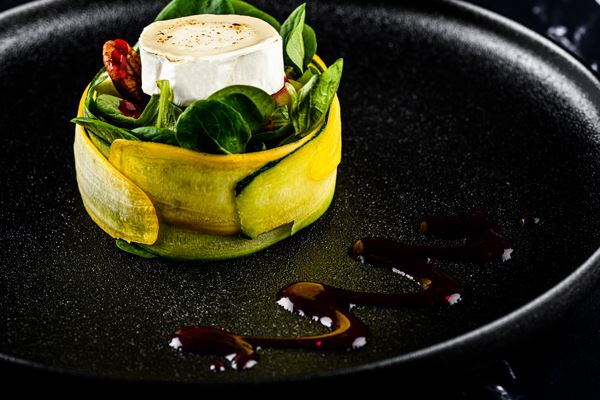
Place the strings of a vegetable, such as zucchini, around in the garnish ring. Fill it up with a salad or something similar. Carefully remove the ring by lifting it up.
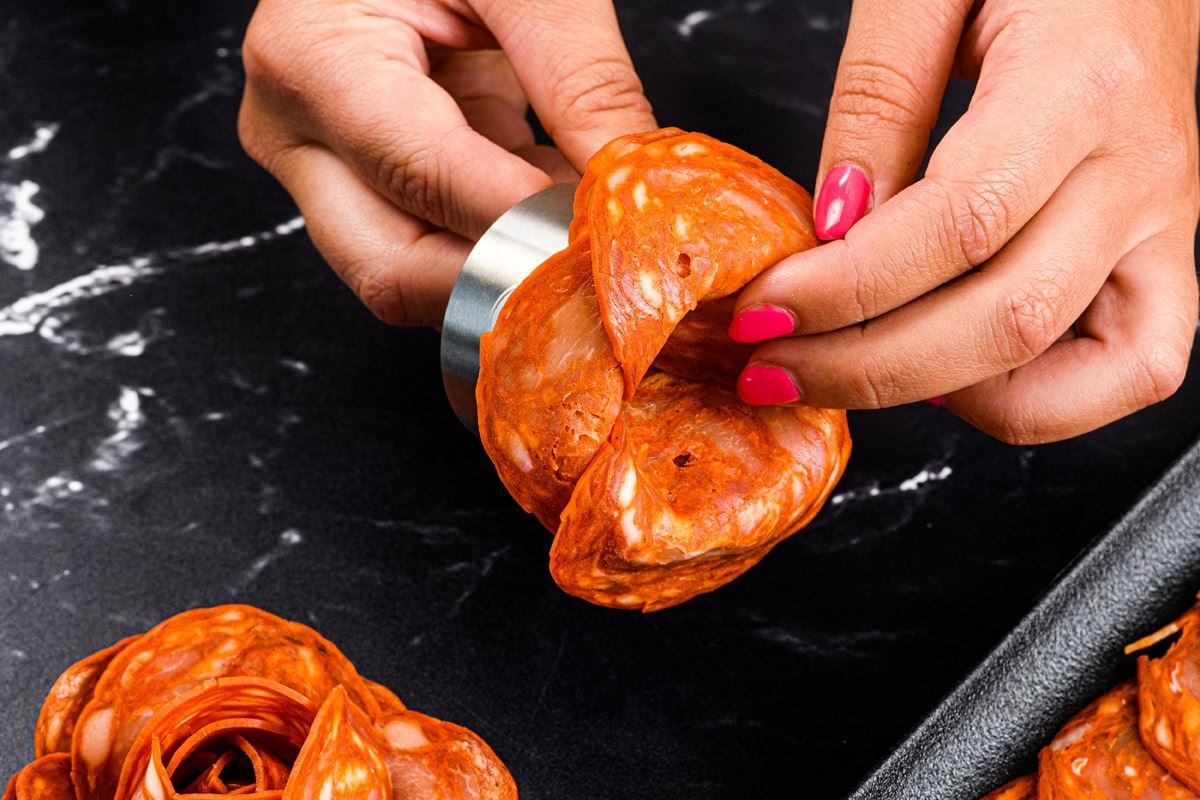
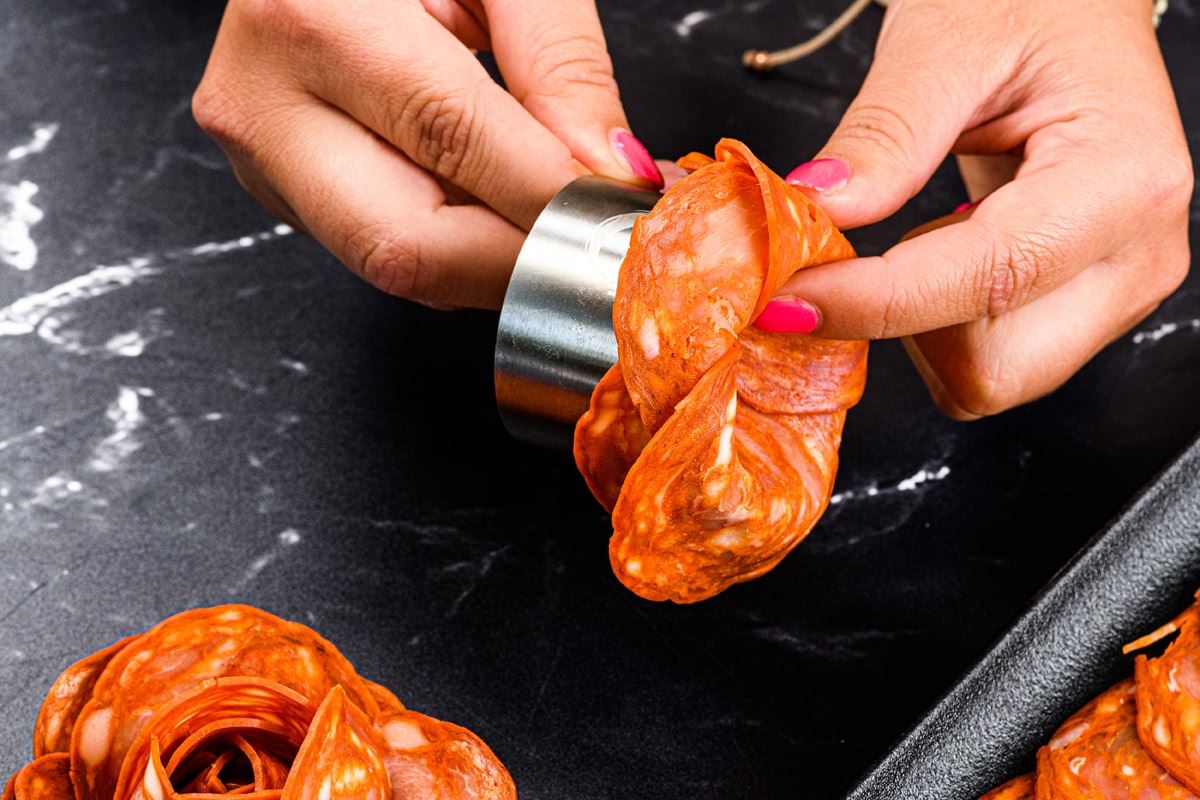
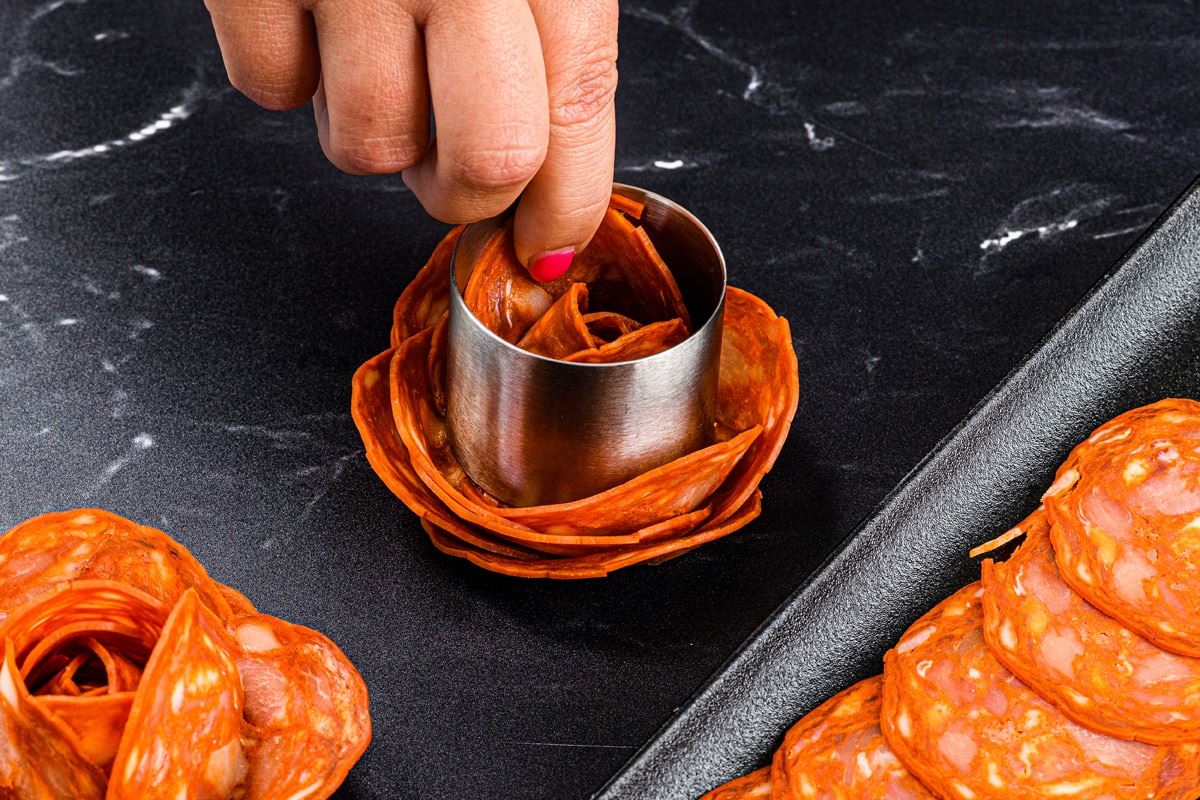
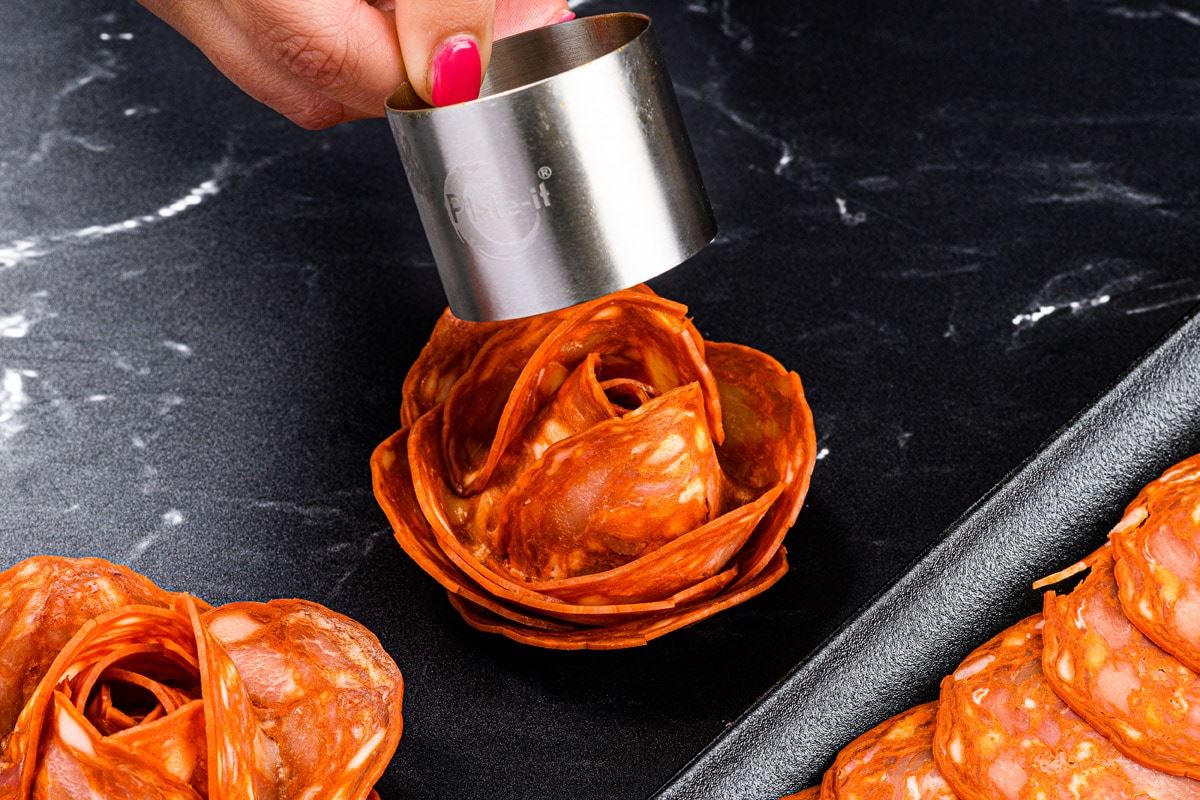
CHARCUTERIE FLOWER
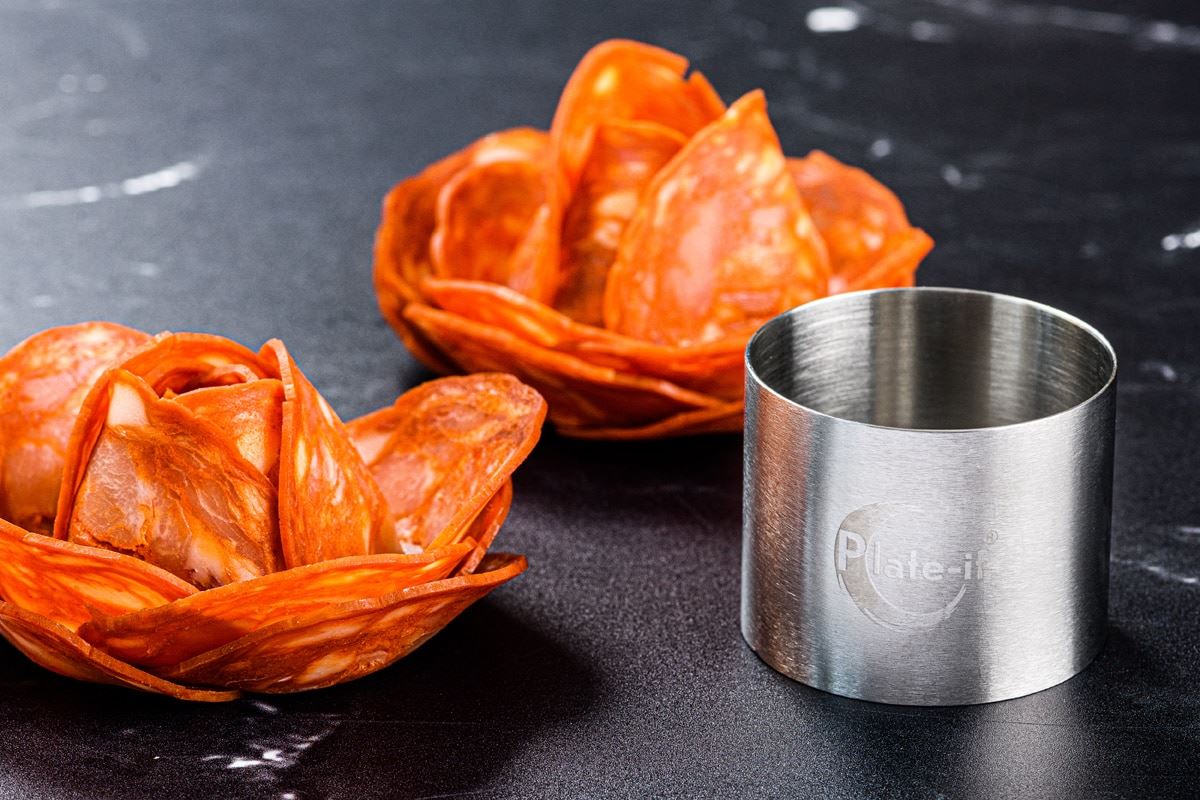
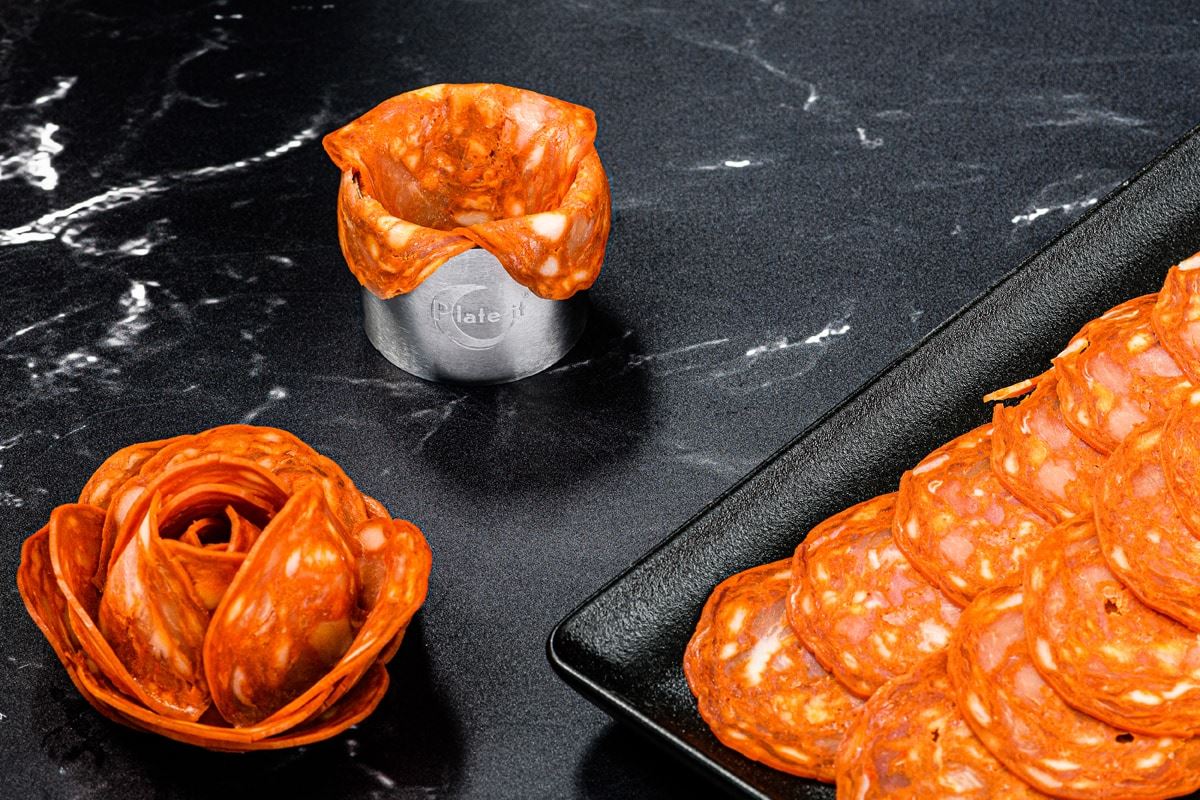
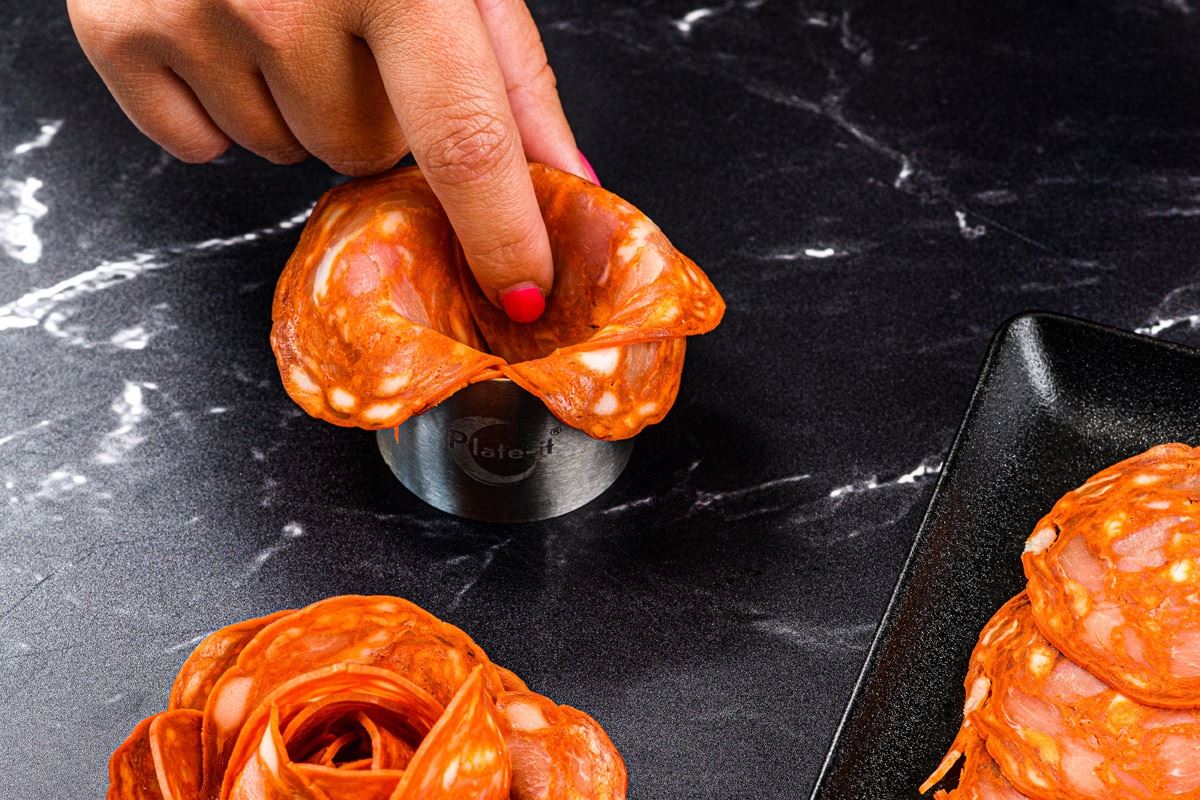
Fold each slice of cold cuts over the edge of the garnish ring, so that the entire ring is covered. Make sure all slices overlap. Are enough slices piled up? Then carefully turn the garnish ring over, push it out and slowly lift the garnish ring. Place the charcuterie flower on a nice board or plate and voíla!
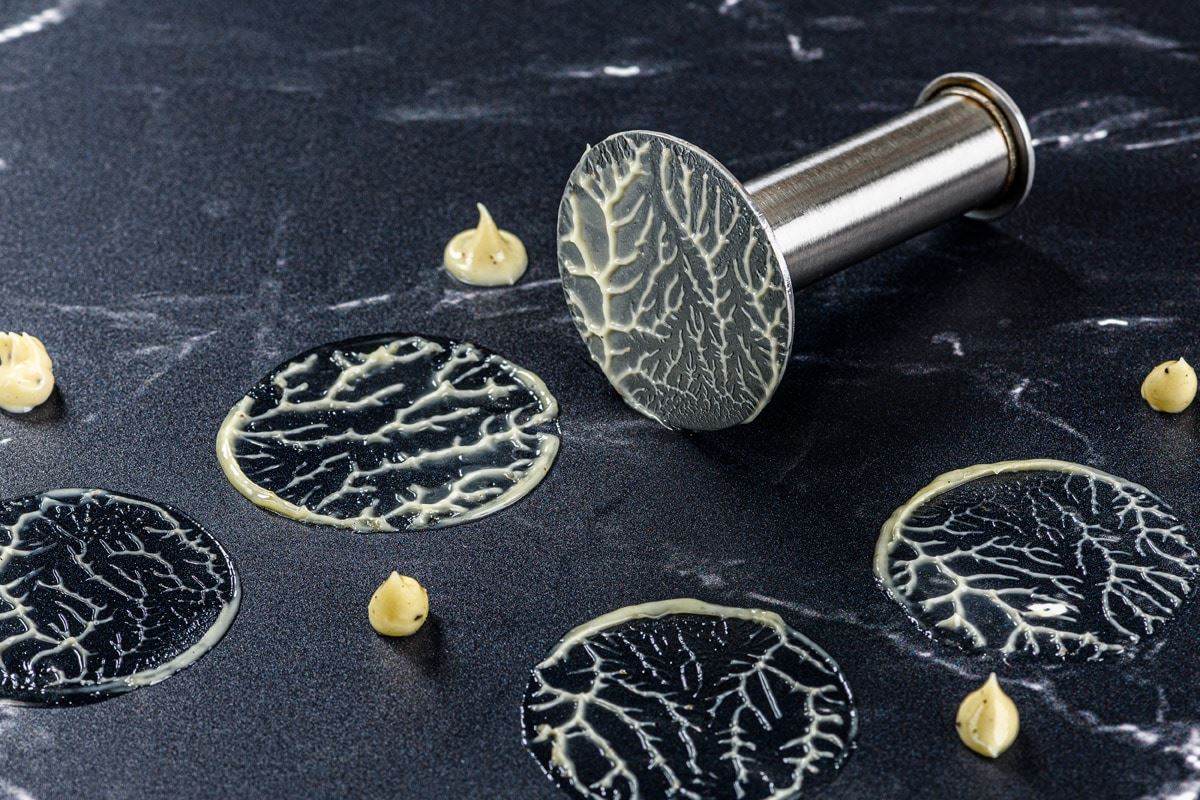
Coral effect
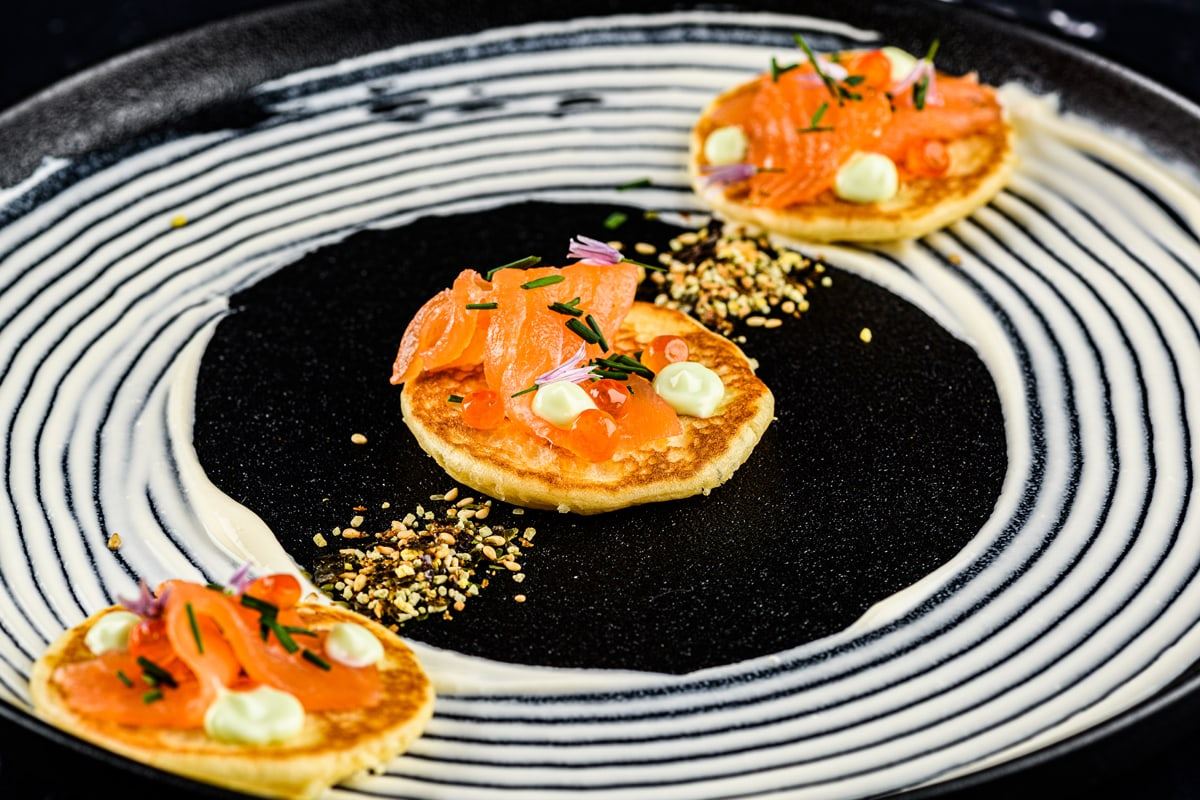
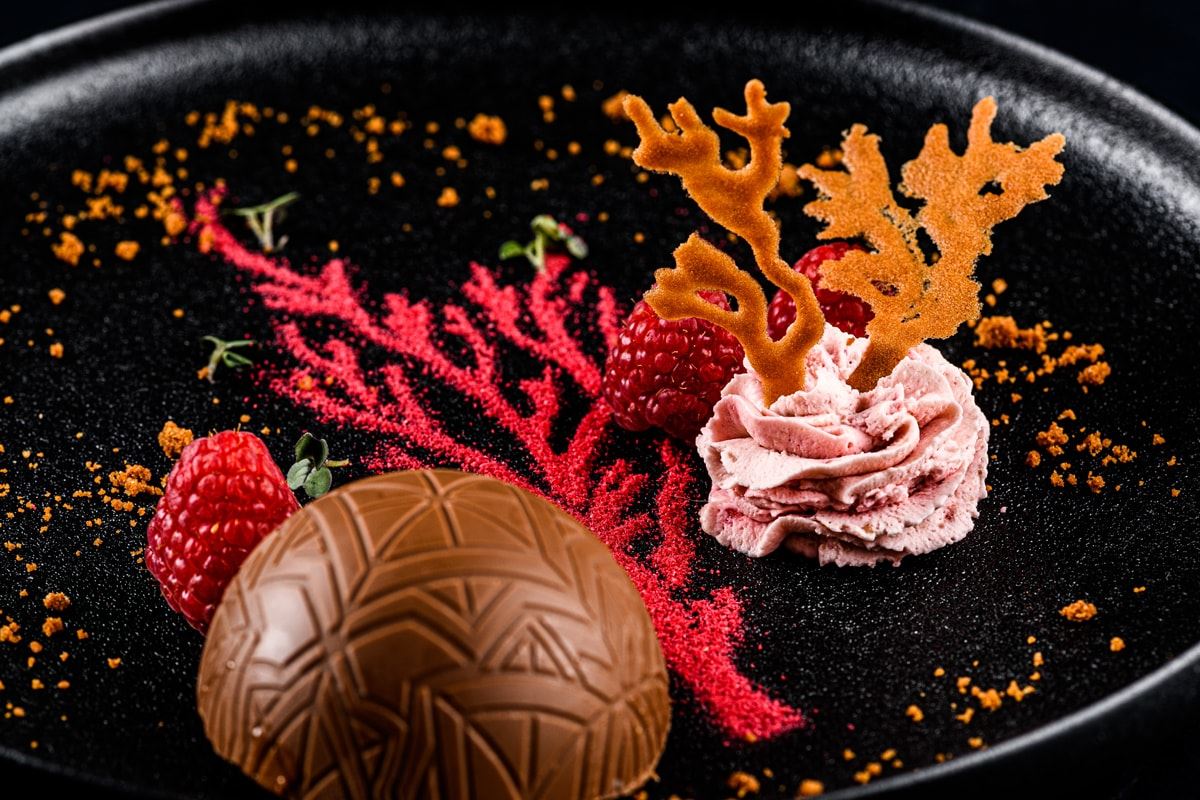
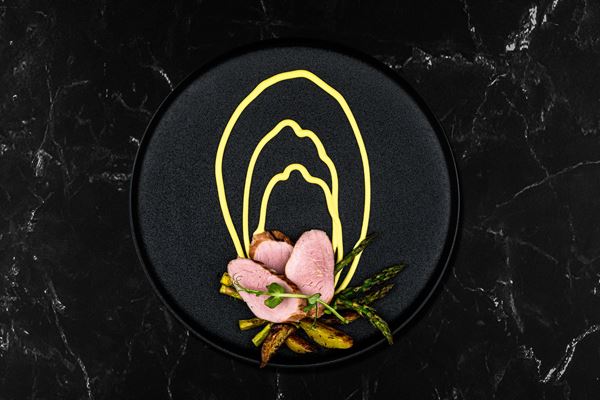
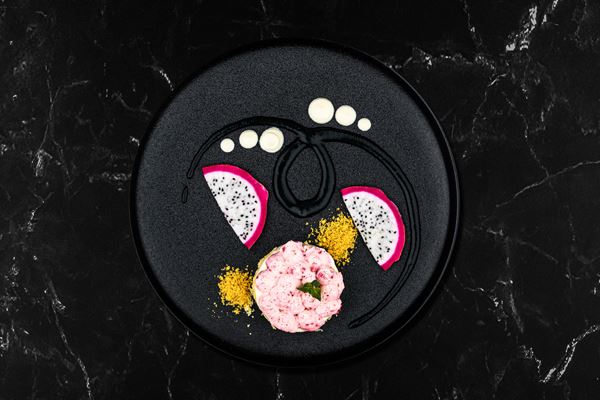
Add a small drizzle of sauce to the plate and gently press the pusher into this, giving it a lovely shape for an extra creative decorated plate.
JUNIOR PROOF
Cooking with the little ones? The garnish rings can be used as a cutter to, among other things, cut out slices of cake into rounds. With the piping bag you can spray beautiful duchesses on the cake. By sticking two pieces on top of each other, a nice cake is created. Decorate it with raspberries and the cake is ready to be eaten!
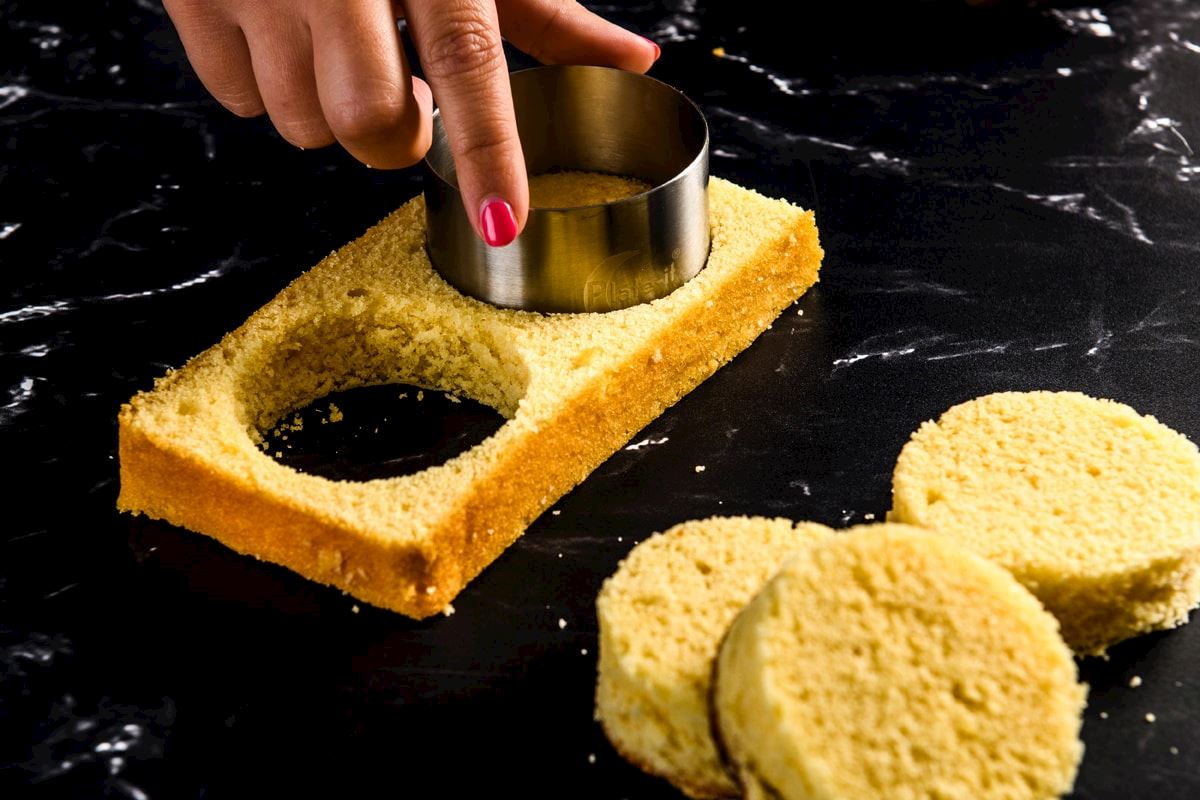
Safely cut out the cake with the garnish ring.
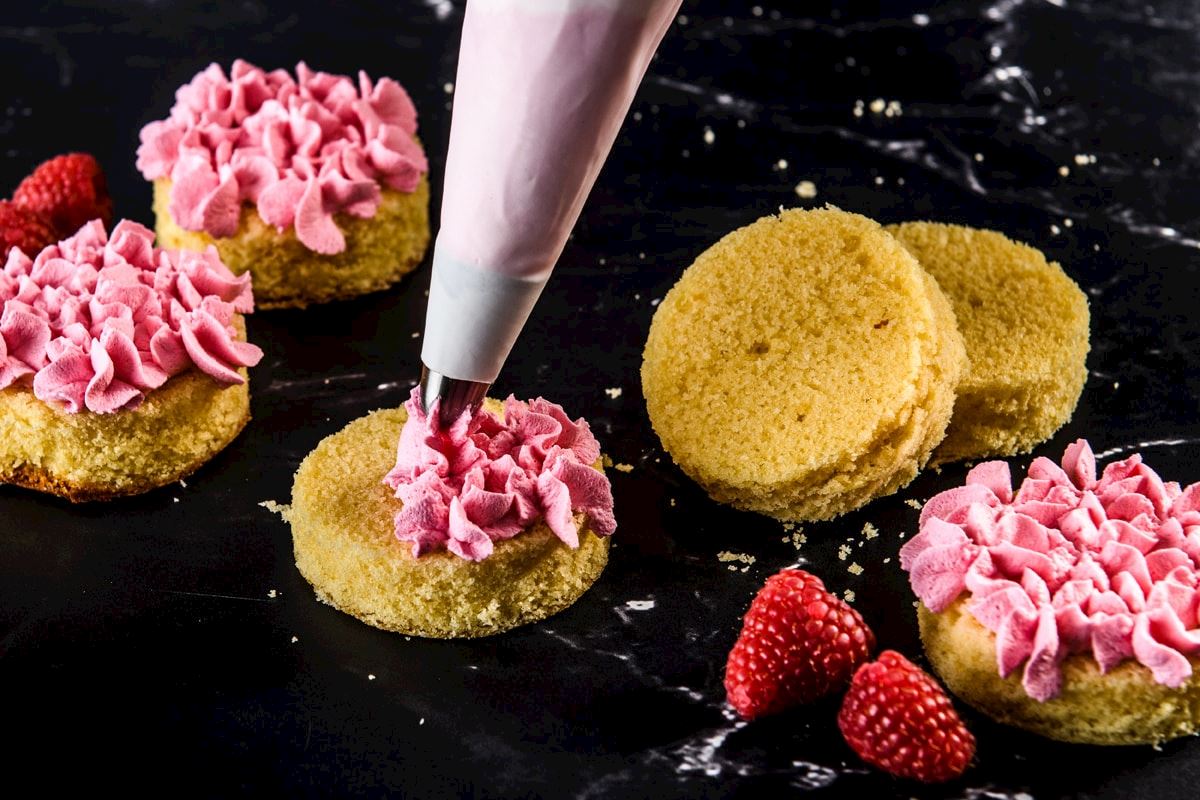
Create nice swirls on the cake with the filled piping bag.
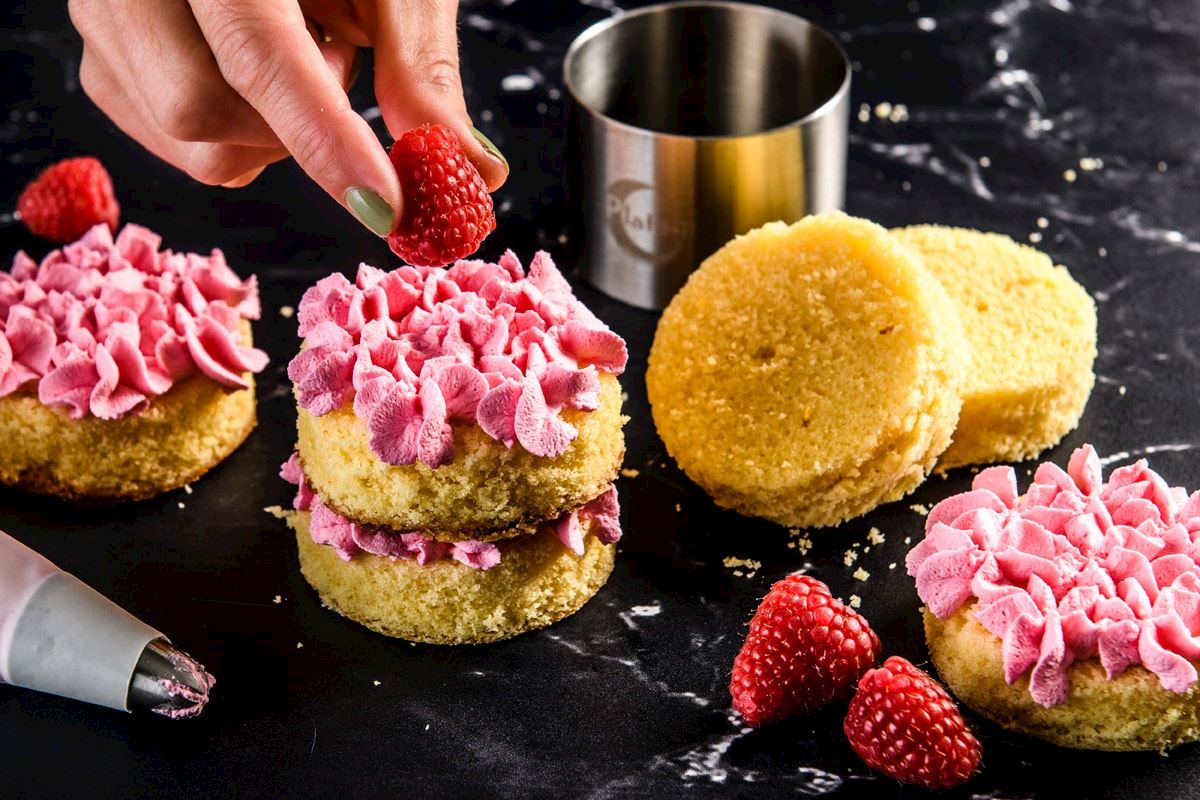
For a bigger effect, stack the cakes.
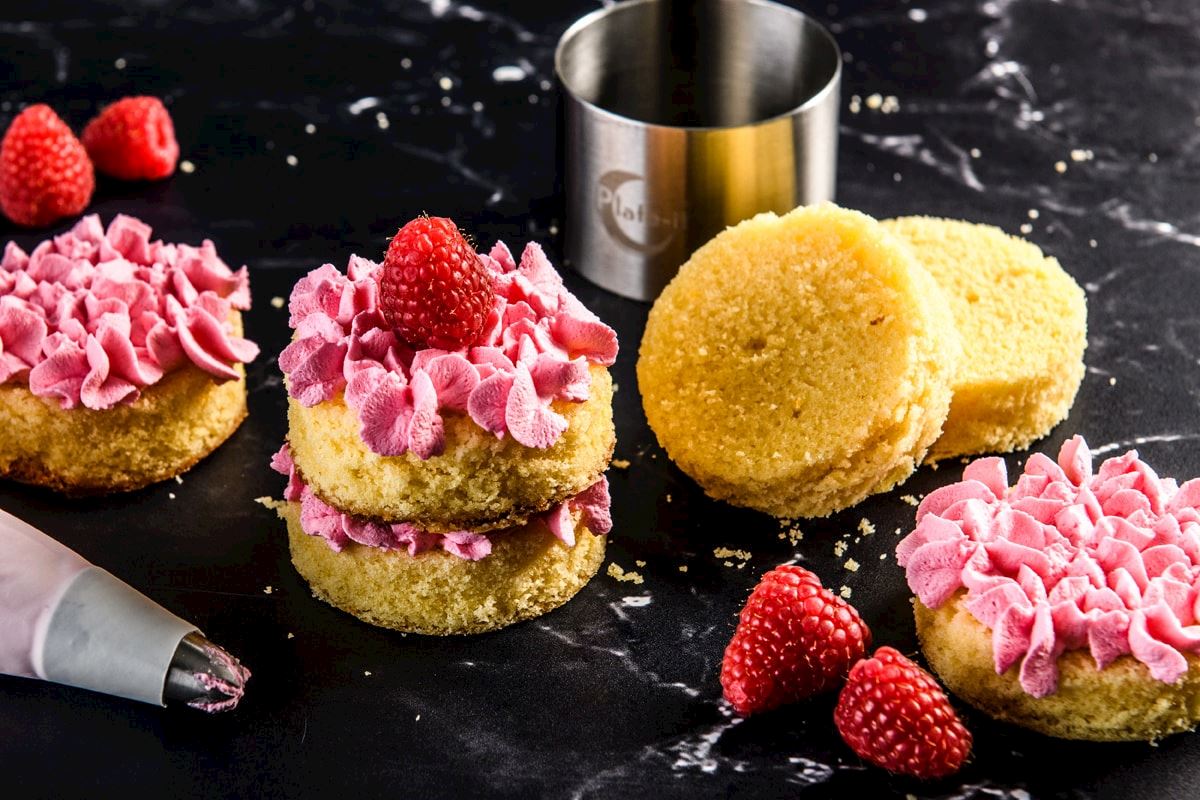
Place a fruit on top for the final touch.
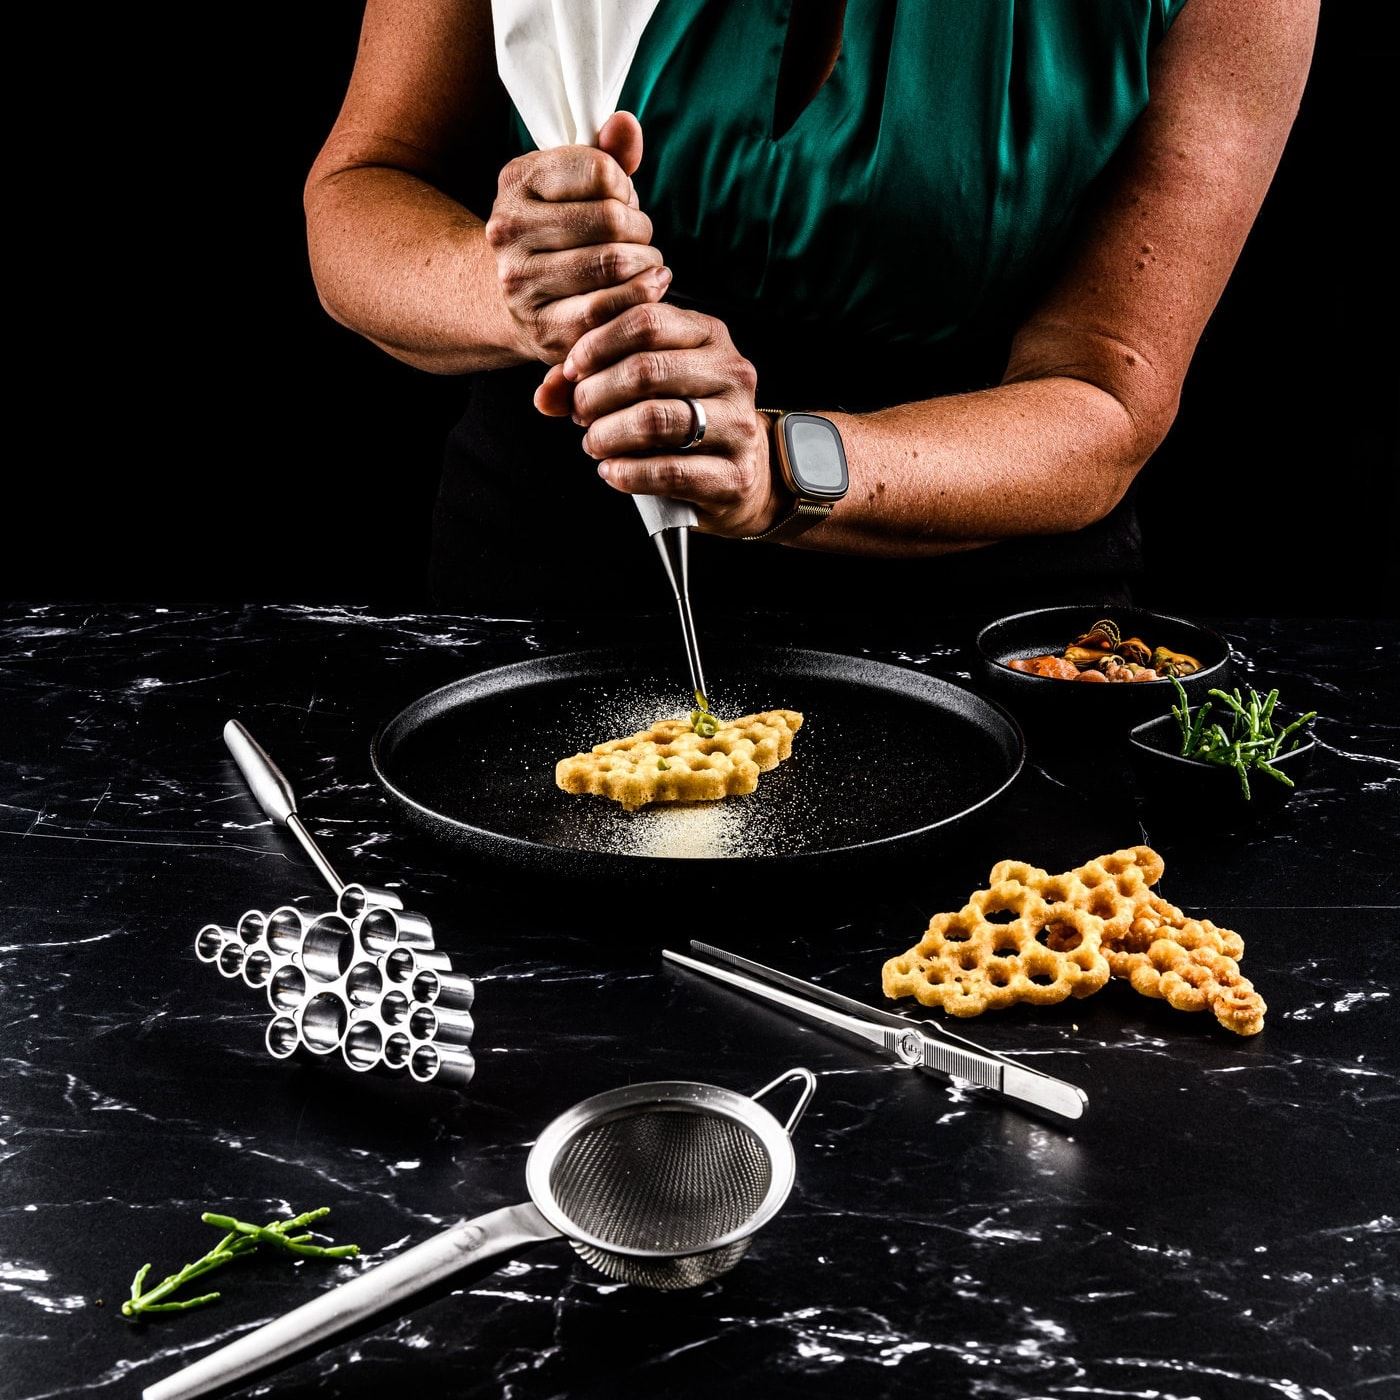
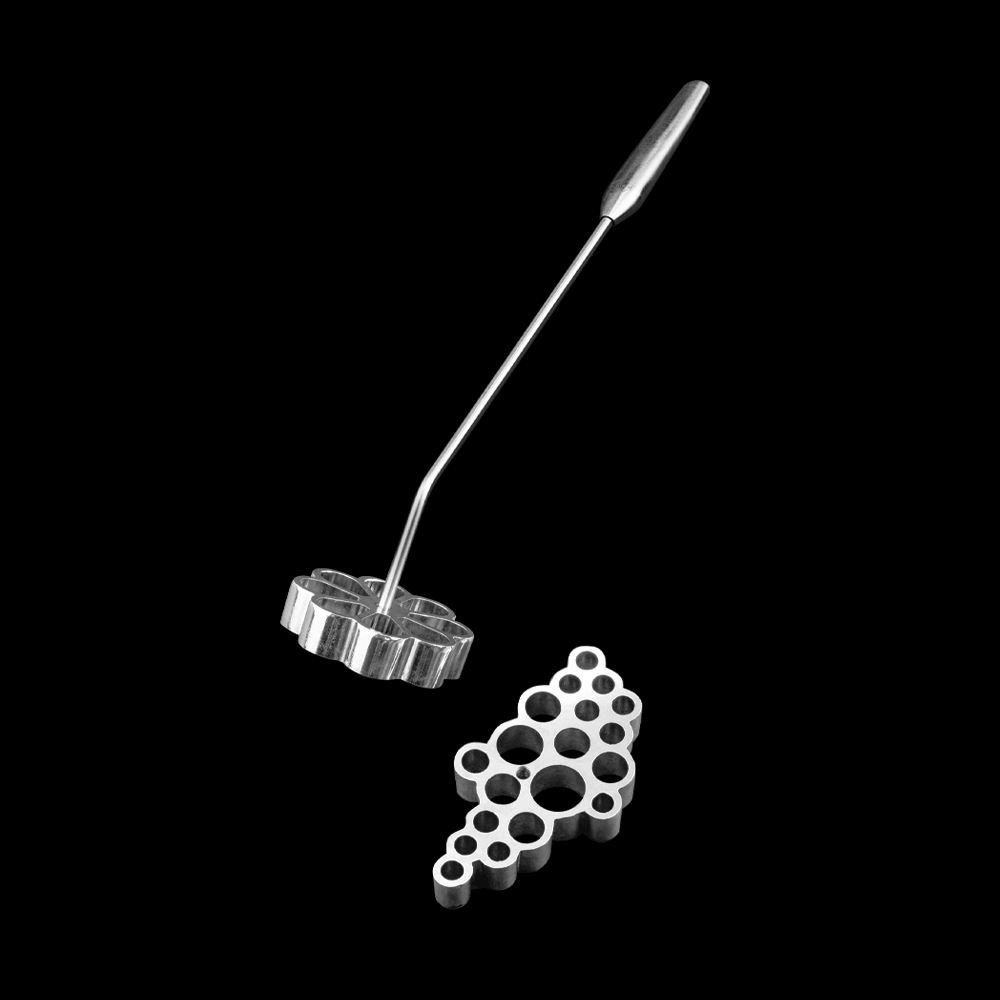
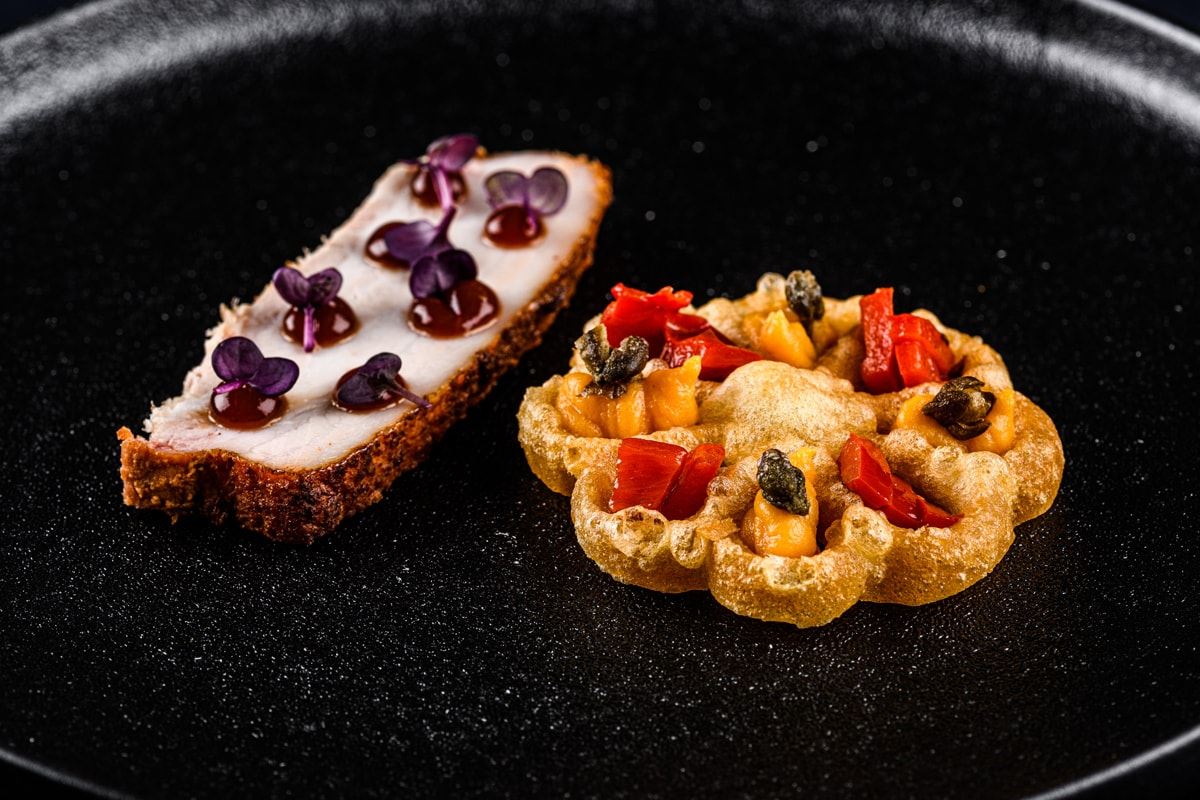
Make light, crunchy crispies in a dainty shape with Plate-it’s Buñuelos molds. A great component for every course. After preparation, the timbales/rosettes can be filled to your own taste, added to your dish for an extra crunch or used as a snack. Both savoury and sweet combinations are possible. Plate-it has several original themes such as ‘’tartelettes’’, ‘’under the sea’’ and ‘’flower power’’. Perfect for surprising your guests with! Rosettes You can dip these crispies in chocolate, sprinkle them with powder or garnish them with tufts of mayonnaise and decoration. Timbales You can fill the dense trays to your liking. For example, with lemon curd, mousse, ragout or cream cheese with smoked salmon.
Buñuelos basic recipe
- 150 g of patent flour
- 240 ml of milk
- 5 g of salt
- 1 egg
Whisk the ingredients into a smooth batter and leave it in the fridge for half an hour. Heat the Buñuelos Rosette in hot oil so it’s properly greased and hot. Dip the Rosette/Timbaal into the batter about three-quarters deep. Deep-fry at 160-170ºC and let it drain properly, then decorate and serve as desired.
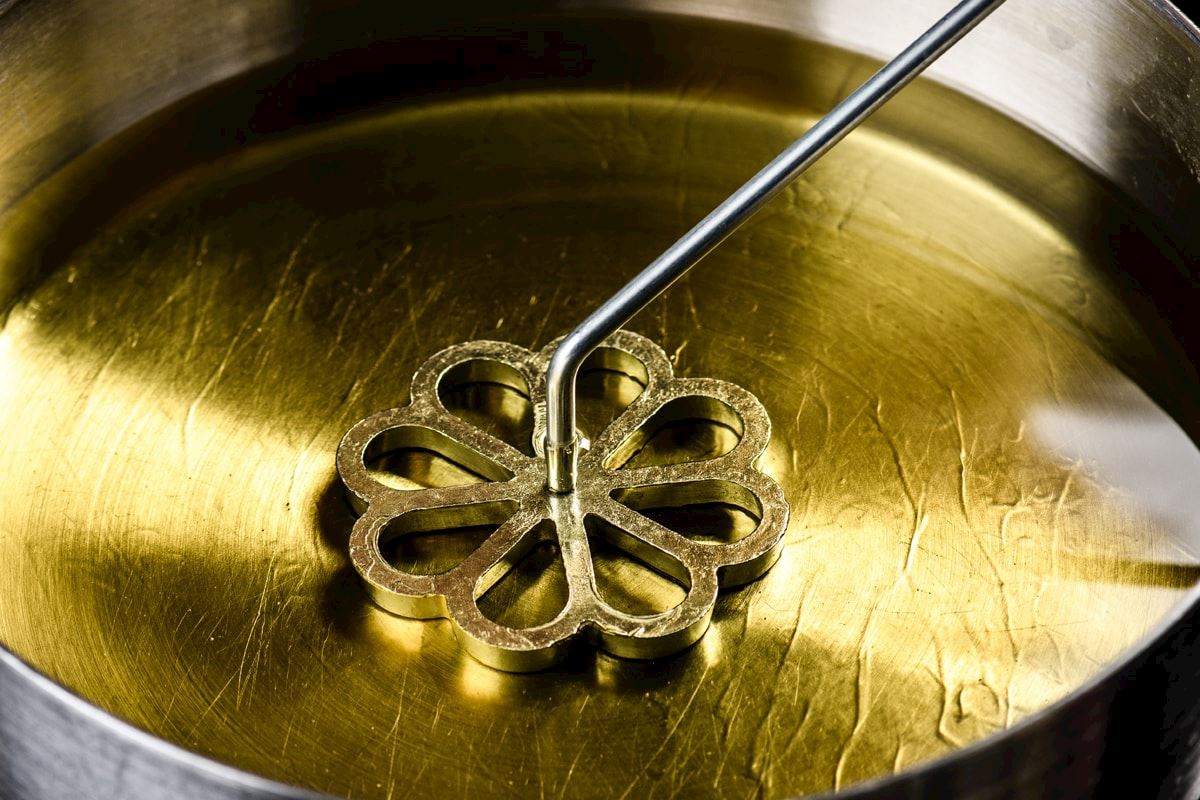
Step 1
Dip the Buñuelos shape into the oil (180-190C°) for 60 sec. This will prevent the batter from sticking afterwards.
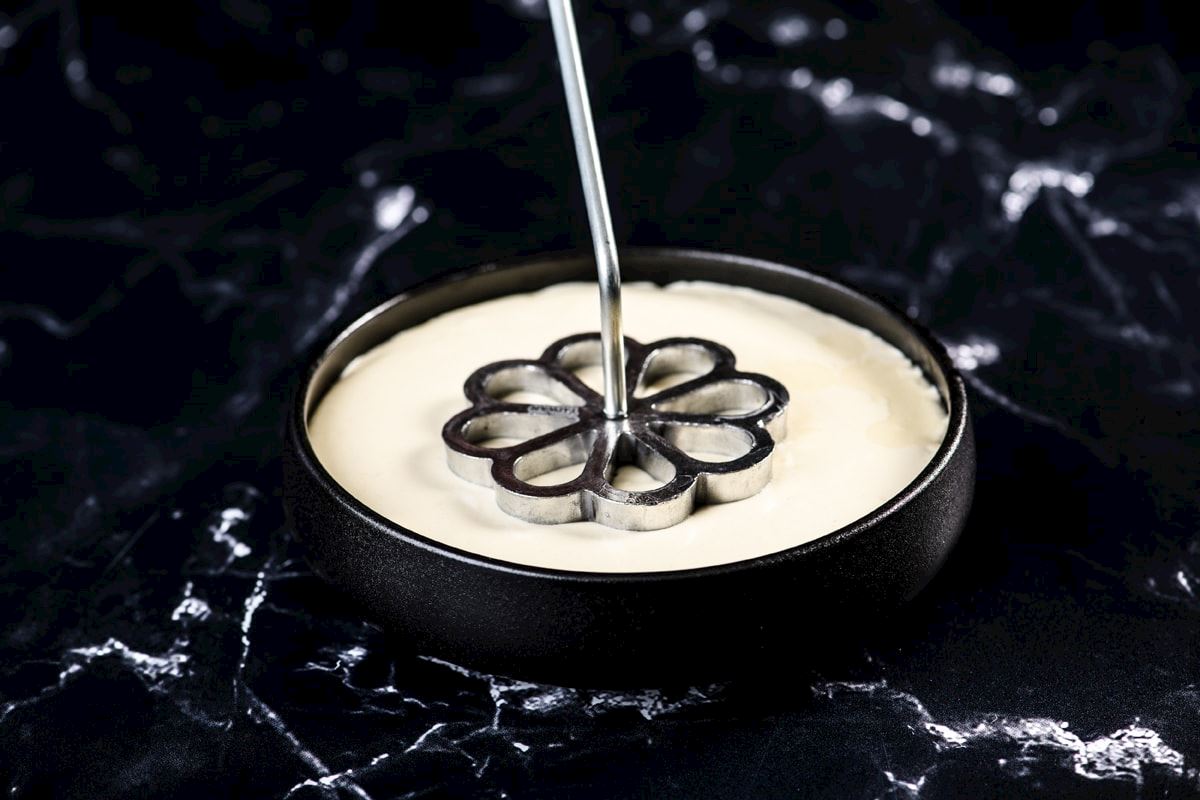
Step 2
Press the shape into the batter. Avoid letting the batter run over the top of the mould, or else the crisp may not come off.
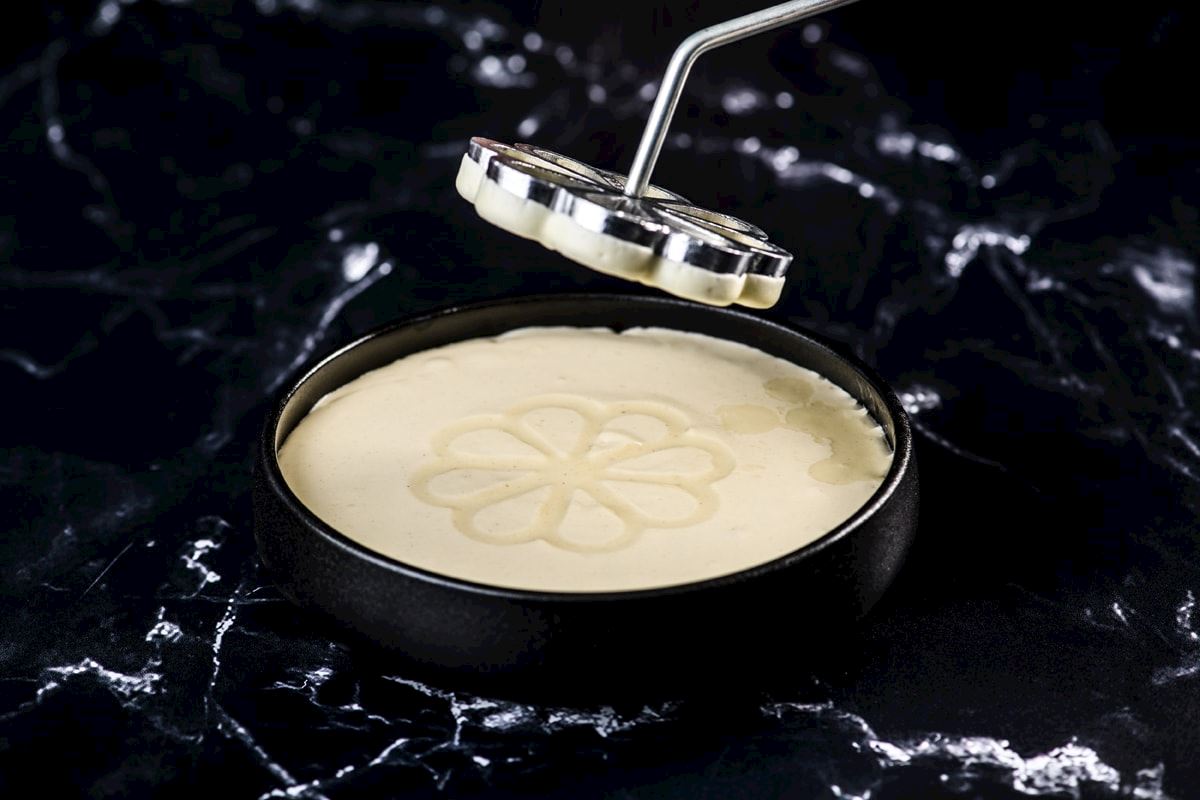
Step 3
When the batter sticks well to the Buñuelos shape, you can take it out.
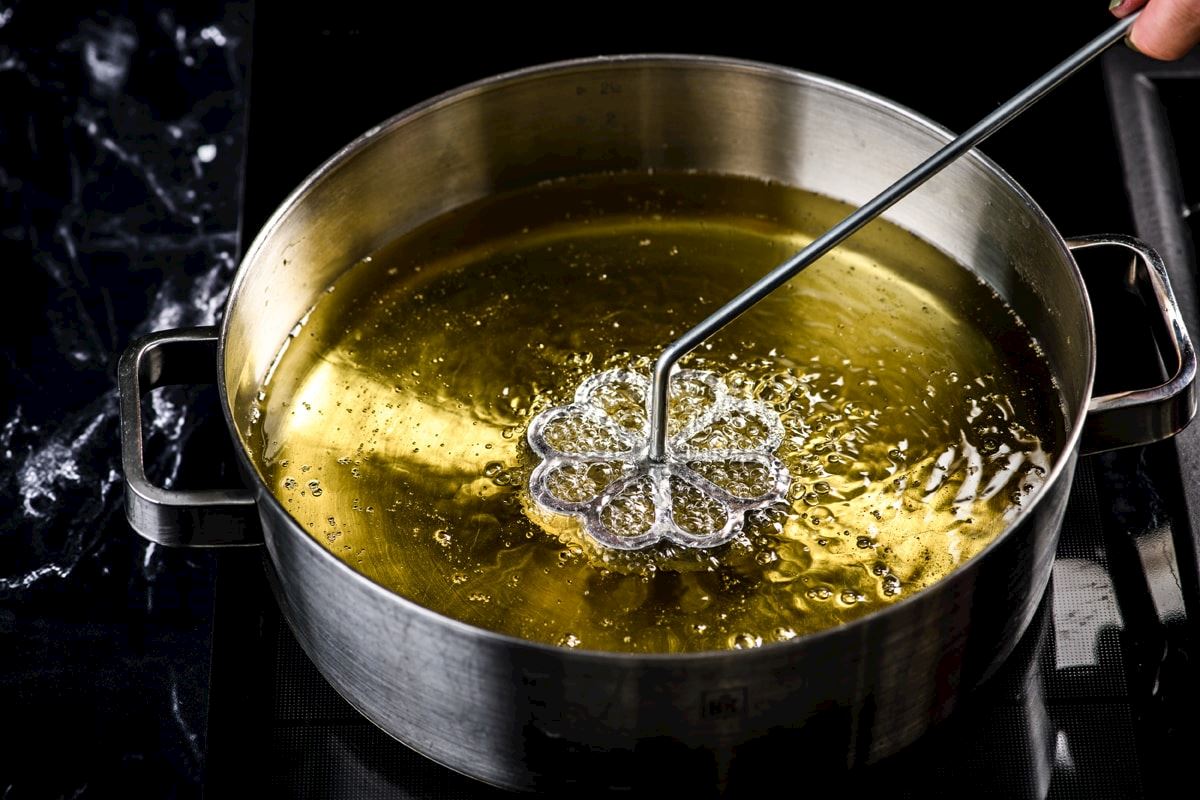
Step 4
Then dip the Buñuelos shape into the oil and fry until the mould loosens on its own.
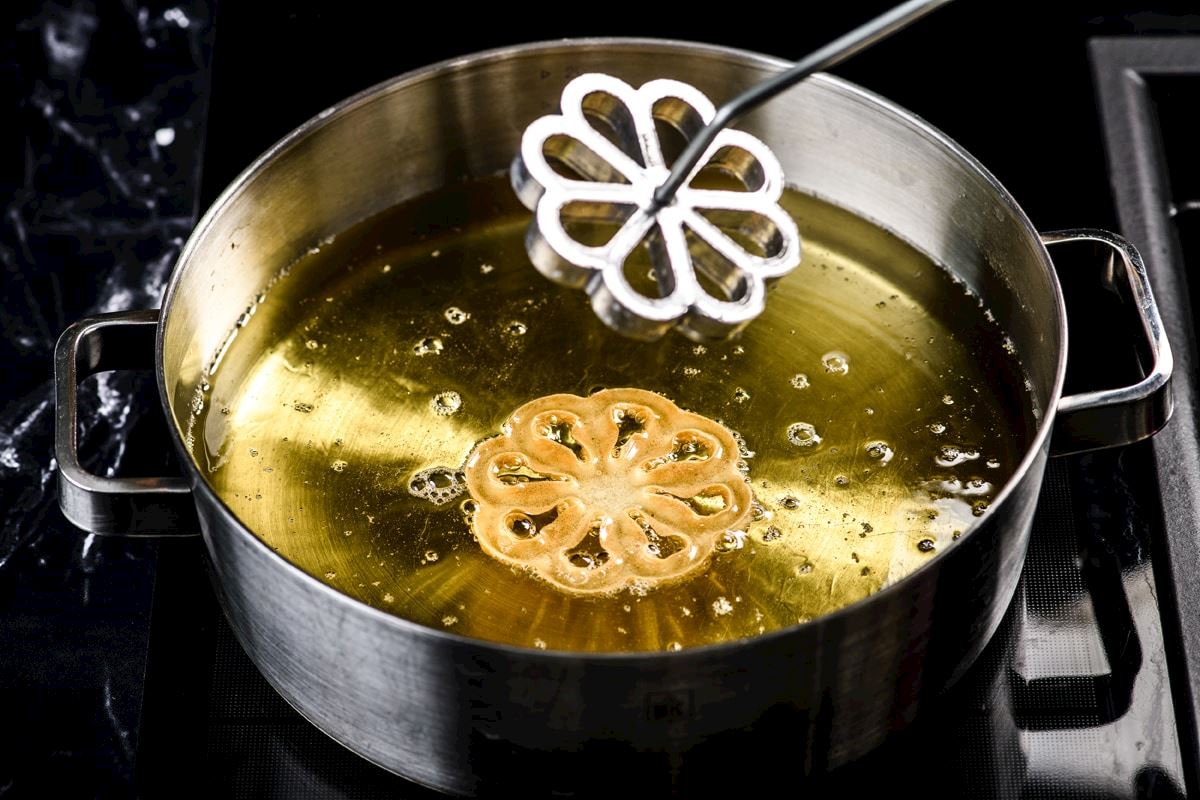
Step 5
Once the crisp has come off, let it continue to fry for a while until golden brown.
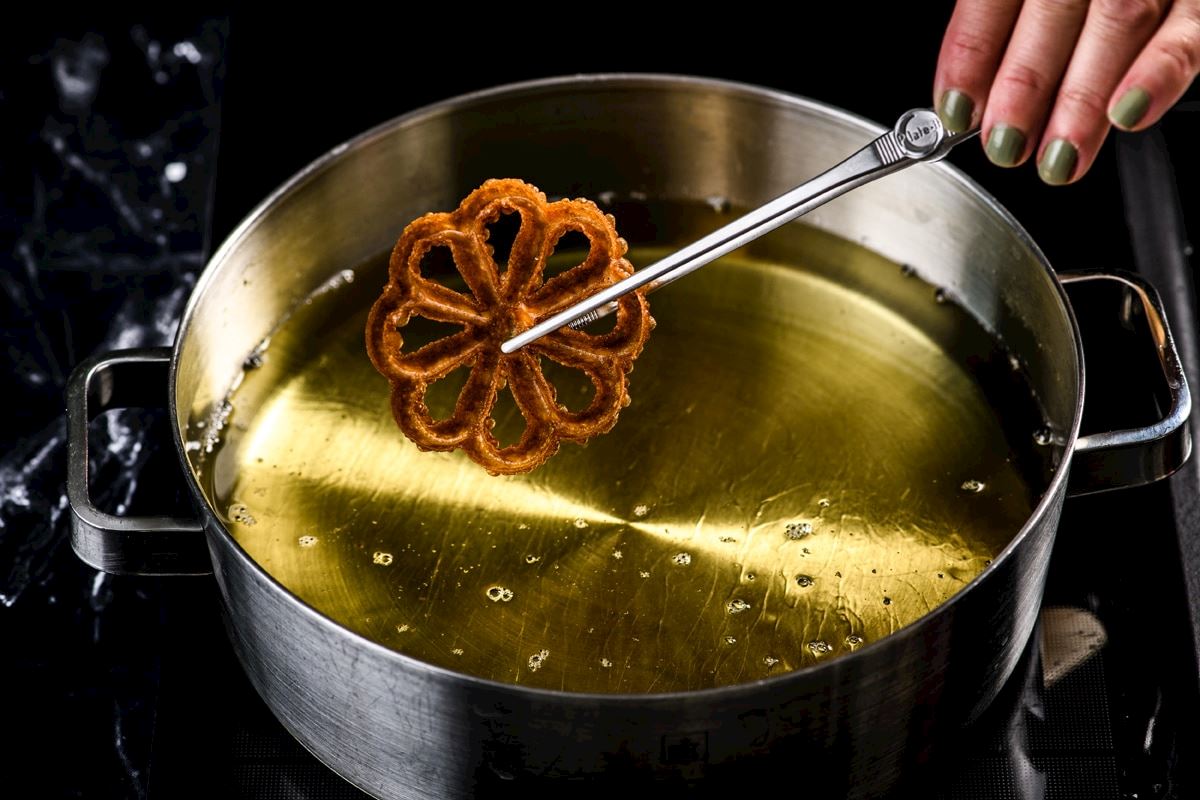
Step 6
Now turn over so that the other side can also turn golden brown. Use the Plate-it precision tweezers to remove the crisp from the oil and drain on a kitchen paper.
PERFECT OVAL SHAPES
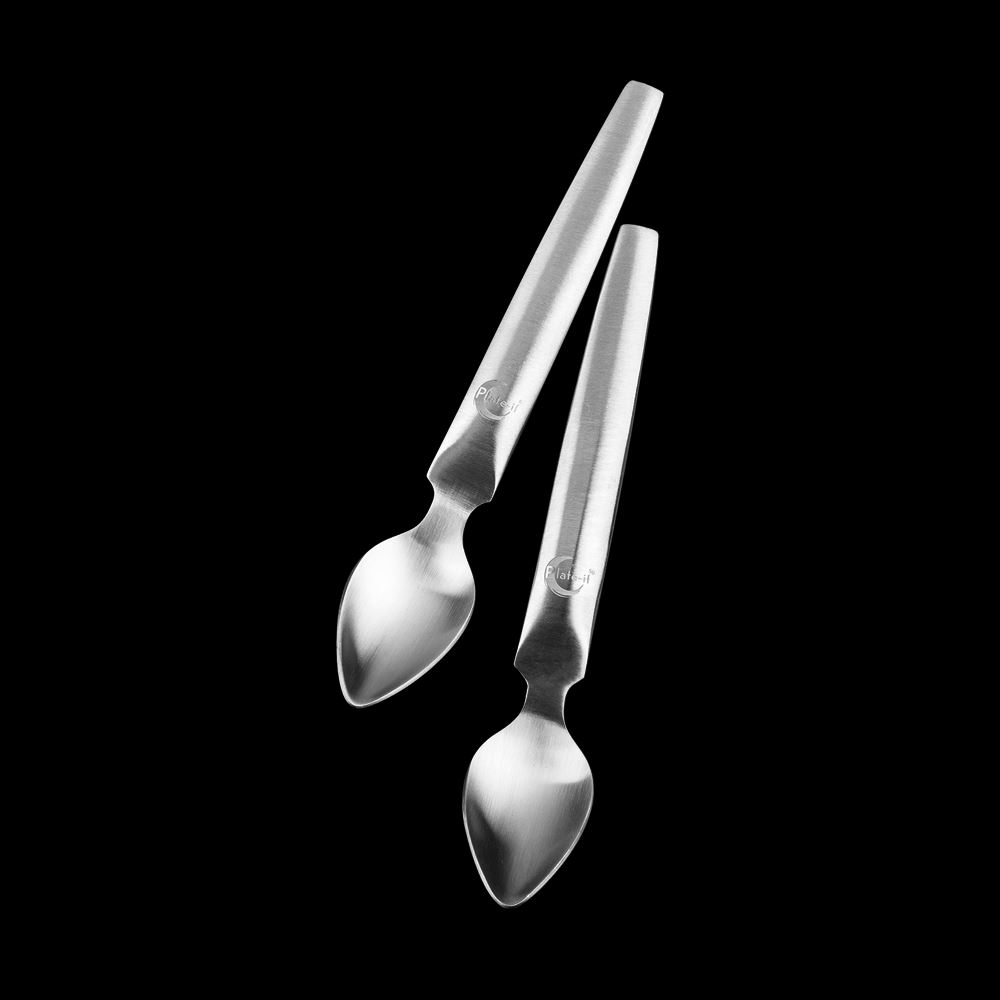
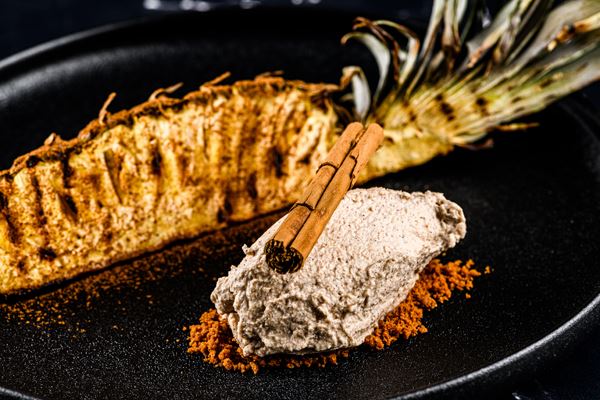
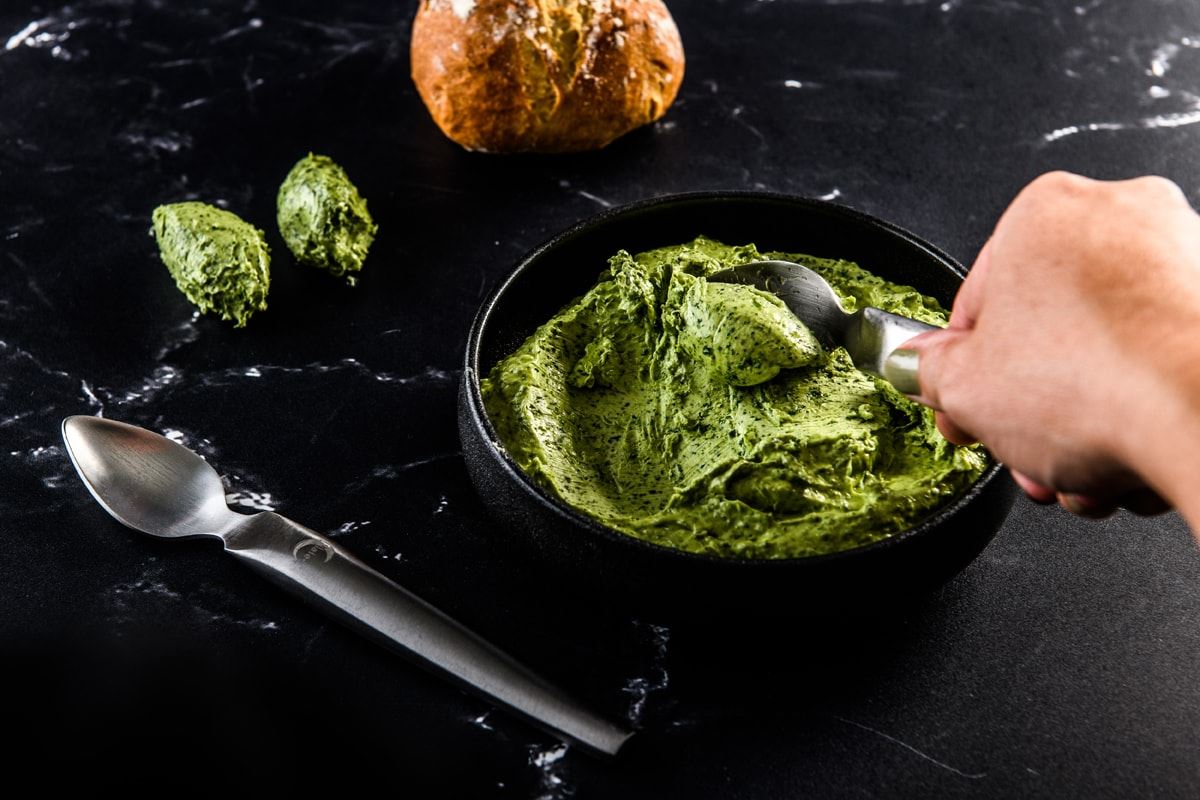
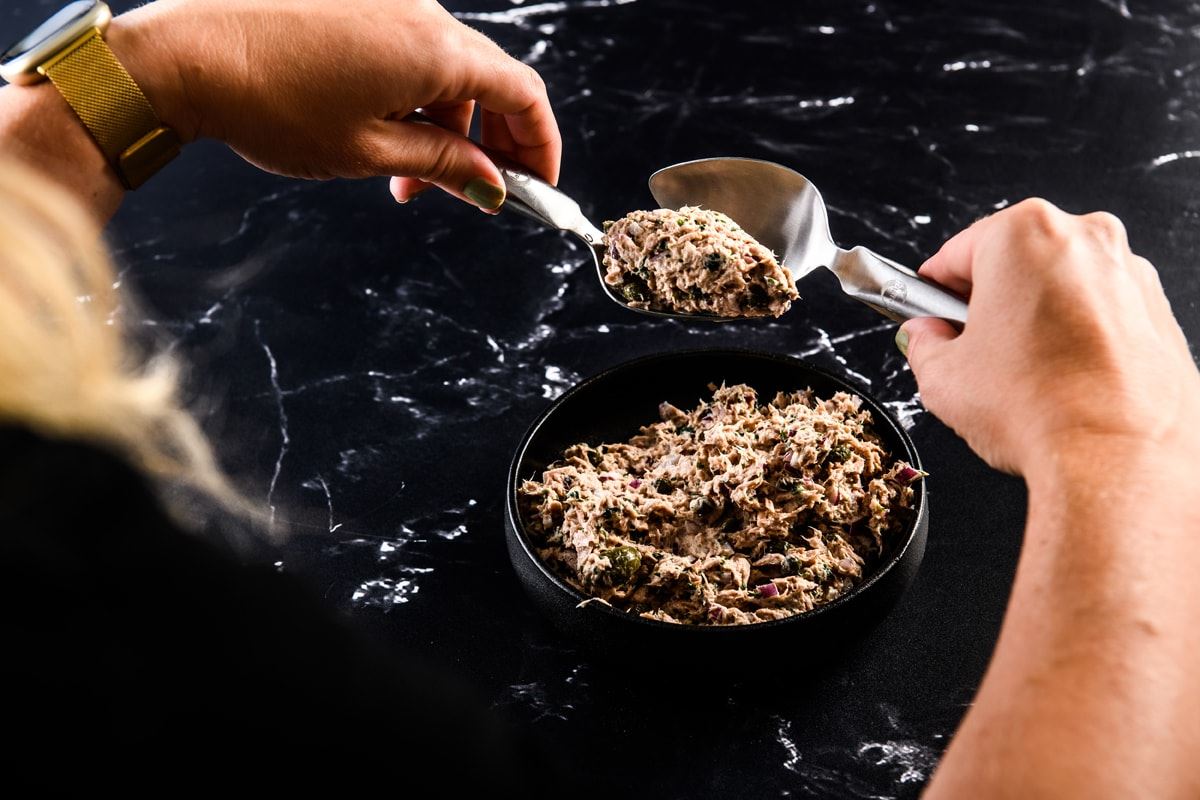
Take two quenelle spoons and dip them in a glass of warm water. Using one of the spoons, scoop out a portion. Using the other spoon, scoop over the portion. Use the wide side of the spoon to scoop into the pocket at the top of the other spoon. Repeat this step as necessary to create a smooth shape. Carefully place the quenelles on the plate.
OR A NICE SCOOP OF ICE CREAM?
Plate-it’s quenelle spoons allow you to turn any pudding, mousse, puree or ice cream into quenelles. In other words, the round, oval shapes you often see in French cuisine.
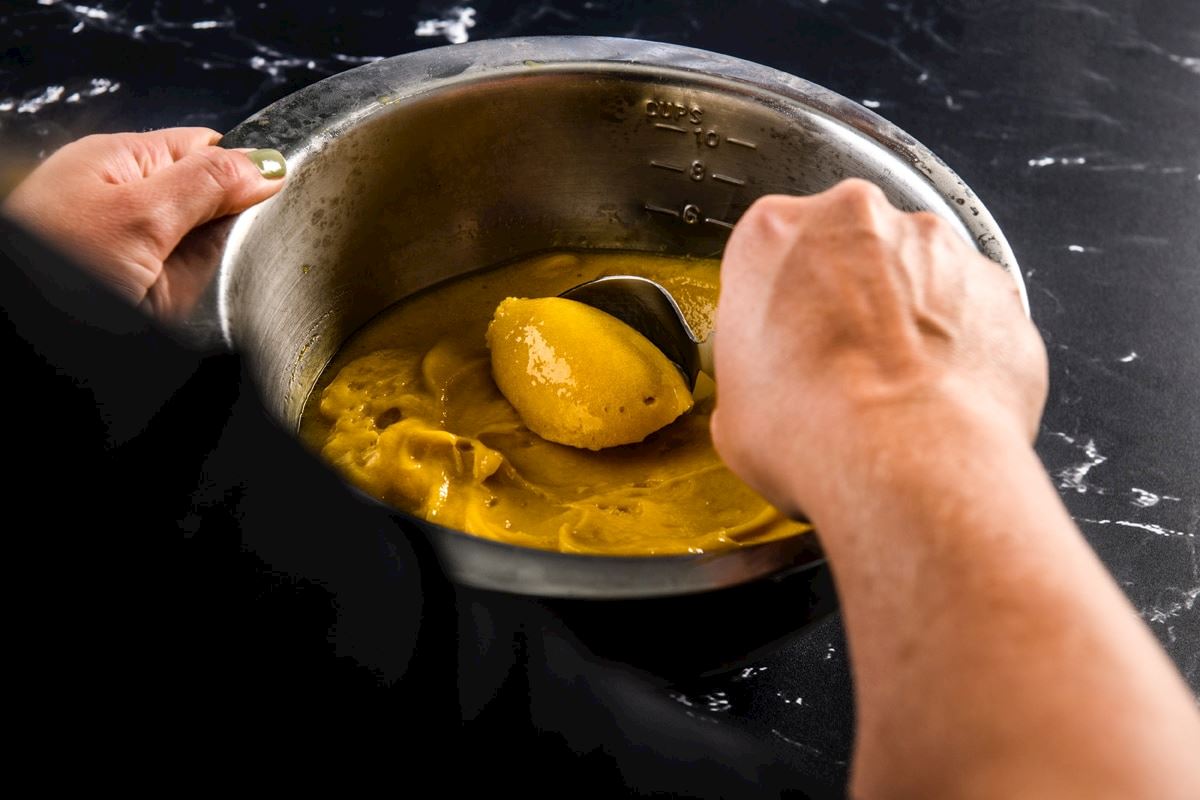
- Warm up the spoons in warm water
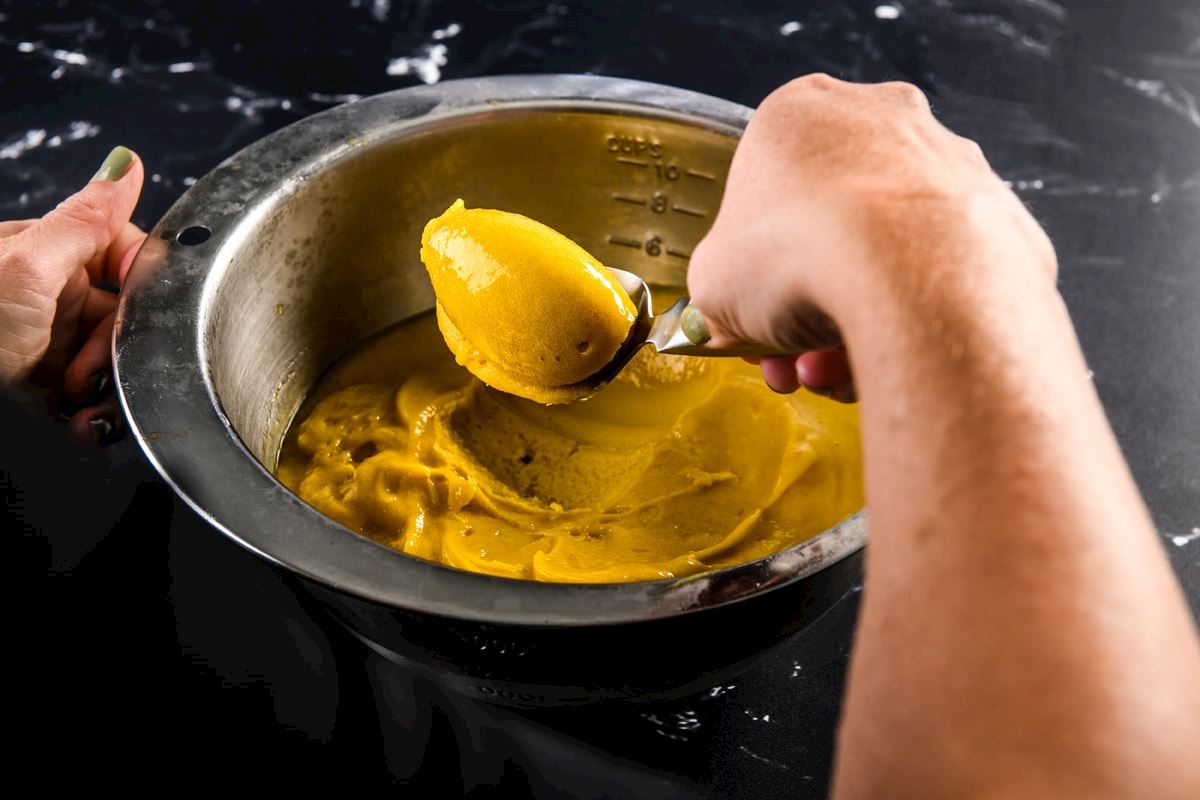
- Let the spoon glide through the cream
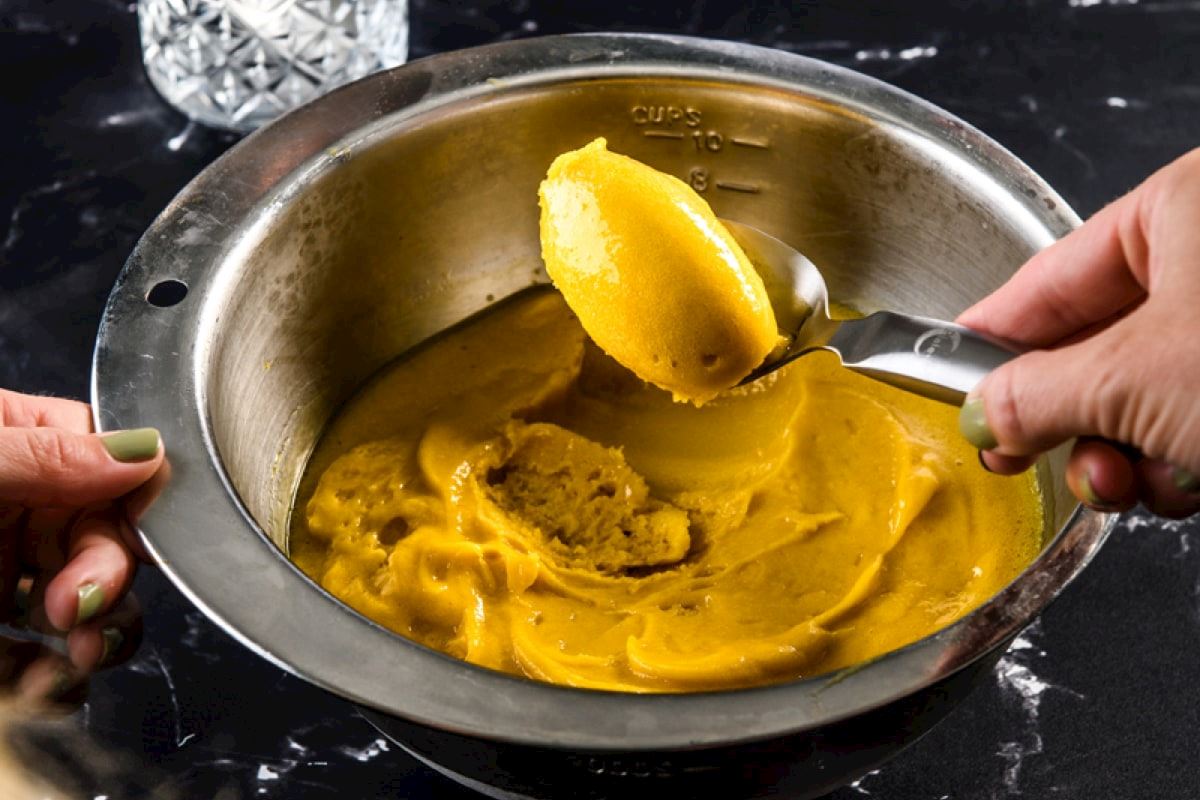
- Make sure it's completely oval and place on the plate
TURN TABLE X BRUSH
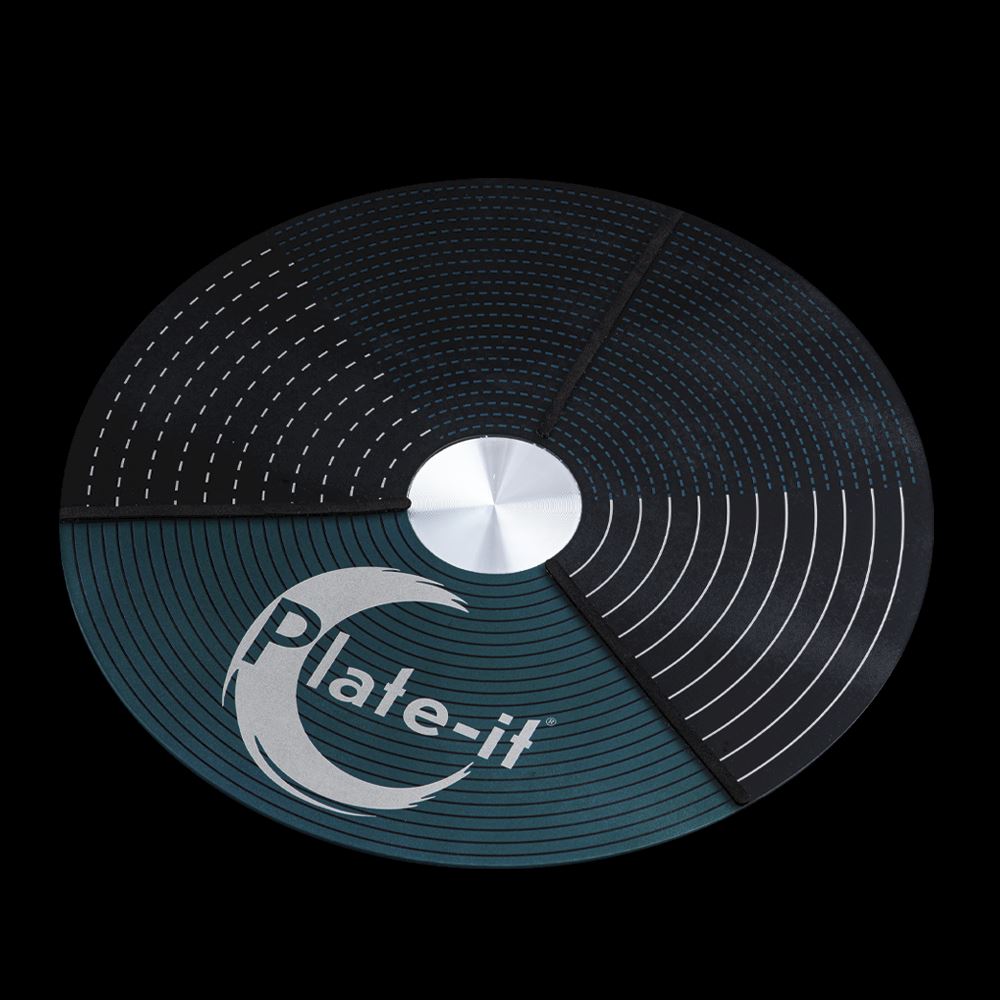
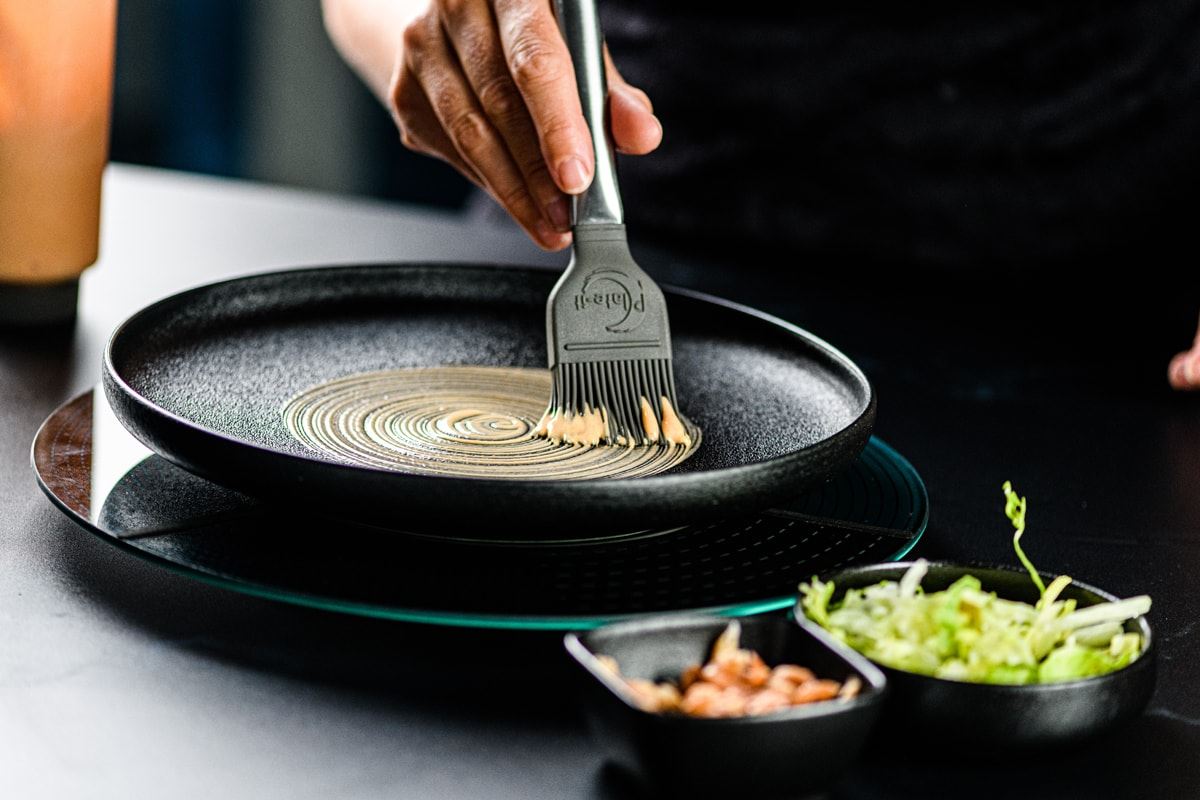
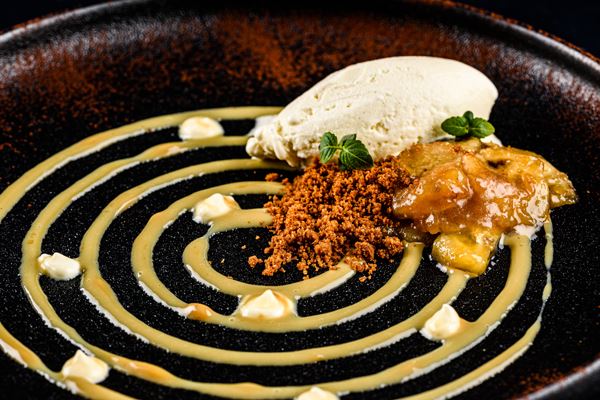
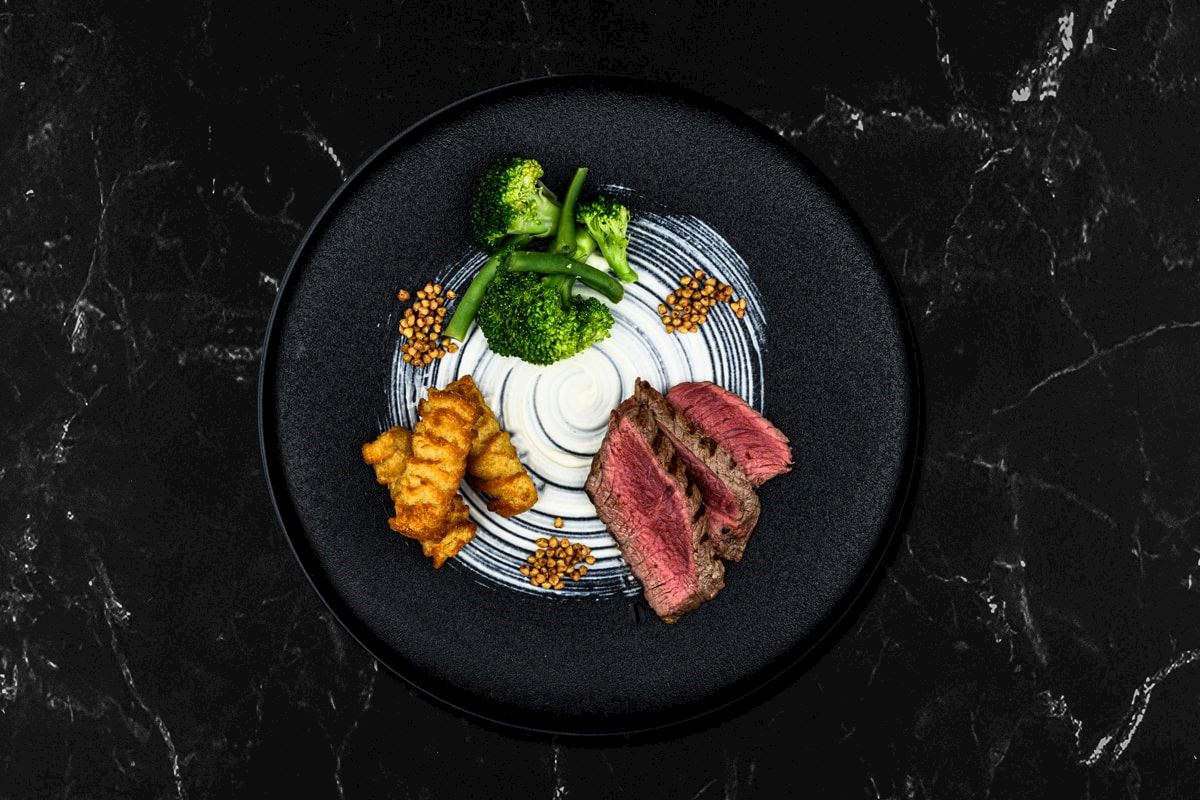
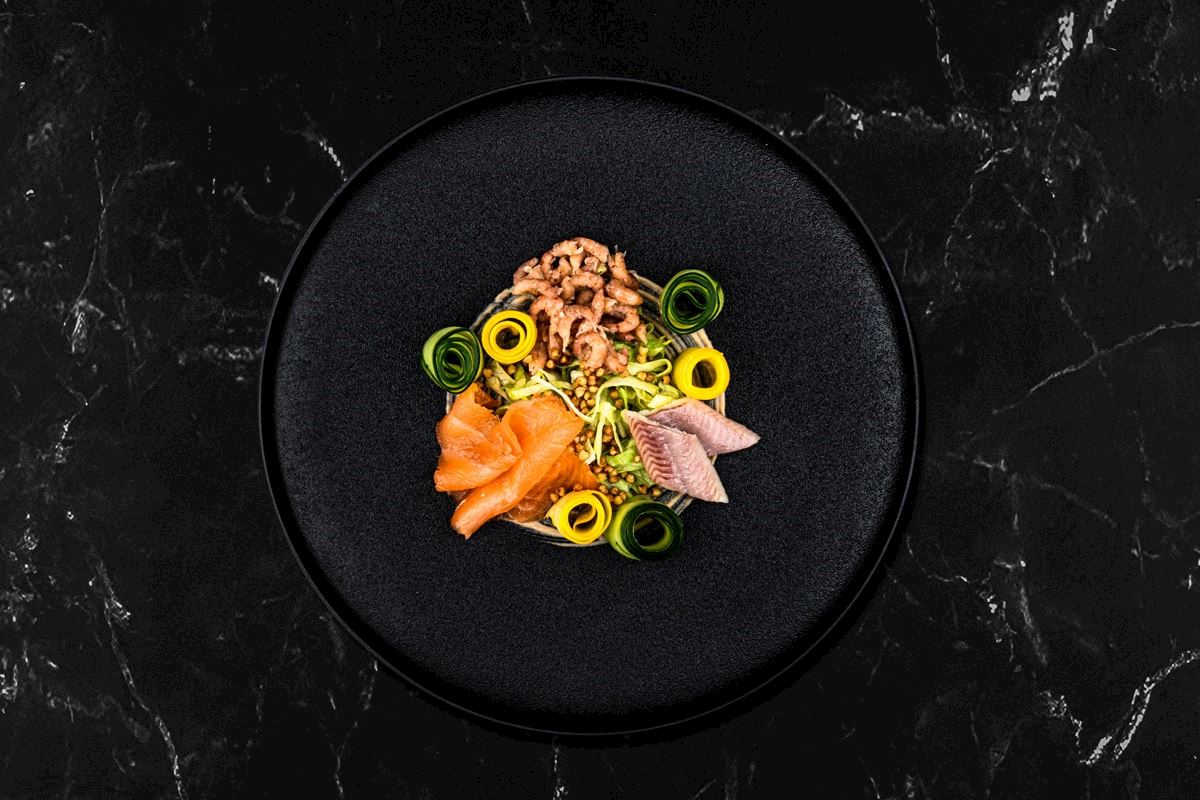
You can create nice symmetric effects by combining the turn table and the brushes. Pipe a dot of sauce in the center of the plate. Place the plate in the center of the turntable and, while holding the brush in the dot of sauce, turn the platter until the desired effect is achieved.
TURN TABLE X GARNISH BOTTLE
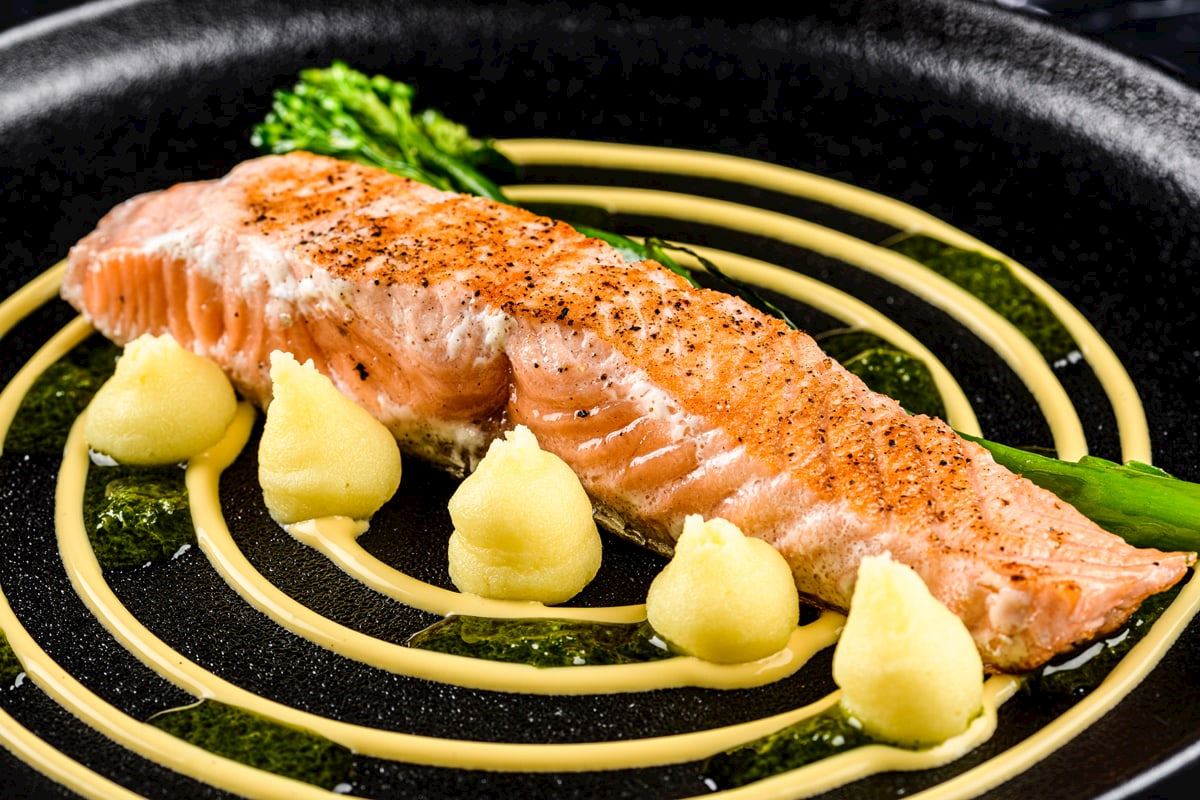
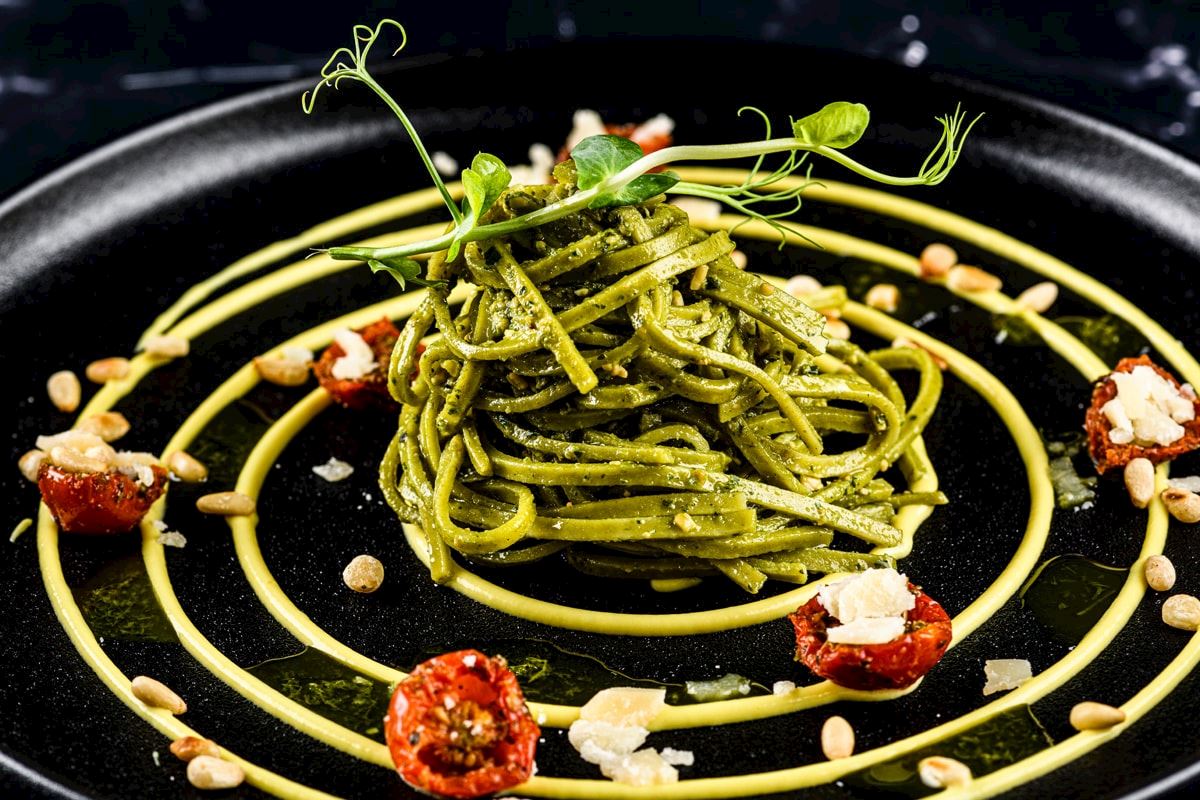
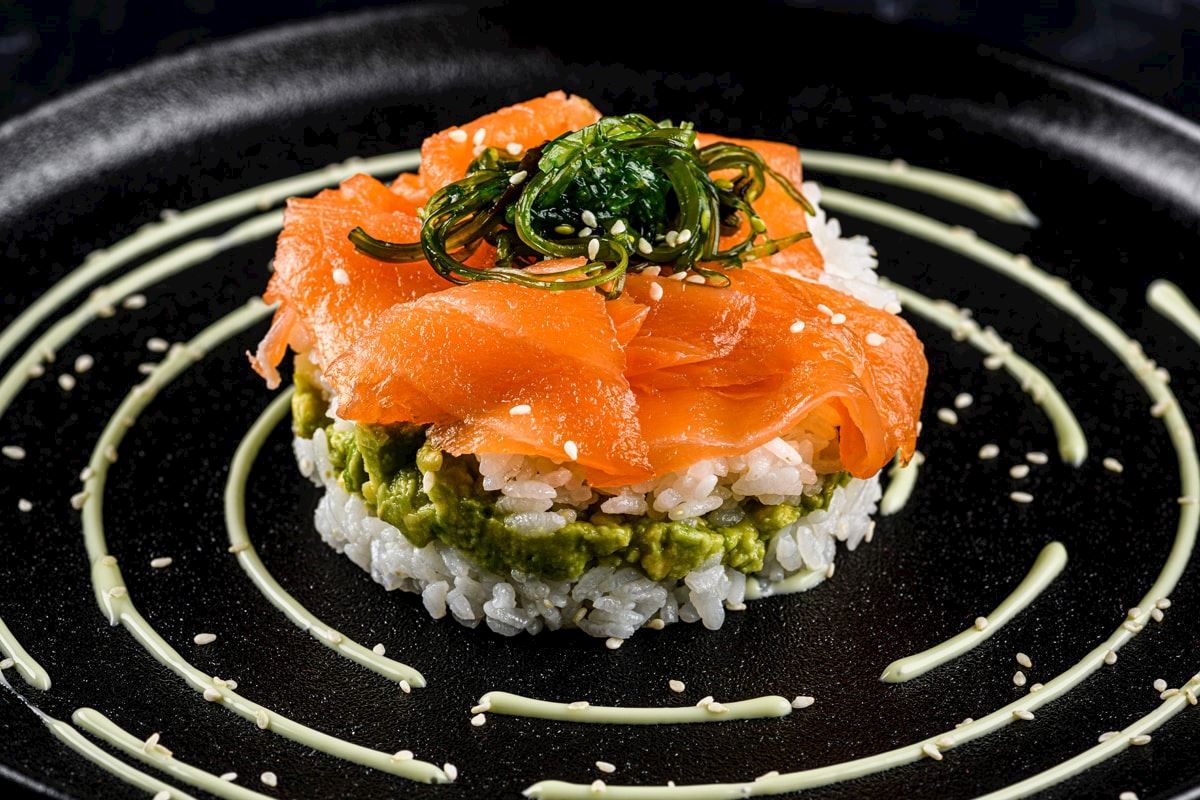
Beautiful, spiral-like patterns can be created. Place the plate in the center of the turn table. By swirling it while slowly moving a spray bottle to the outside of the plate and at the same time squeezing out the sauce.
TURN TABLE X PIPING BAG / SPATULA / SCRAPER
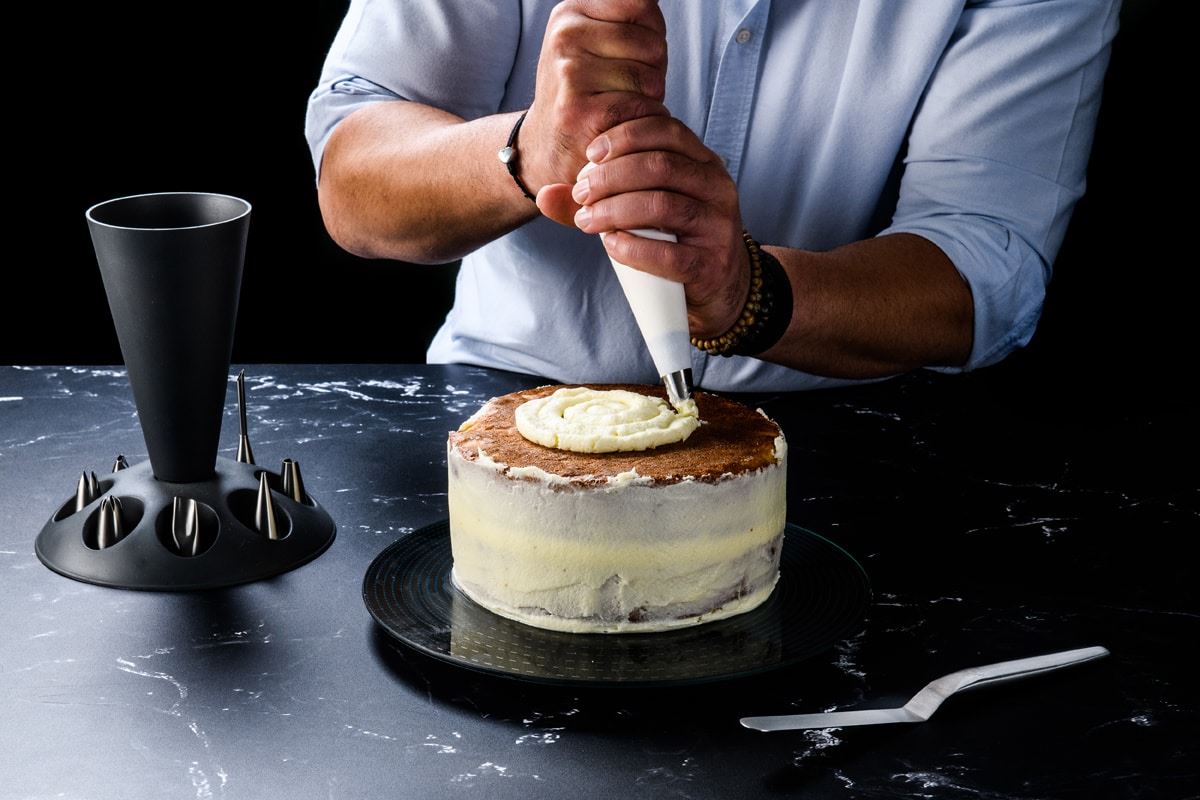
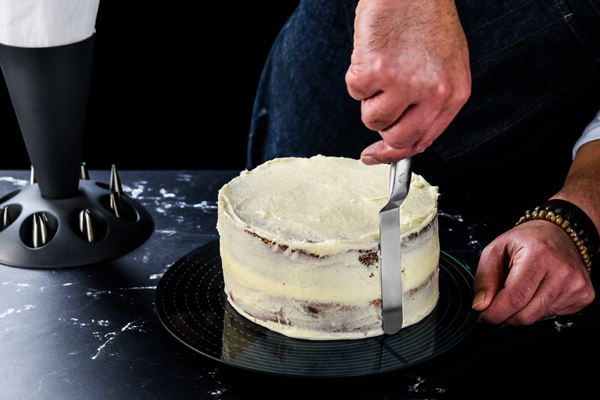
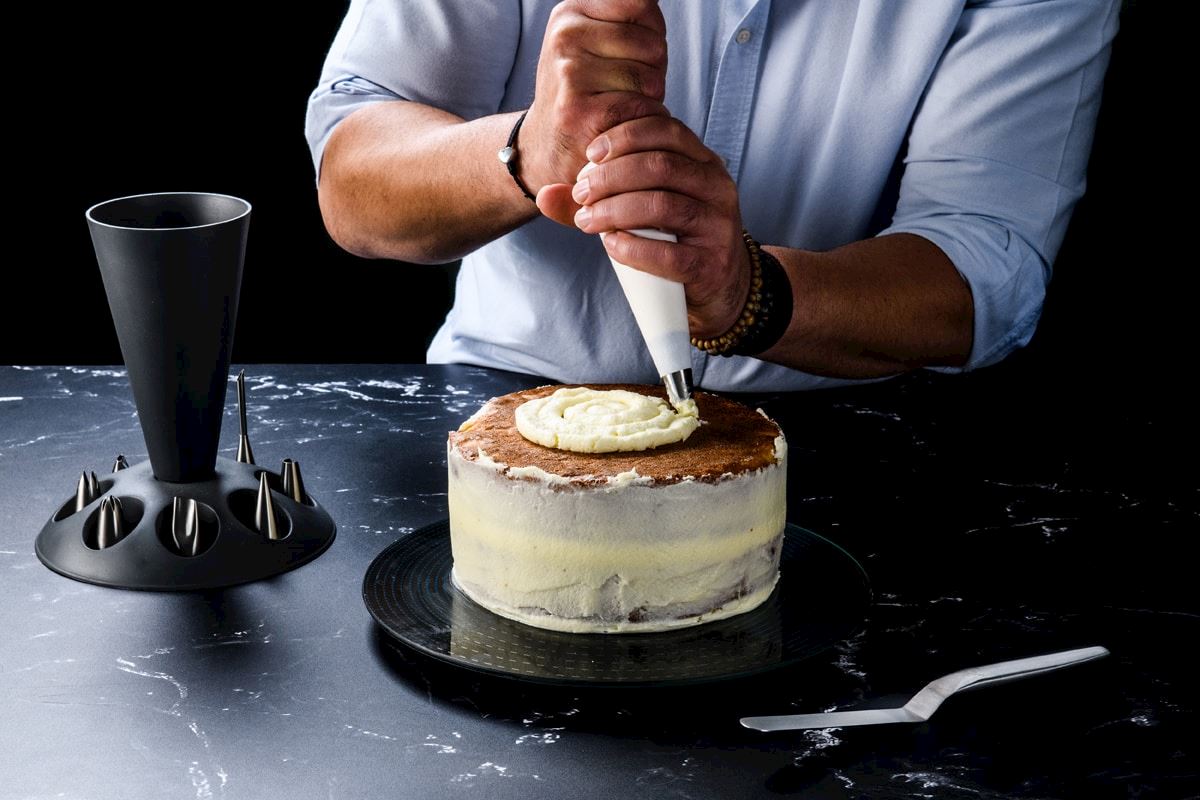
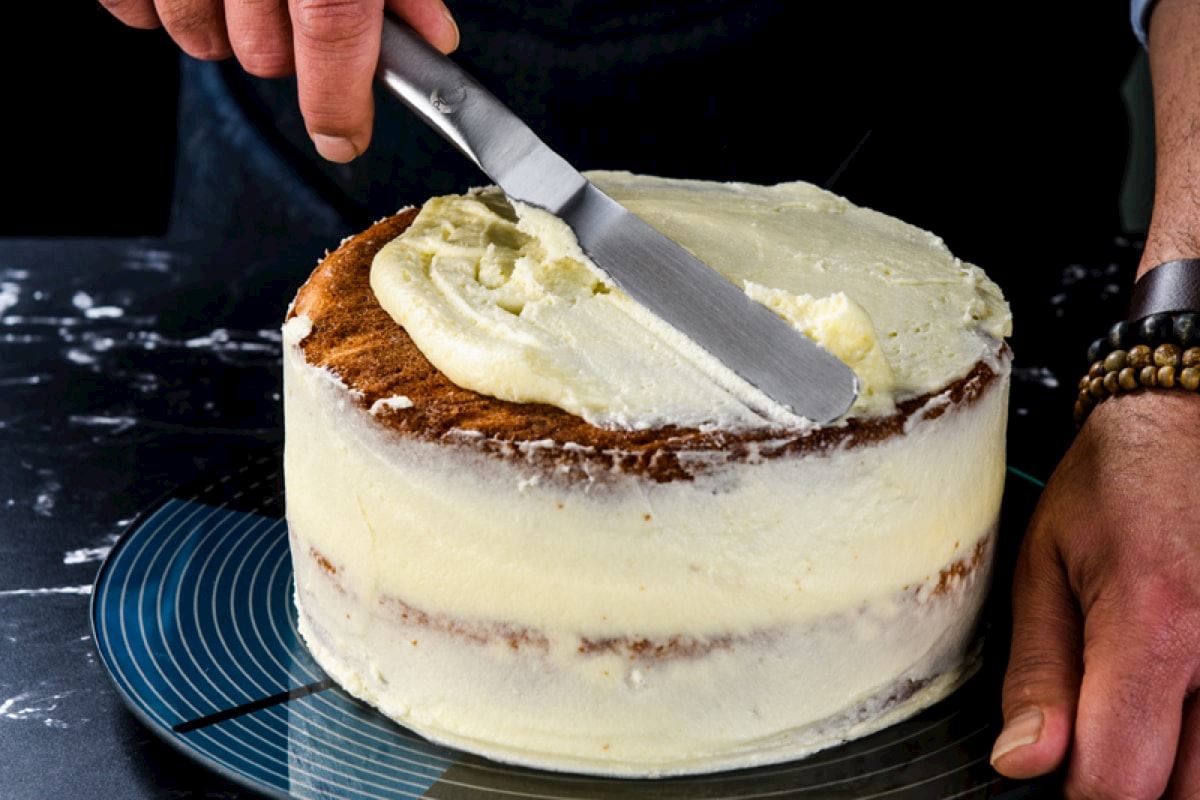
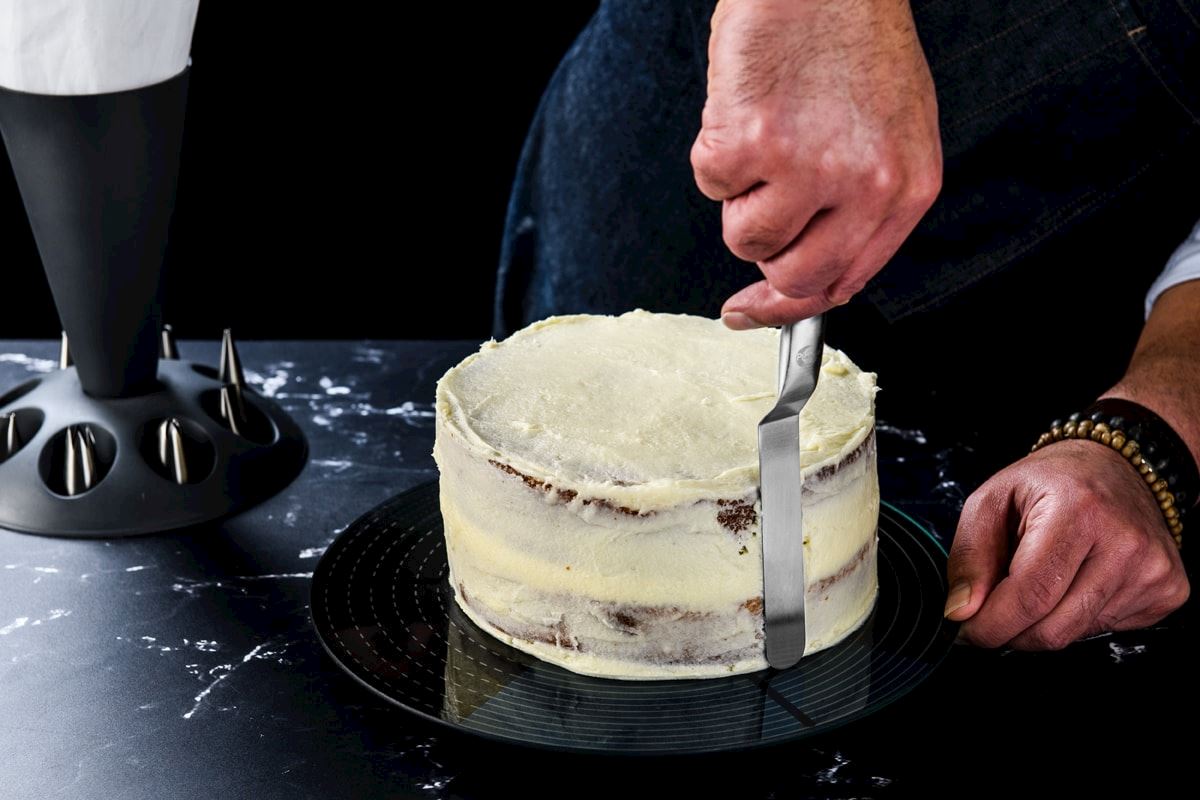
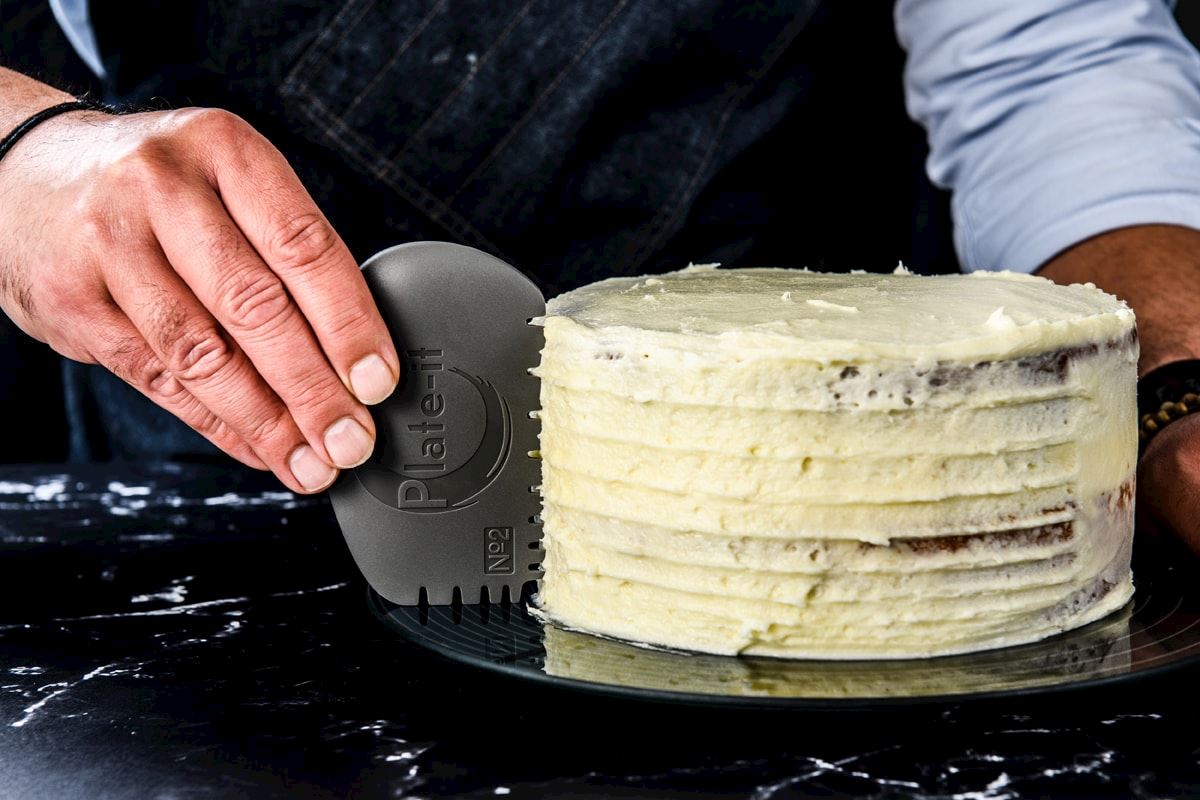
you can easily decorate a cake, by placing it on the center of the turntable. The most convenient thing is to put the cake on a plate, so that it can easily be removed once done. With the piping bag you can evenly place the icing with a rotating movement. The icing can be smoothed completely with the folding spatula. With a scraper you can apply even ridges on the sides of the cake for an extra beautiful effect.
DIFFERENT SWIPE EFFECTS
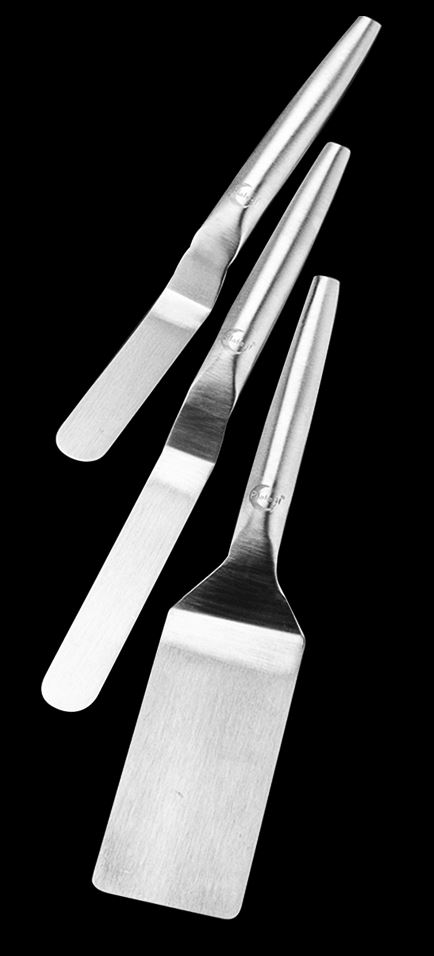
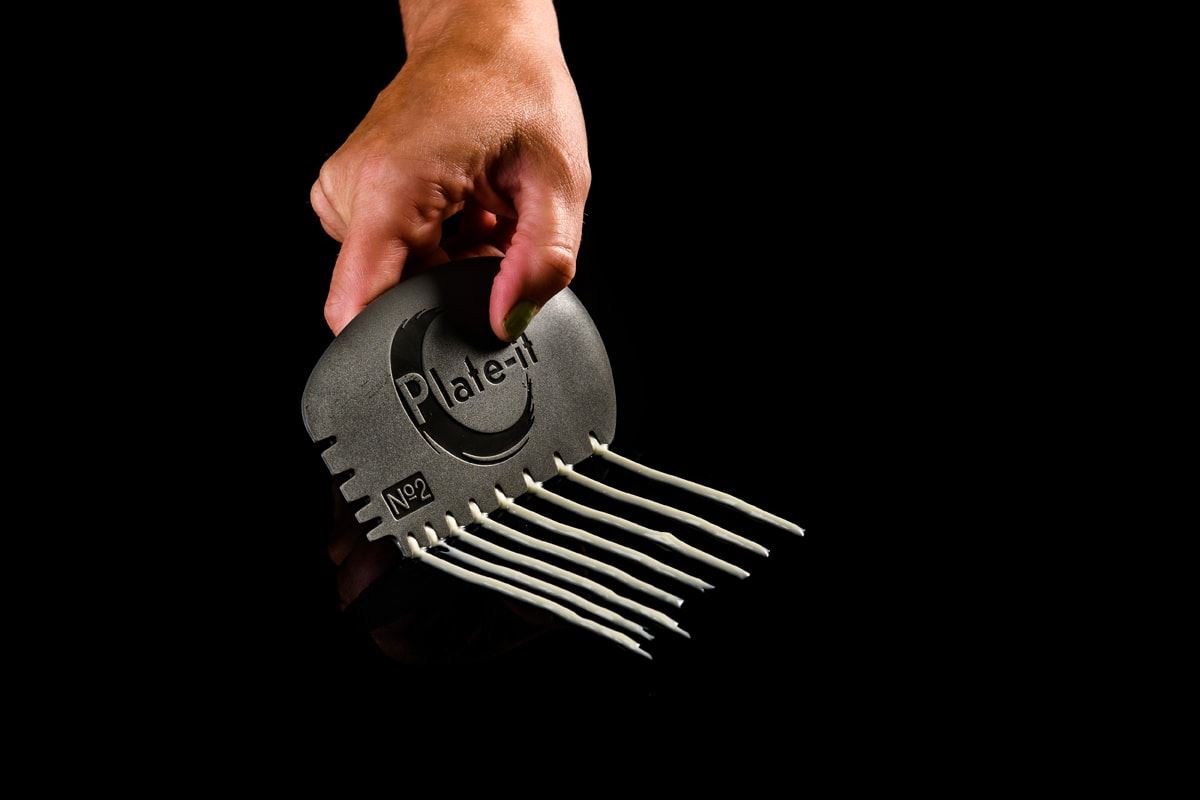
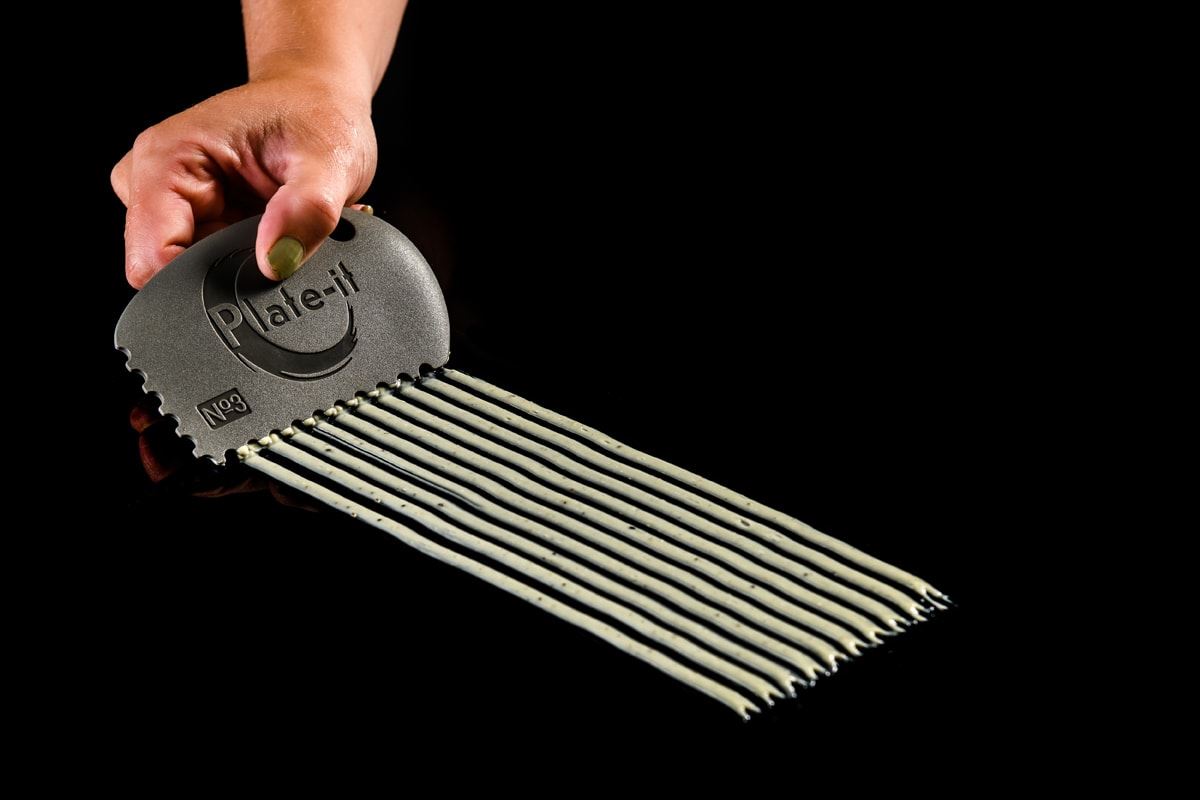
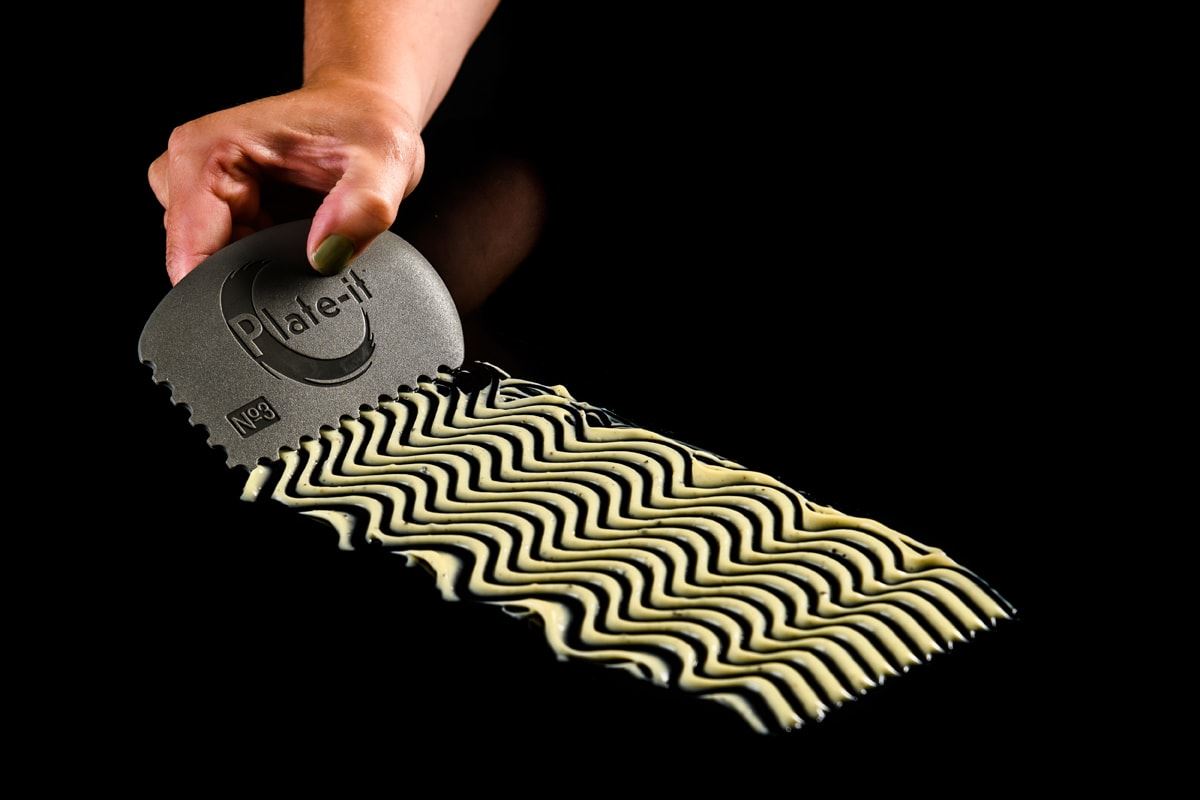
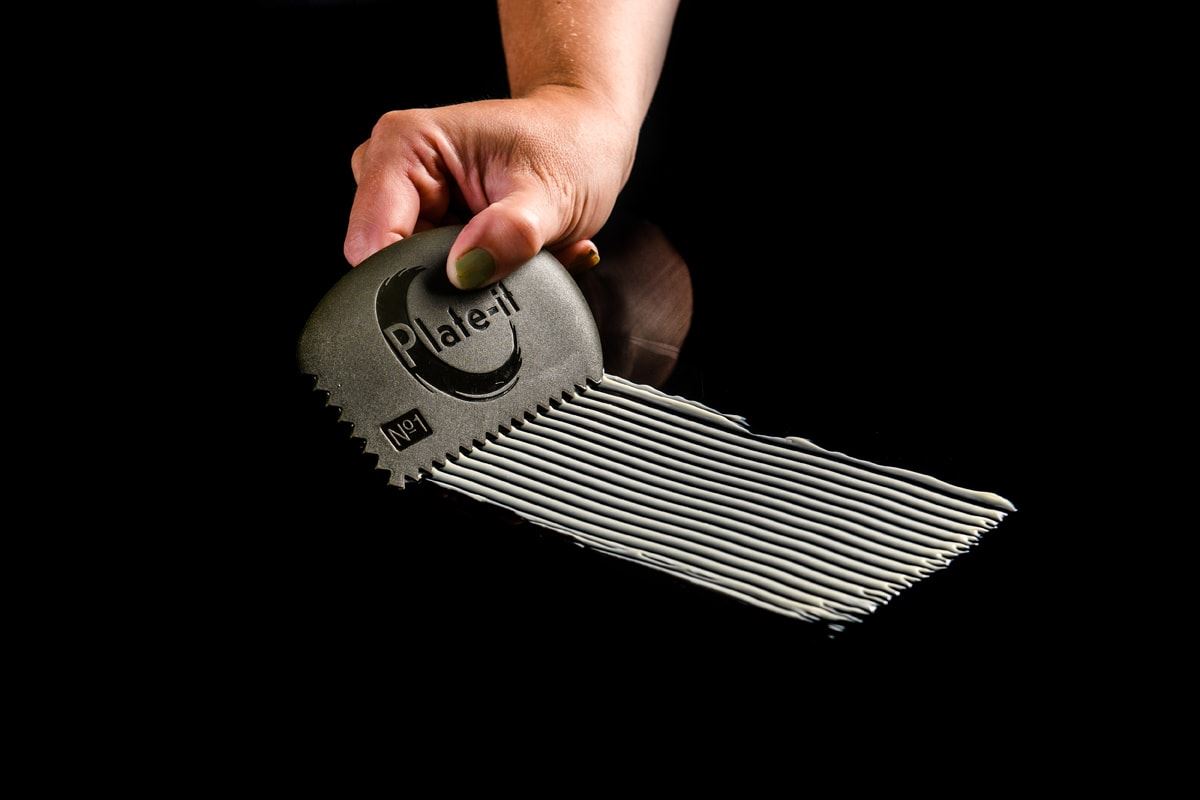
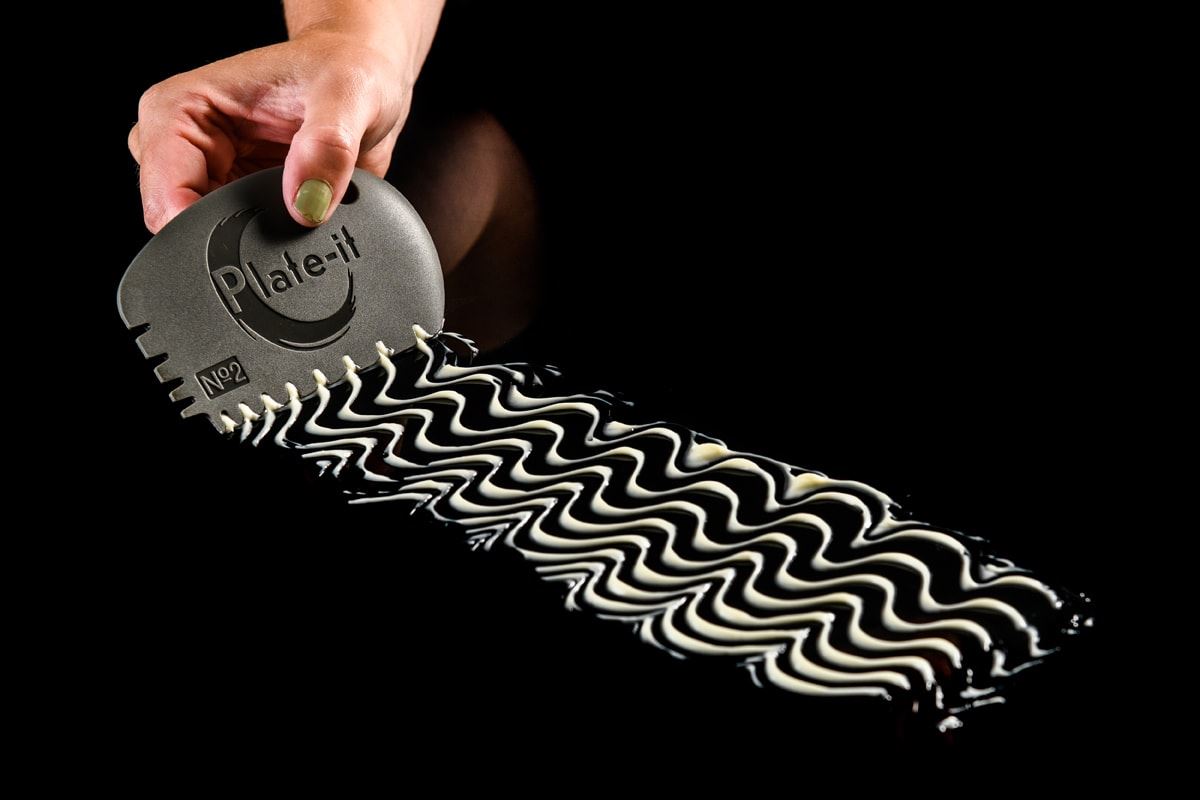
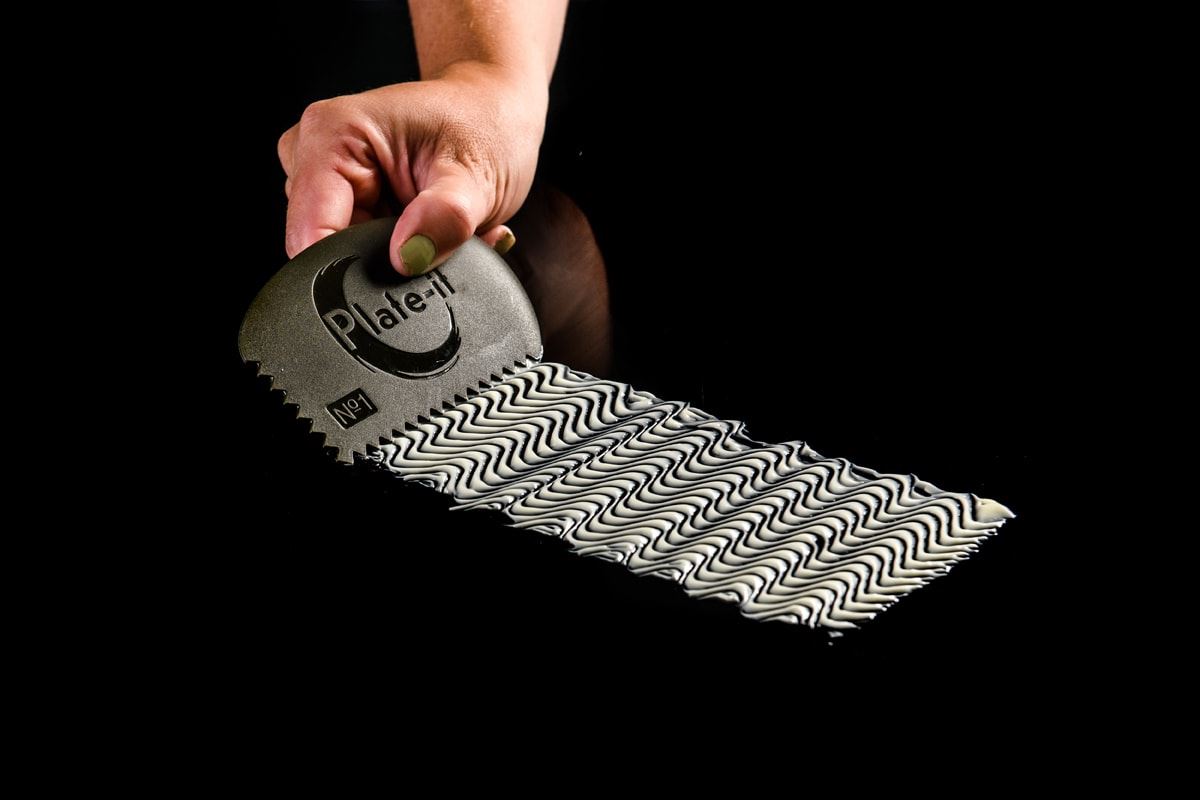
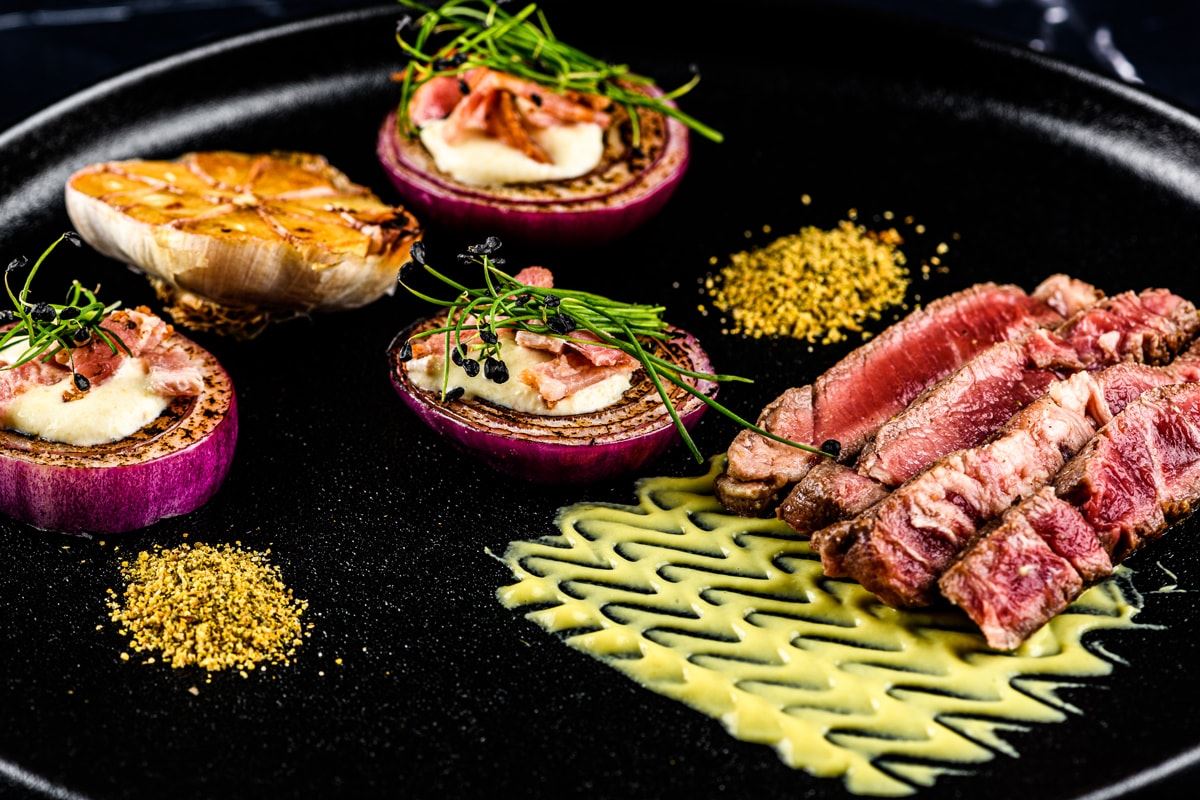
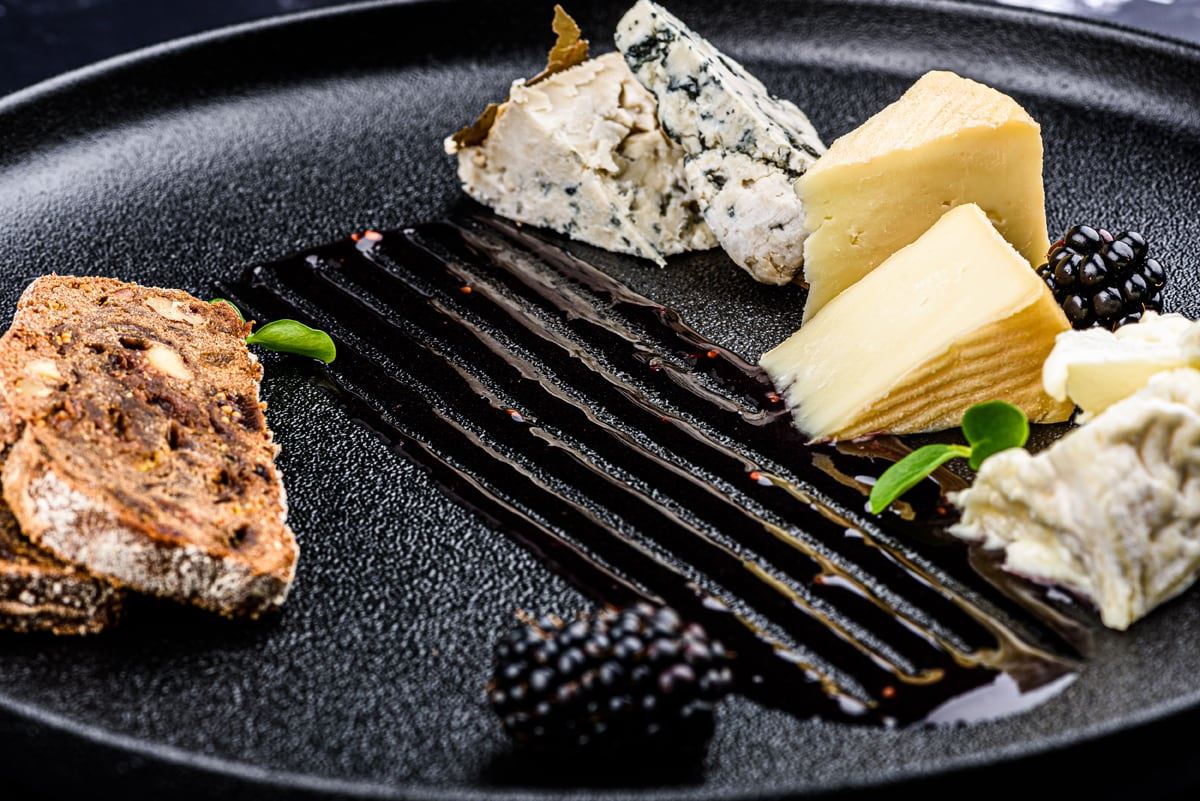
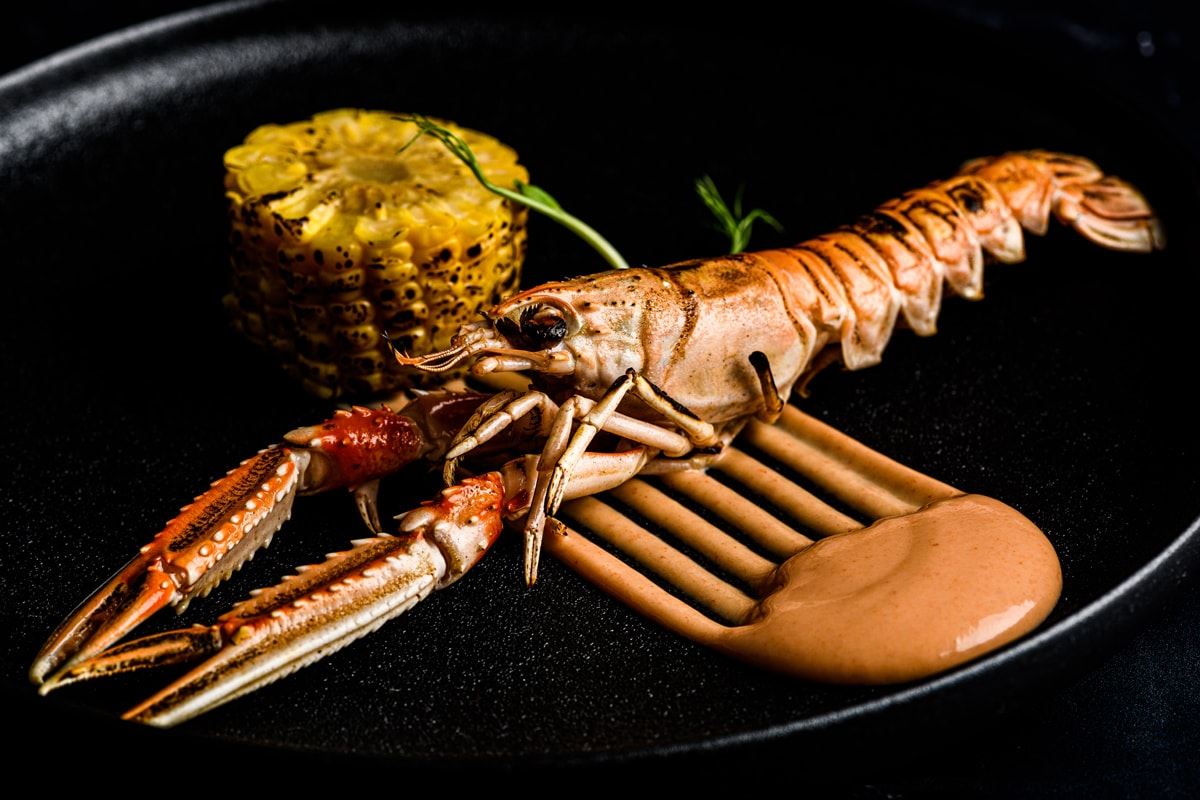
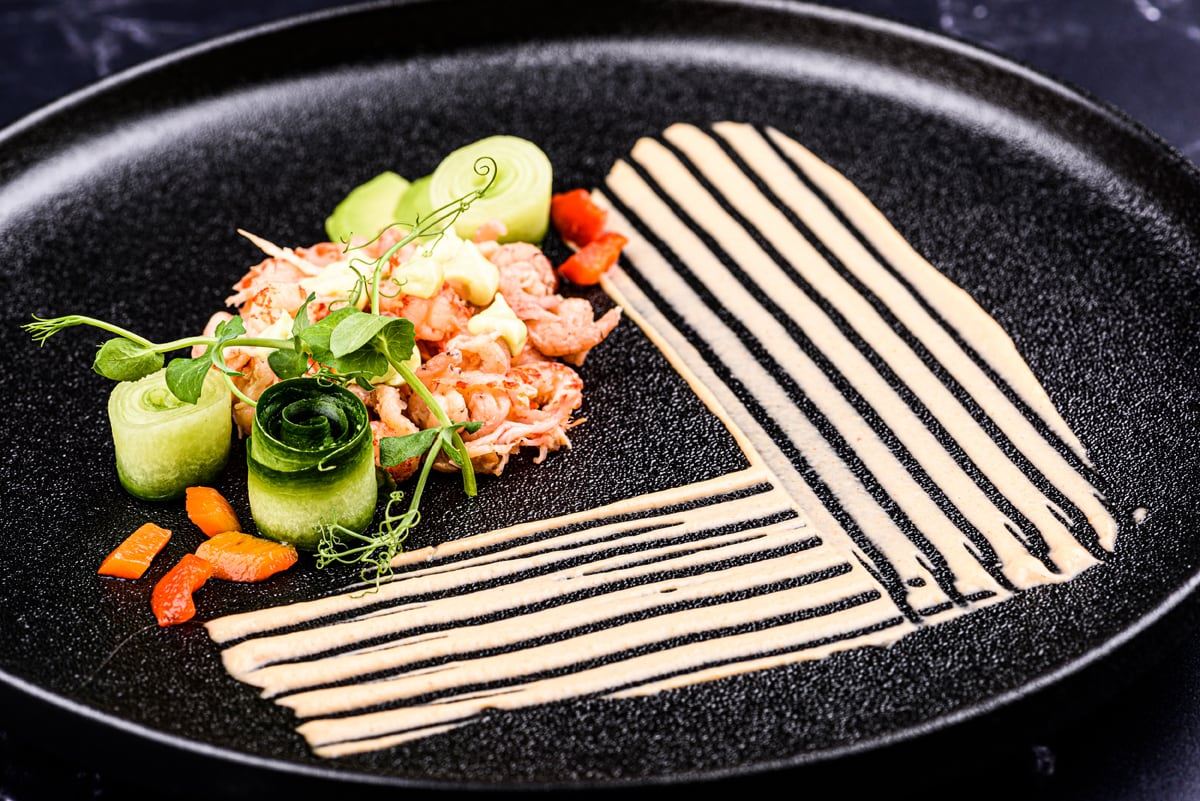
With these three uniquely designed scrapers from Plate-it, you can create an impressively decorated plate in no time. Place a dab of smooth puree or sauce on the plate and spread it in a pattern of your choice using one of the scrapers. Cakes are also easy to decorate with buttercream, for example. For best results, apply the buttercream in a smooth layer with a Plate-it angled spatula. Next, simply spread a nice pattern with one of the scrapers.
COMBINE ELEMENTS ON THE PLATE
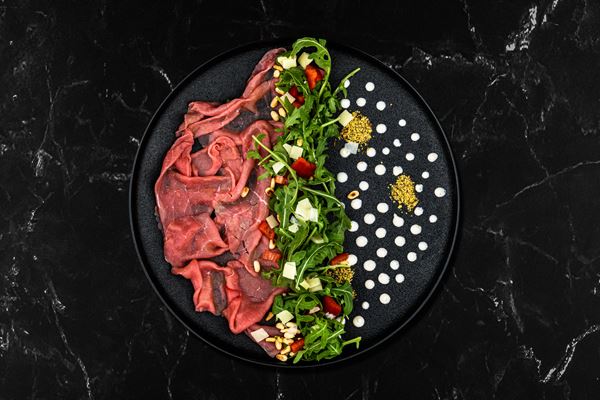
Sauce brings it all together. And so are the effects you create with it. You can make a full sweep, so from side to side of the board, or just a small piece. You can also swipe twice at an angle of 90 degrees. Result: an angular effect. By combining these smearing patterns with other elements on the board, it becomes a whole. Try to come up with different patterns yourself. Be creative and use your own imagination; this is how the most beautiful creations are created!
TAKE DISHES TO THE NEXT LEVEL
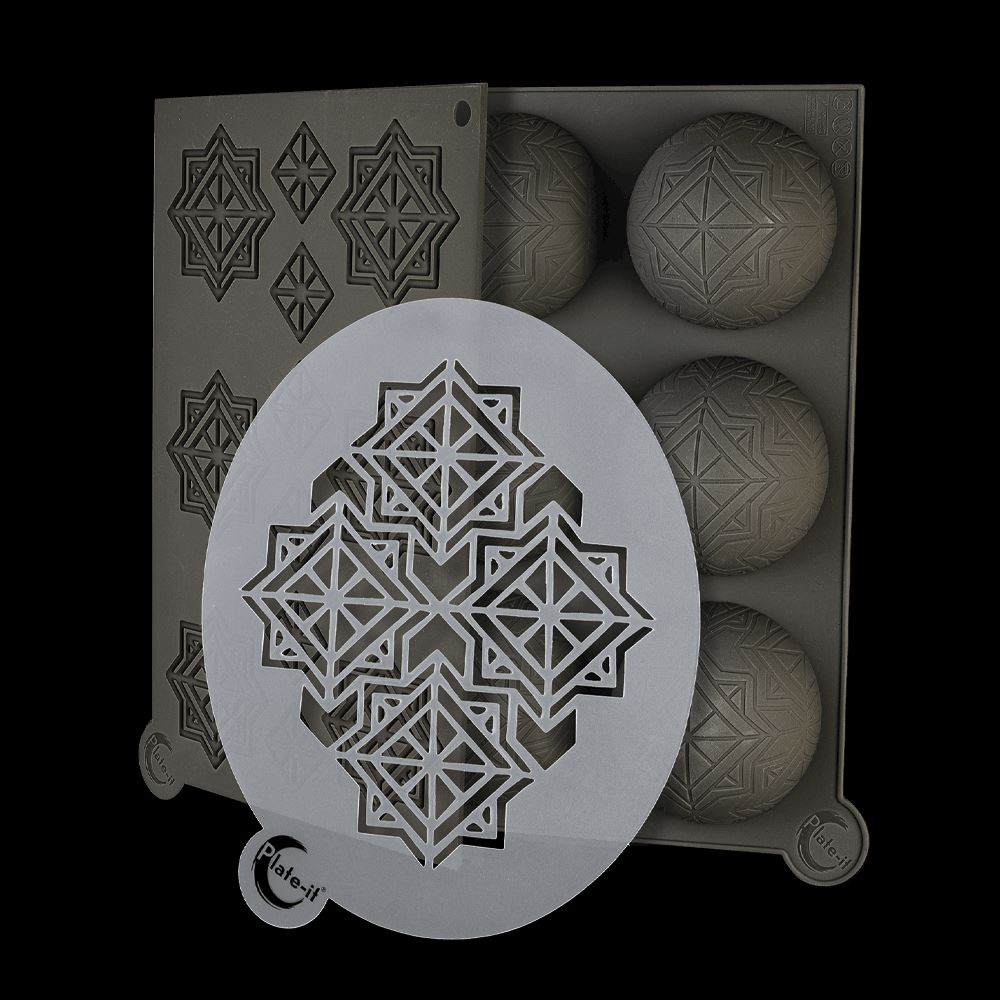
With Plate-it’s moulds and stencils, you can make all kinds of shapes that will truly take your dishes to the next level. Combine two or three products from the set for optimal presentation. This is how you create the WOW factor for your guests with the chosen theme.
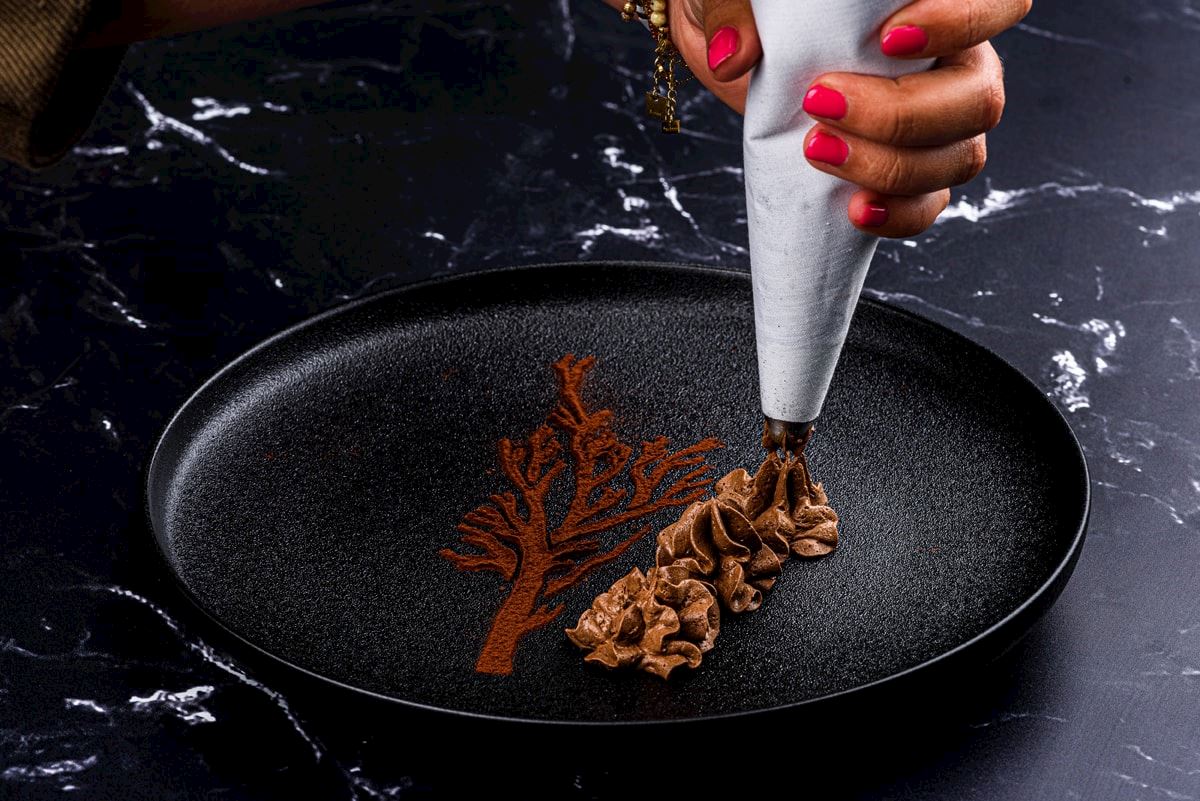
Plate stencil
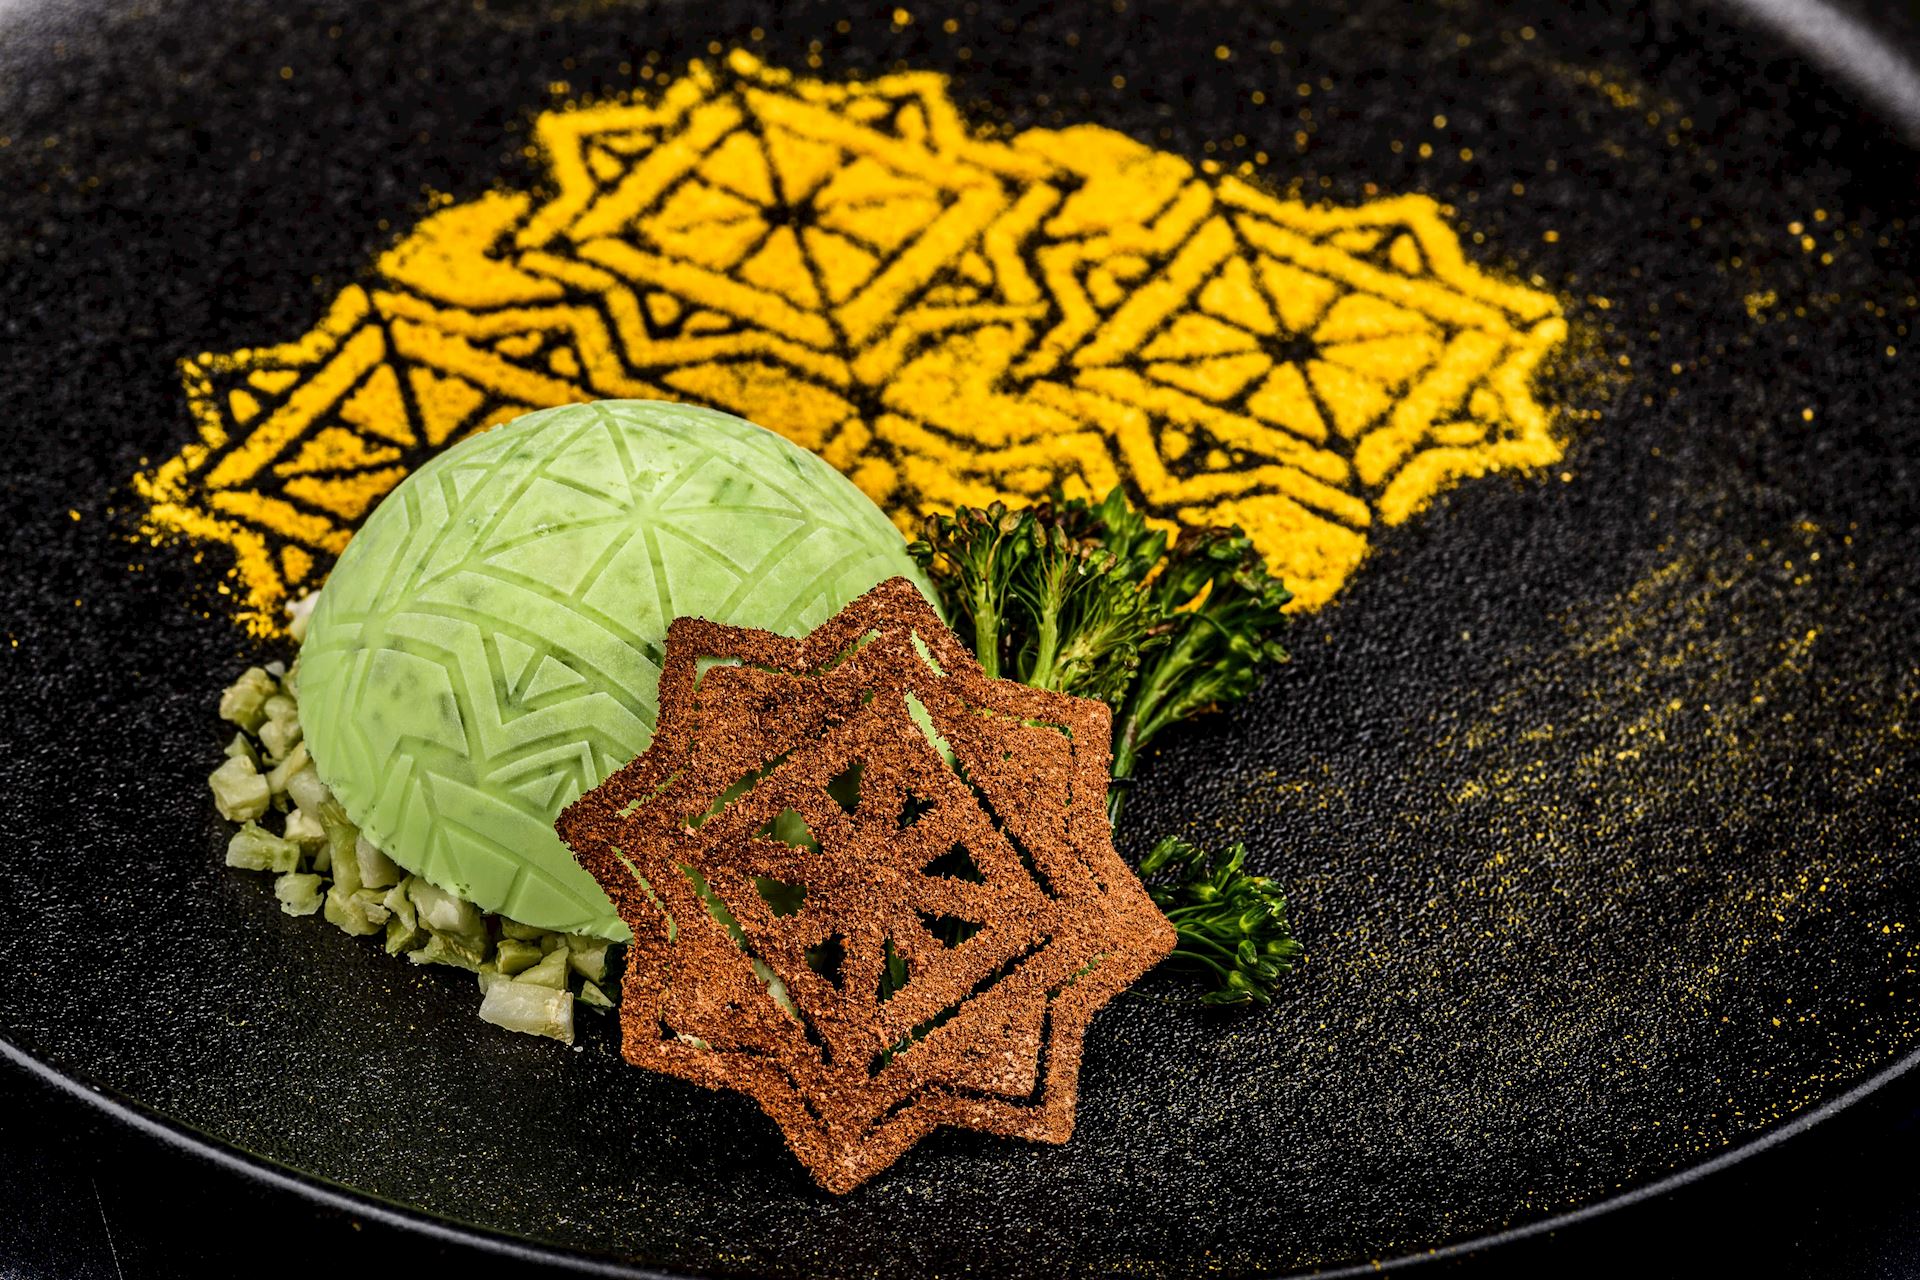
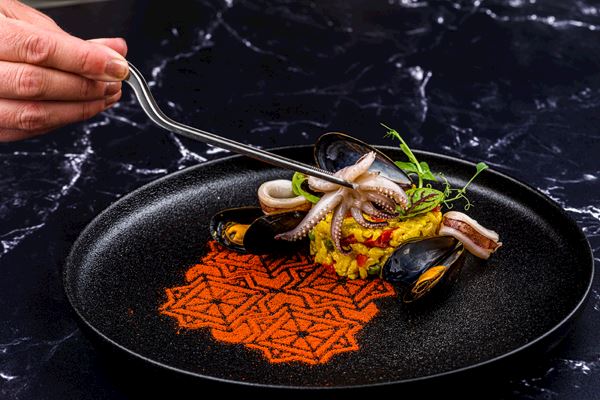
Position the stencil on the board. Using the Plate-it decorating strainer, sprinkle with a dry ingredient (e.g. powder or spices). Carefully lift the stencil using the tab. The shape becomes visible on the plate. Experienced cooks can also use this stencil to use purees to make the shapes on the plate. Spread the puree into the stencil with a Plate-it angled spatula and carefully remove it.
Tuille silicone mould
Preheat the oven and fill the mould with batter. Remove excess batter with a Plate-it angled spatula. Bake in the oven until the batter is cooked. Carefully remove your creation from the mould using the Plate-it precision tweezers. You can also use the mould for cold decorations such as chocolate or jelly. Let it set in the freezer and gently press out of the mould while still frozen. That is how your creation retains its shape.
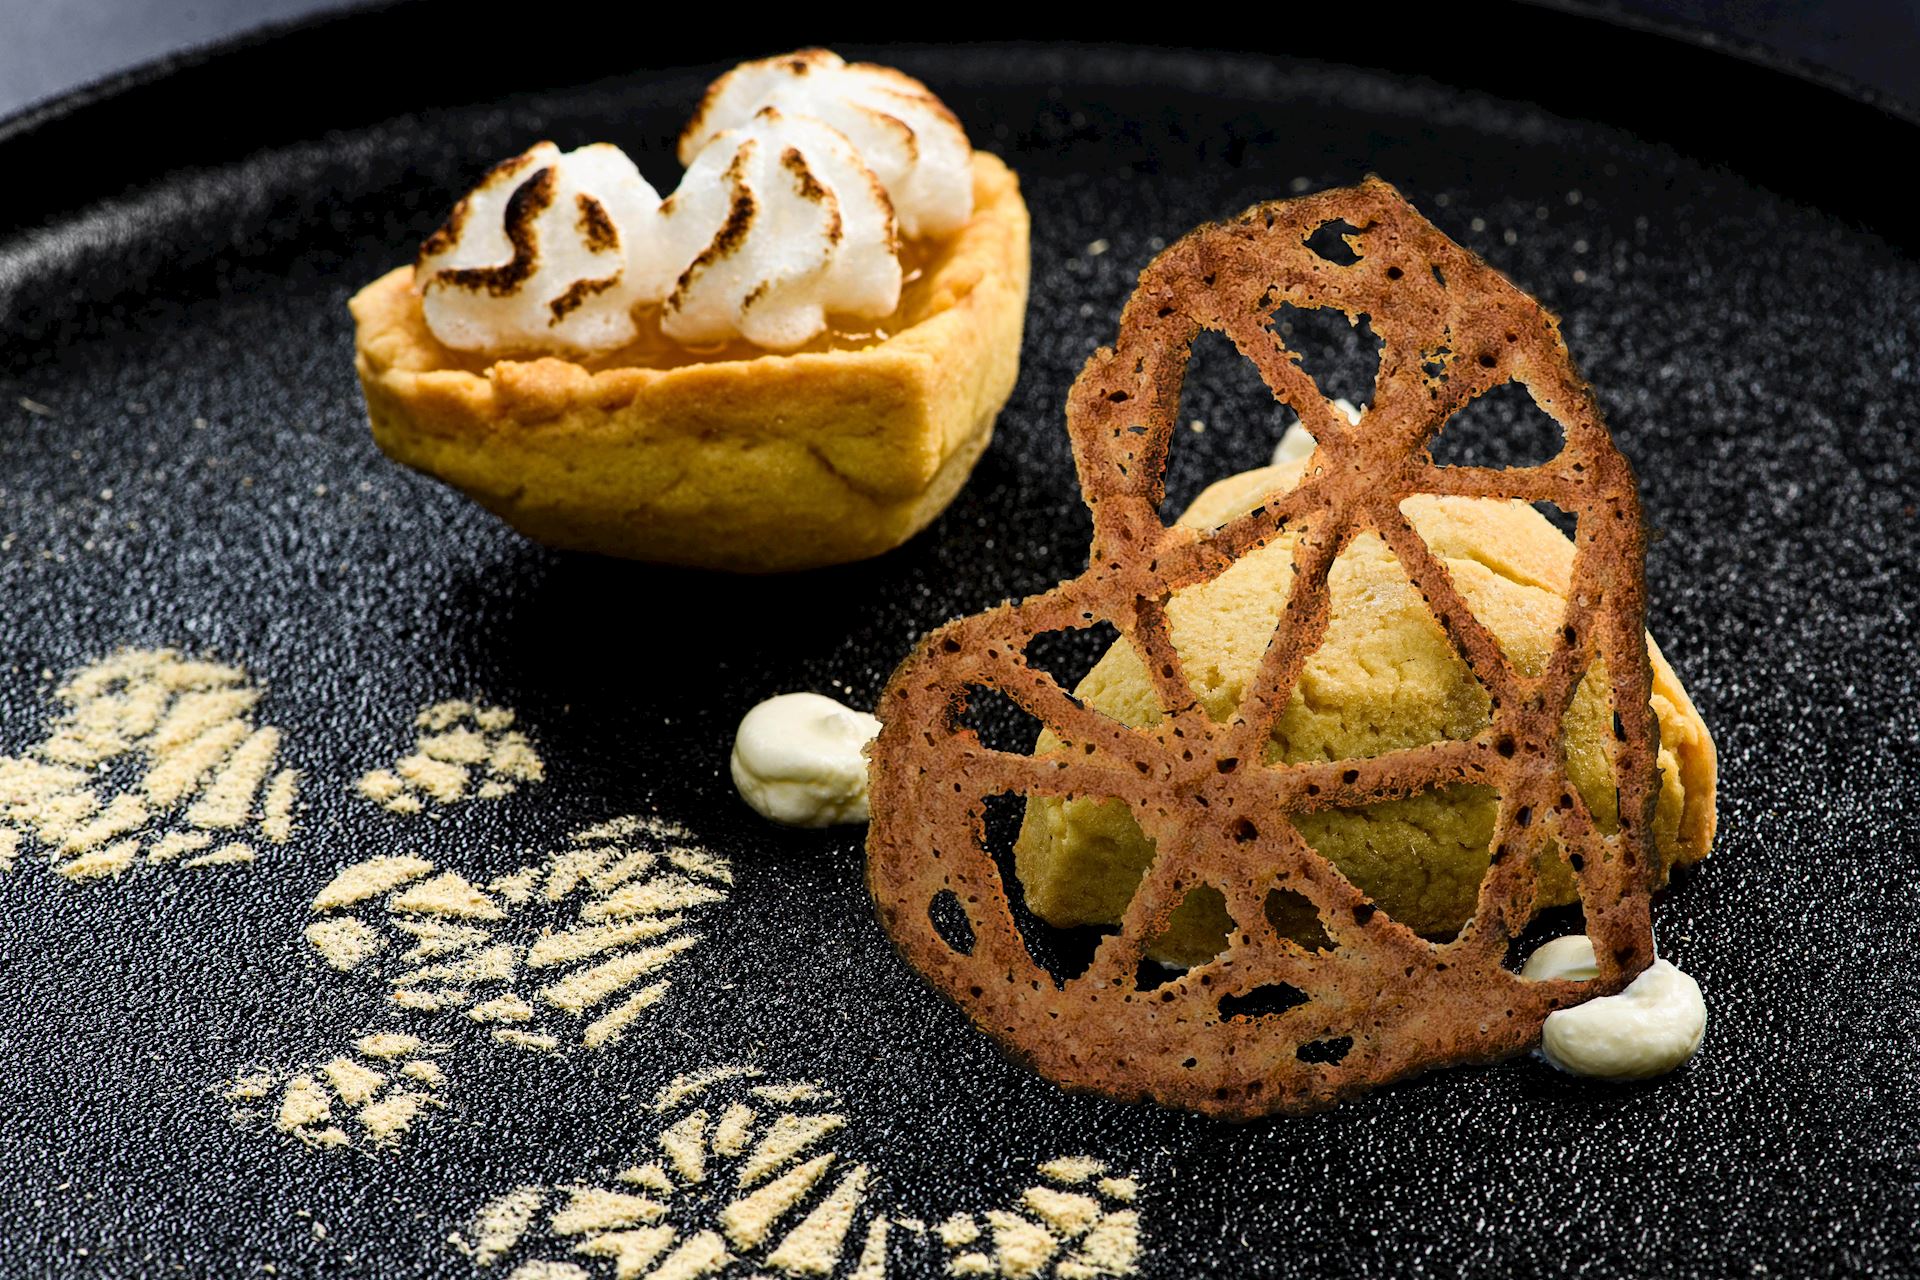
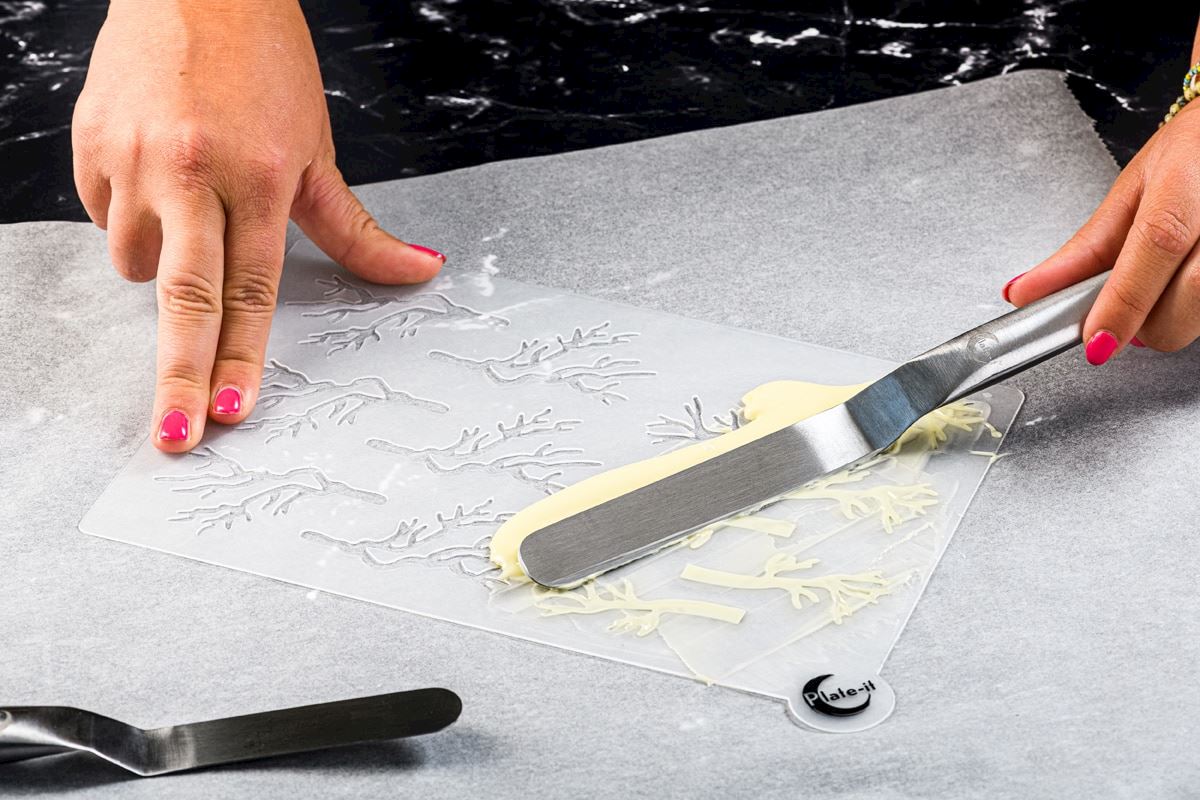
Tuille stencil
Use this stencil to make tuilles in cool shapes. Fill it, for example, with batter, melted sugar, or chocolate. Place the stencil on baking paper and brush it with the chosen ingredient. Use a Plate-it angled spatula to spread it well. Carefully lift the stencil by the tab. Depending on your chosen ingredient, you need to bake it in the oven, let it harden or let it cool in the fridge or freezer. The stencil is not heat-resistant.
3D silicone mould
Use the silicone mould to create 3D creations. Fill the mould with a mousse, chocolate, ice cream or other fillings. Leave to set in the freezer or bake in the oven (up to 230Cº). Freezer: Remove the mould when it is still frozen - this is how your creation will keep its shape. Oven: Grease your mould before using it. Let your creation cool well as soon as it comes out of the oven.
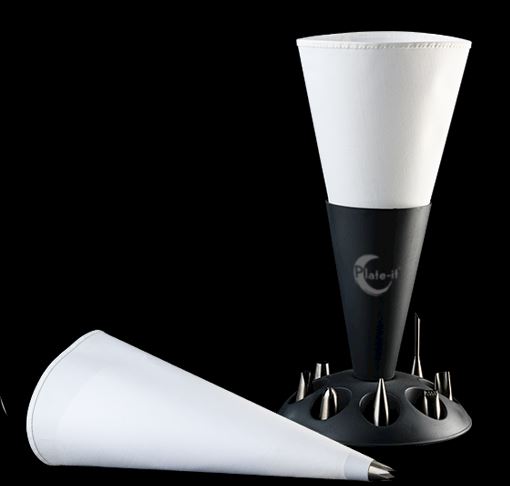
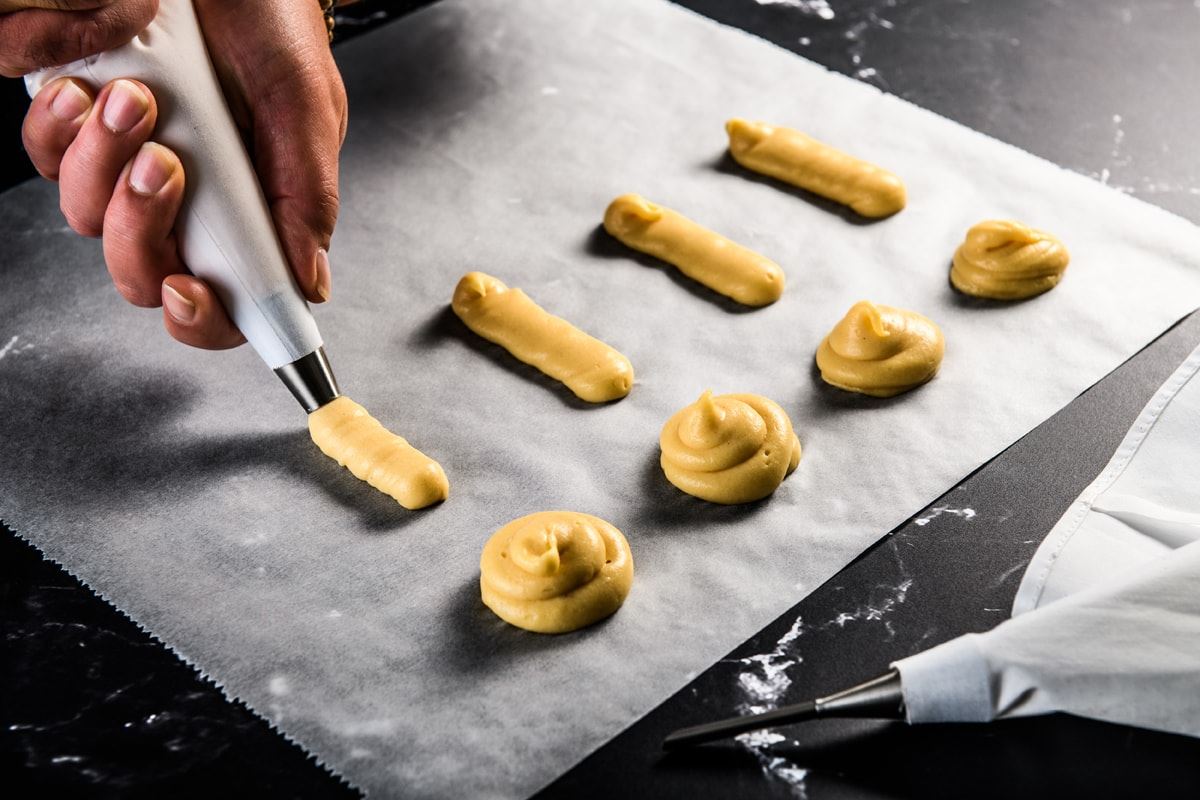
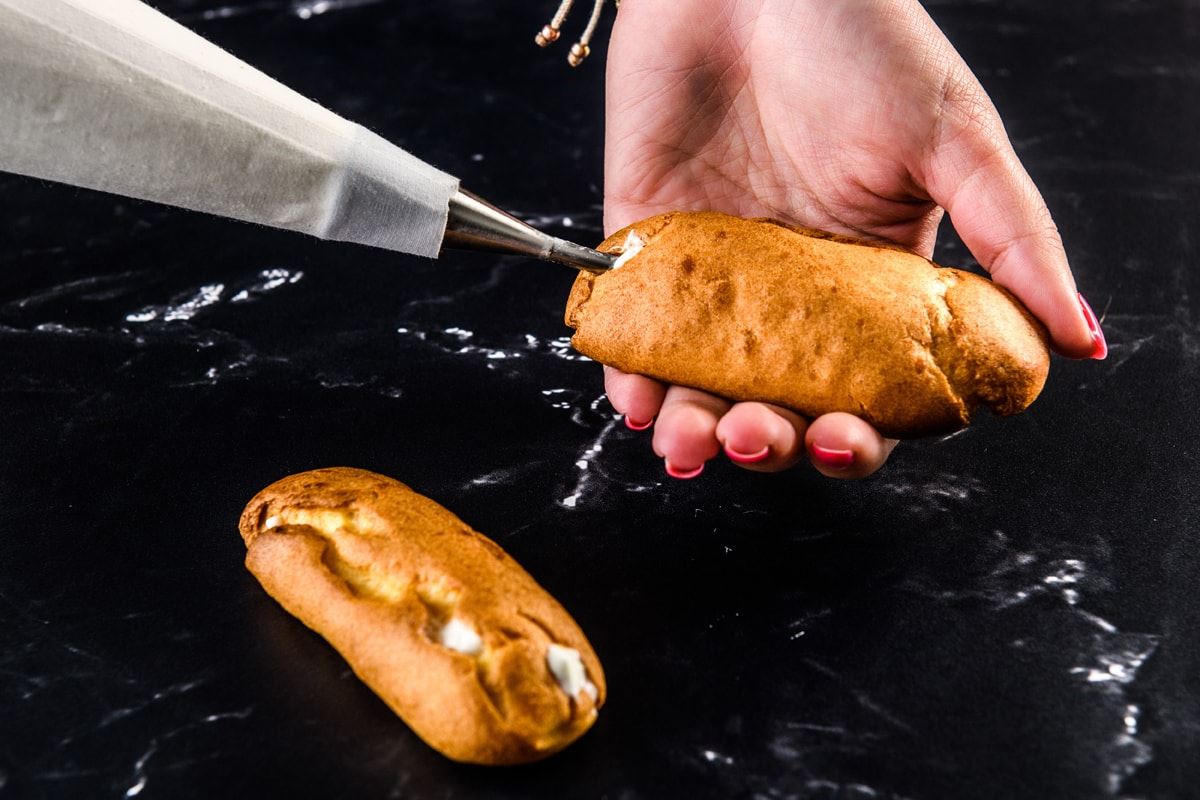
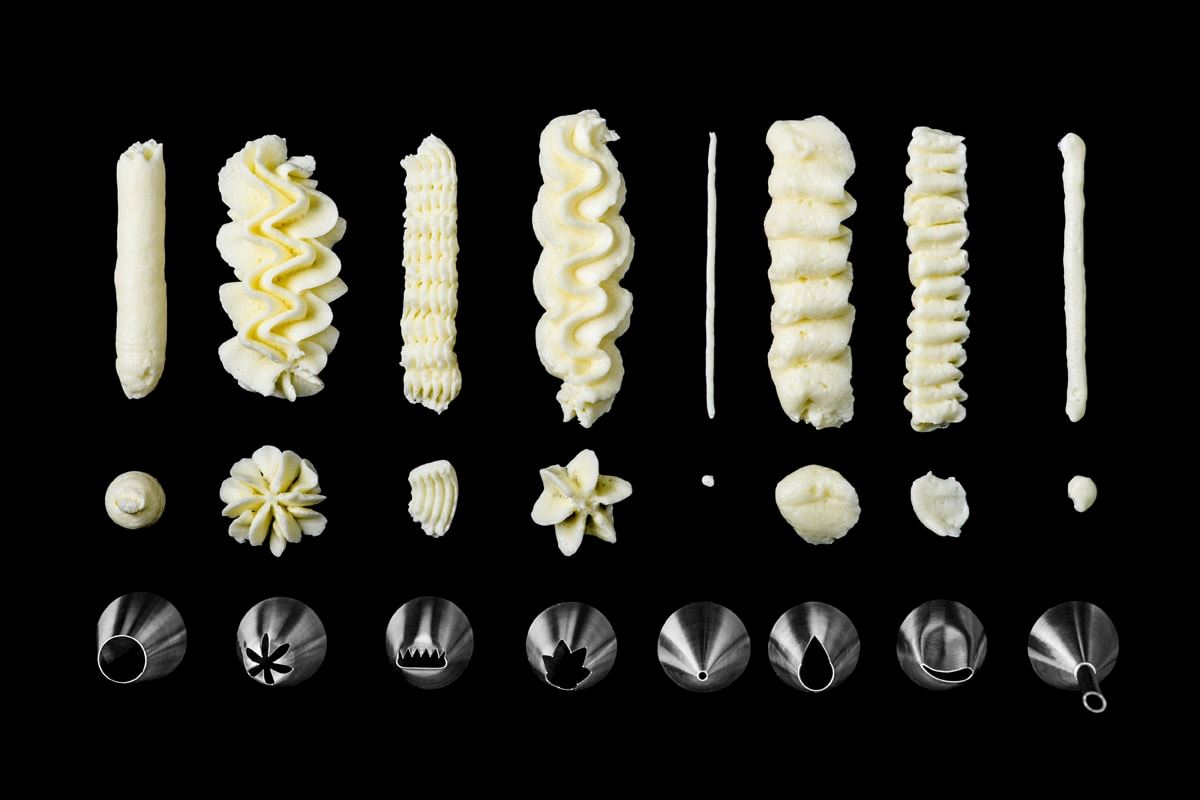
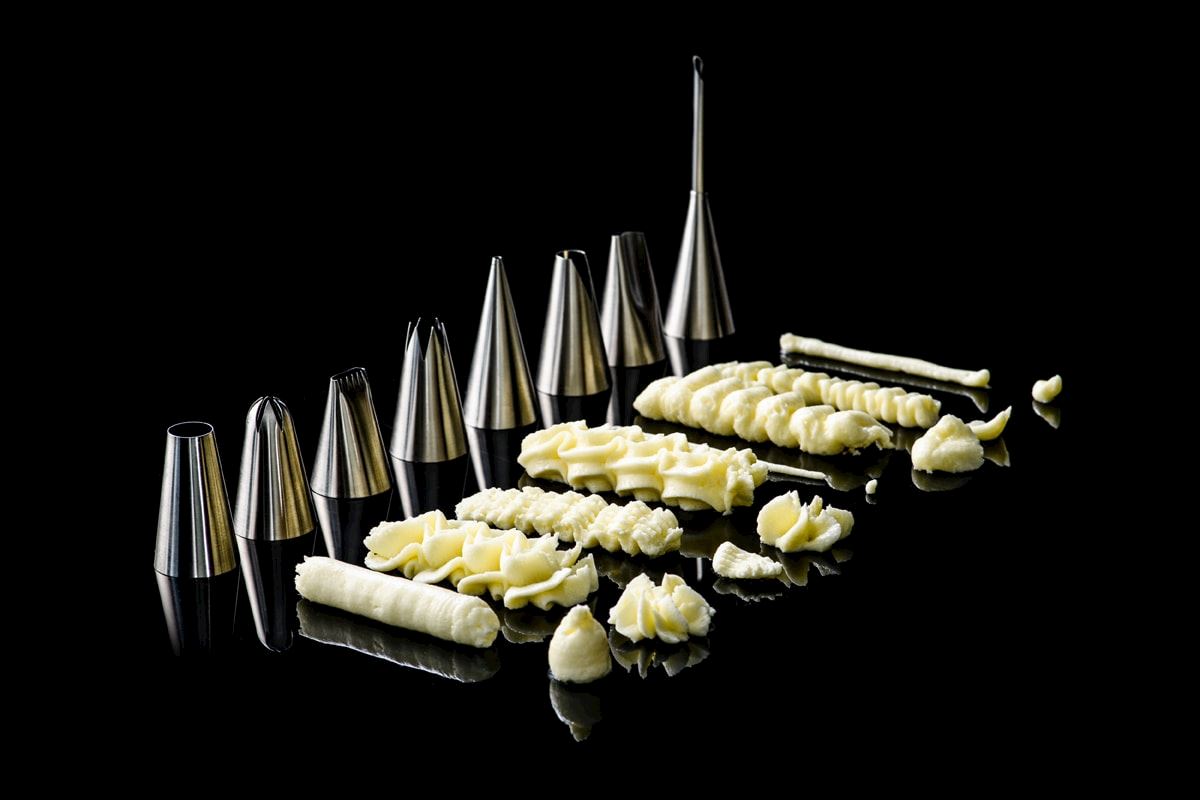
Decorate desserts with sweet mousses and whipped cream. Make your own pommes duchesses and eclairs or fill small glasses without spilling. With 8 different nozzles in this professional piping set by Plate-it, you will always have one that works for you. The holder allows the filled piping bag to rest in between and keeps all the parts together nicely. Choose the desired nozzle and push it into the piping bag until it locks in place. Fill the piping bag with a puree or cream of your choice. Close the bag by twisting the end and gently squeeze out the mixture, while your other hand still squeezes the twisted top.
DIFFERENT NOZZLES
The Plate-it piping bag holder contains 8 different nozzles. Each nozzle is unique and each nozzle therefore has a different function and/or pattern.
- Large nozzle with a smooth end: piping swirls and meringues, fillings in baked goods.
- Star-shaped, open nozzle: swirls.
- Ribbed nozzle: for drawing ribbed, wide lines.
- Star-shaped closed nozzle: swirls, slightly more graceful.
- Small nozzle with a smooth end: fine decorations.
- Nozzle with drop shape: arches, flower petals, drapes.
- Moon-shaped nozzle: for making, for example, Christmas trees, hearts, string, shells, etc.
- Long thin nozzle with a needle-shaped end: fill puffs.
MAKE PUFFS YOURSELF
Puffs, who doesn't know them?! Did you know that this famous sweet (or savory) delicacy is also very easy to make yourself? The piping bag holder with various nozzles from Plate-it is perfect for this. Use the large smooth-tipped nozzle to pipe the puffs, bake, let cool and use the long, thin nozzle to pipe a filling of your choice.
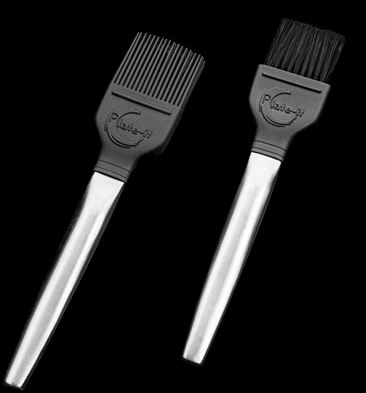
Brush your Plate-it decoration brush over your plate for a surprising effect with your sauce, for example.
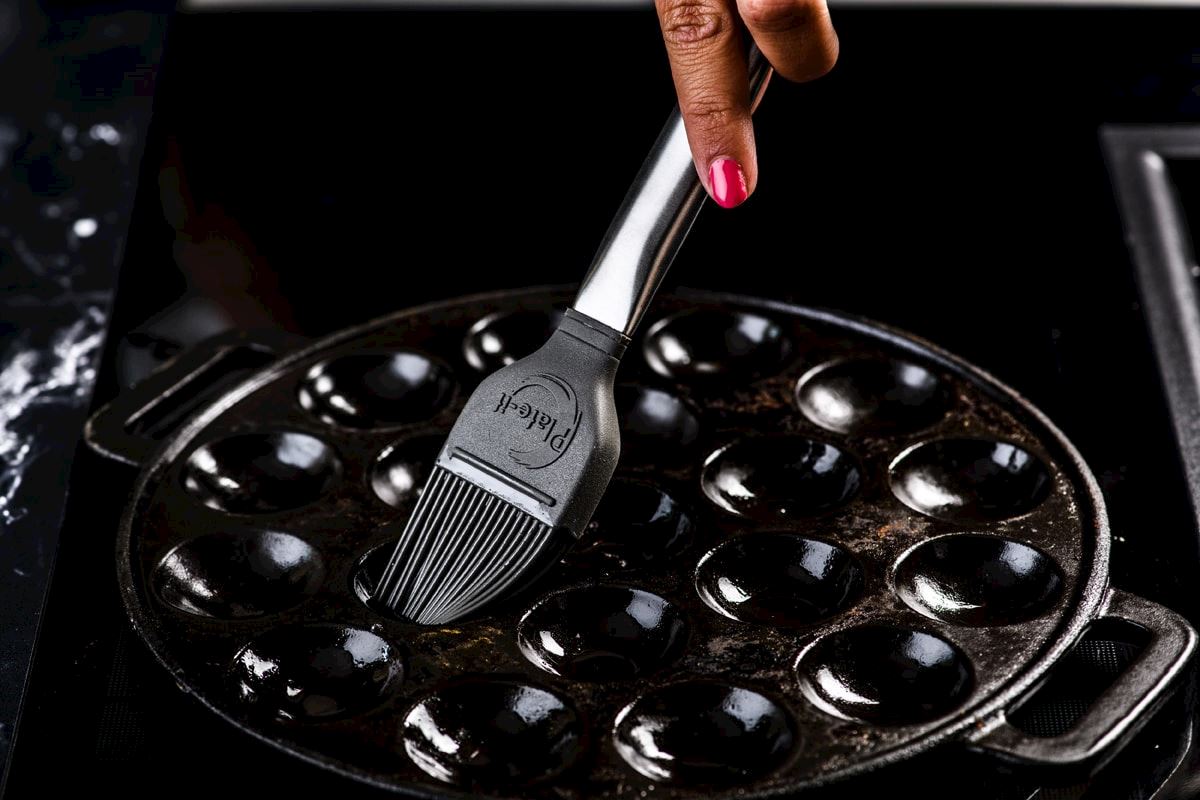
SILICONE BRISTLES
Ideal for larger work, such as for coating and greasing dishes, but also for decorating a plate with coarser strokes.
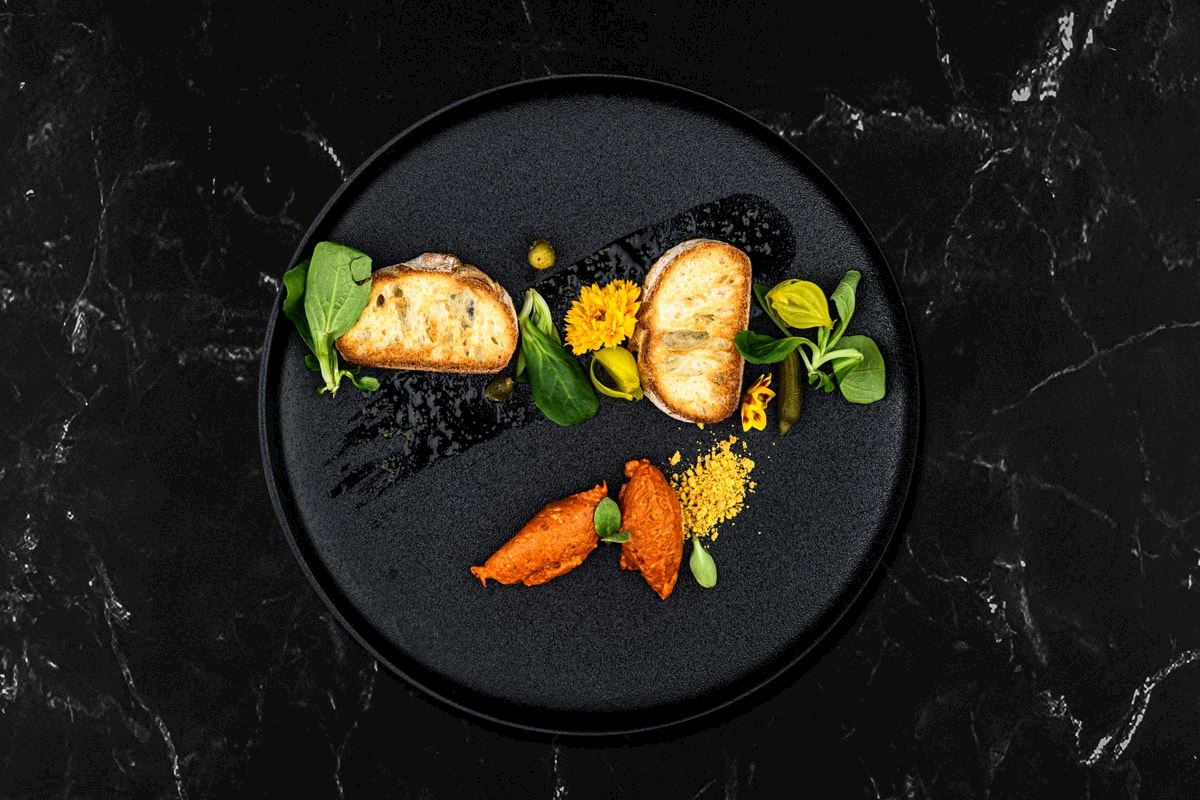
NYLON BRUSH
This brush is suitable for a finer touch. Both brushes can use the Plate-it turntable for the most optimal results. This allows you to create beautiful circles and spirals, for example. Apart from decorative stripes, you can also use the brushes to grease a baking tray.
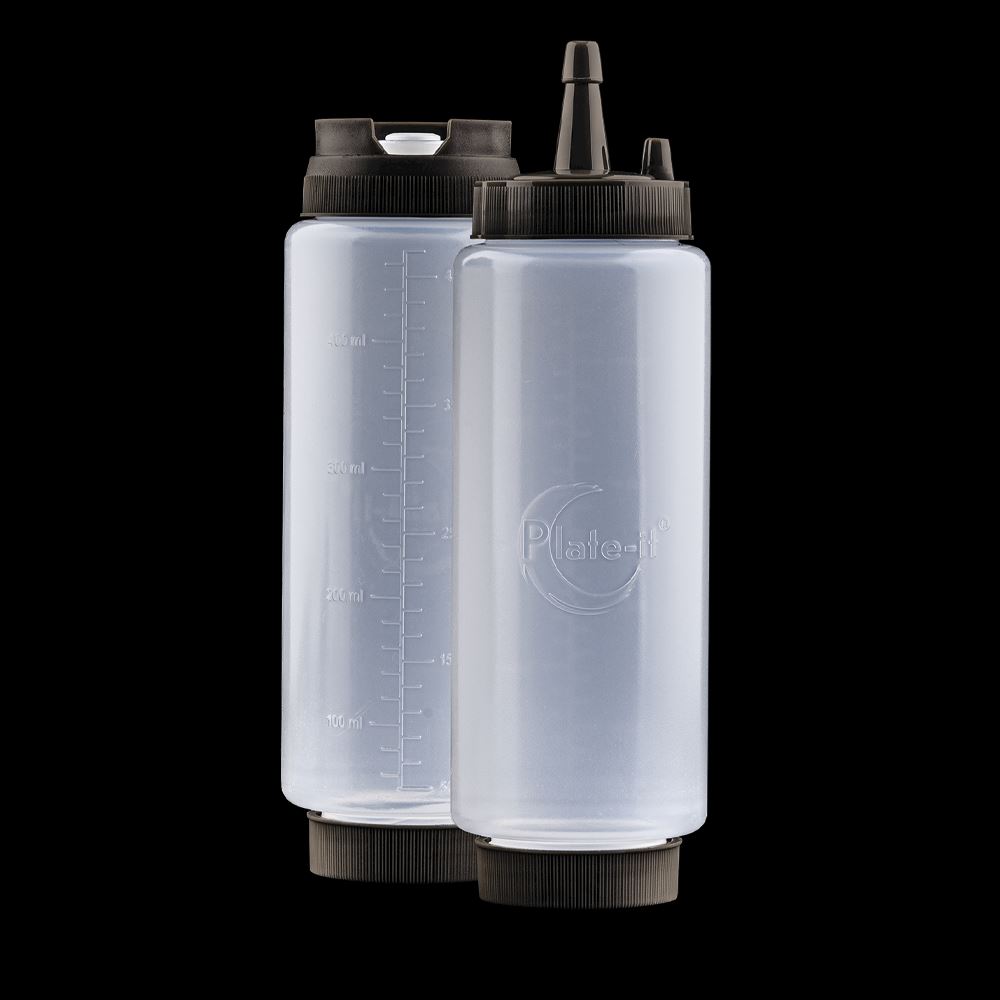
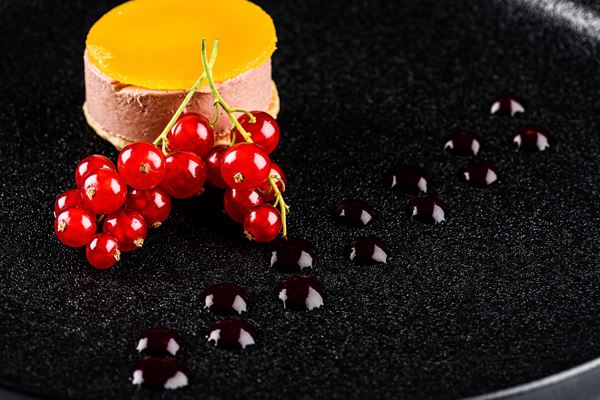
Plate-it’s garnish bottles are not only ideal for dispensing batter, sauces, oils or dressings but are also the perfect tool for decorating your plates. Droplets, circles or lines, anything is possible. Both bottles each have a unique mouthpiece. One is perfect for coarser work, while the other is perfect for a subtle finishing touch. The bottom cap can be unscrewed, making cleaning very easy. Fill the bottle with a sauce, oil or dressing and garnish the plate with a shape of your choice.
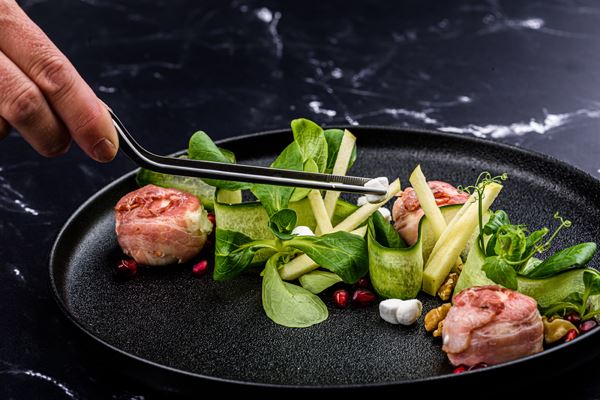
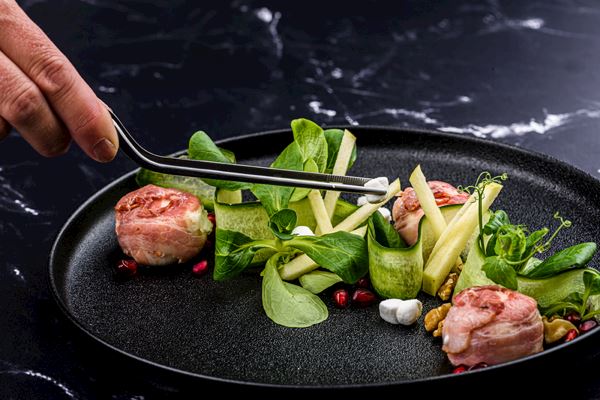
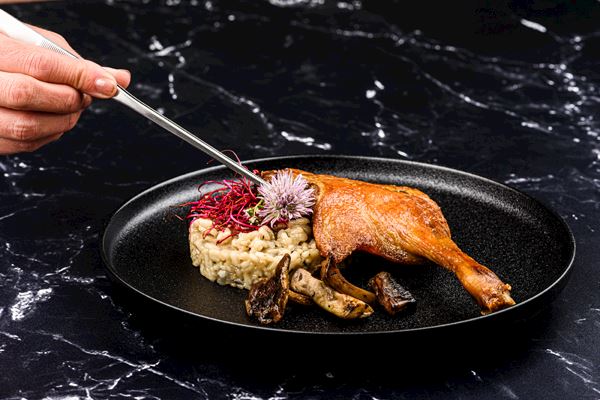
Precision tweezers are the ideal accessory for decorating dishes with smaller elements. Whether it is herbs or cress, pomegranate seeds or edible flowers; with Plate-it’s precision tweezers, you can turn any dish into a masterpiece. Both tweezers are suitable for precise jobs in the kitchen. The kinked tweezers allow you to get closer to the plate for extra accuracy in your creation. These tweezers are also great for reaching awkward corners on the board.
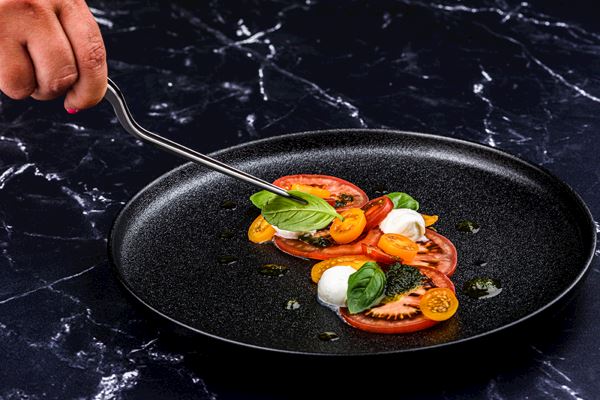
Decorate
Place a swirl of puree on the plate and spread it in a fluid motion.
Garnish
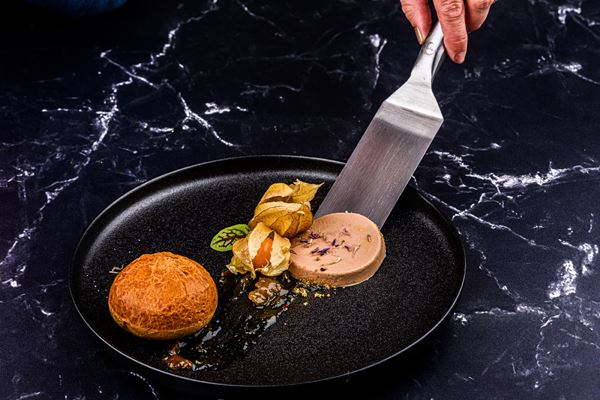
Slide the spatula under the ingredients you want to place on the plate and position it as desired.
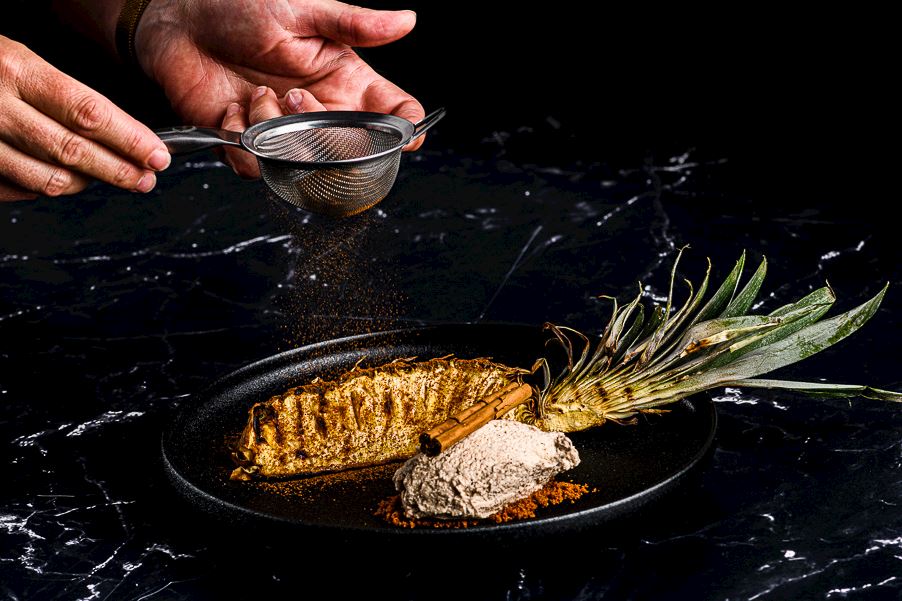
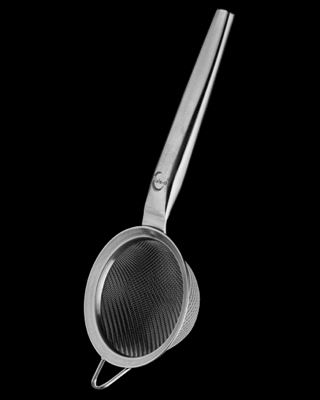
The fine wire mesh makes the decorative sieve a multifunctional tool for the kitchen. Whether you want to present your dishes specially or decorate freshly baked cakes, the Plate-it decorating strainer gives your dishes a beautiful finish. Fill the decorating strainer with powdered ingredients such as icing sugar, cocoa, dried fruit or spice powder and gently tap the edge of the strainer with your finger. Move your hand back and forth. TIP: Use the Plate-it stencils to create figures on your plate or dish.
